









Benefits of Using a Hangboard for Climbers: Strength, Versatility, and Practical Tips
Hangboards are specialized training tools that help climbers build finger and grip strength, making them essential for improving climbing performance. Portable hangboards allow users to train at home or on the go, offering versatility for both beginners and advanced athletes. With easy installation and proven durability, hangboards are a practical investment for anyone looking to enhance their climbing routine.
You’re tired of feeling stuck at the same level, watching your climbing buddies breeze through routes while your fingers falter at cruxes. Maybe you’ve hit a plateau where no matter how often you get to the wall, your grip strength just isn’t improving. It’s frustrating—especially when you know that finger and forearm strength are the keys to unlocking harder climbs, but you’re not sure how to safely and effectively train those muscles at home.
The benefits of using a hangboard for climbers address this very struggle. Instead of relying solely on climbing sessions that might not target your weaknesses, hangboarding lets you work specifically on finger strength and endurance. With a hangboard, you gain the versatility to train even when you can’t make it to the gym, using structured exercises that build the power you need for real progress. If you’re searching for a practical, proven way to break through your personal barriers and climb stronger, understanding how and why climbers use hangboards is the first step.
- Hangboards target and improve grip and finger strength.
- Portable hangboards suit climbers who travel or train outdoors.
- Versatile for beginners and advanced climbers alike.
- Easy installation enables at-home or gym use.
- Durability and user satisfaction make hangboards a top training choice.
Why Do Climbers Use Hangboards?
Climbers use hangboards because they target grip and finger strength, both essential for safe and effective climbing. A hangboard is a training tool specifically designed for climbers to build the muscles and tendons you rely on every time you grab a hold. By working on a hangboard regularly—usually in sessions lasting 10–20 minutes—you develop the power and endurance needed to hang onto small edges, slopers, and crimps on real rock or gym routes.

Hangboards let you practice a wide variety of grip positions, including open-handed grips, half-crimps, and full crimps. These positions closely replicate the holds found outdoors and indoors, making your training much more relevant than generic pull-ups or finger curls. For example, you might do five sets of 10-second hangs on a 20mm edge, then switch to three sets of 10-second hangs using pockets or slopers. This variety prepares your fingers for almost any climbing scenario.
One big advantage of hangboard training is its portability and accessibility. Many hangboards, including lightweight portable models, can be mounted at home or taken outdoors, so you don’t need a full climbing wall or gym membership. Installation is straightforward, with mounting hardware included, and you can start your routine with just your bodyweight. Beginners often start with two-arm hangs for 10–15 seconds, resting one minute between sets, while advanced climbers add weights or switch to one-arm hangs for more intensity.
Consistent hangboard workouts contribute to injury prevention by strengthening the supporting muscles and tendons in your hands and forearms. This is especially important because climbing puts repeated stress on these areas, which—without proper conditioning—can lead to overuse injuries. Building up the strength gradually, aiming for two to three sessions per week, helps reduce risk and improve overall grip resilience. If you rush progress or skip rest days, you’re more likely to strain a tendon or develop finger pain, so it’s critical to follow a structured routine.
Many climbers appreciate hangboards because they offer a controlled environment for targeted training. You avoid the unpredictability of outdoor holds while focusing on measurable improvements, such as increasing hang time or reducing rest intervals. For example, tracking your progress—like holding a 15mm edge for 12 seconds instead of 10—gives you real feedback on your gains. Mistakes to avoid include overtraining, using poor form, or jumping to difficult holds before your fingers are ready. Always warm up thoroughly with 5–10 minutes of easy hangs or stretching before starting your main sets.
Hangboards are not just a strength tool; they’re a smart way to train for the demands of climbing, whether you’re on granite, limestone, or plastic. With regular training, you’ll notice improvements in your grip endurance, power, and injury resistance—all critical for pushing your climbing grades. If you’re looking to build strength, versatility, and safer climbing habits, hangboard routines are a proven solution trusted by climbers worldwide.
What Is a Hangboard and How Does It Work?
The hangboard is a specialized training device designed for climbers who want to build grip and finger strength. You’ll find it mounted above doorways or on walls, with a series of various holds, edges, pockets, and slopers. The primary function is to help you simulate the demands of climbing, letting you practice hanging or partial hangs that target the muscles and tendons used on real routes. Using a hangboard is considered one of the most effective ways to improve climbing-specific strength at home or in the gym.
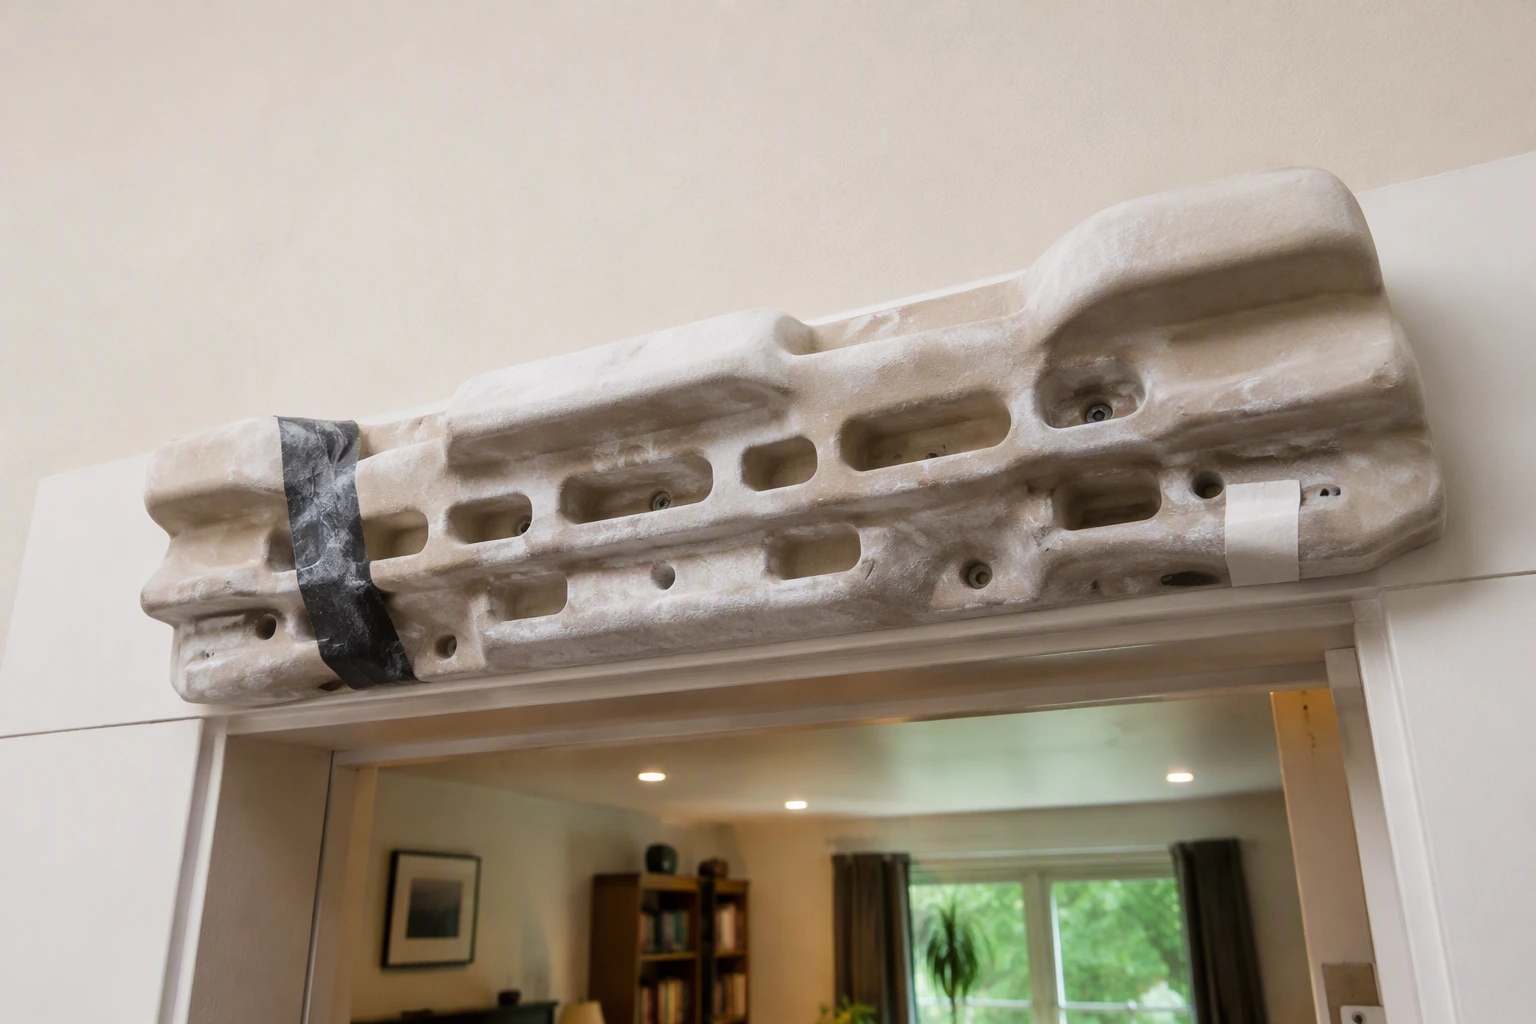
Hangboards come in both fixed and portable designs. Fixed hangboards are typically installed with mounting hardware above a doorway or on a dedicated training wall, making them a long-term addition to your home fitness setup. Portable hangboards, on the other hand, are lightweight and compact, designed for easy transport in your backpack. If you’re traveling or training outdoors, a portable model lets you keep up with your finger routines wherever you go. Prices range from $40 for basic portable options up to $120 for premium fixed boards with multiple grip types.
To use a hangboard, you grip one of the holds and hang your body weight, sometimes fully suspended and sometimes with your feet lightly touching the ground for partial hangs. Most climbers start with 5-10 second hangs, repeating for 4-6 sets, and gradually increase time or intensity as they gain strength. You can vary your grip—using two-finger pockets, crimps, or wide slopers—to mimic different climbing holds. Beginners often make the mistake of overloading too soon; it’s smarter to start with easier grips and shorter hangs to avoid injury. Proper warm-up, such as 5 minutes of light stretching or finger mobility work, is essential before any hangboard session.
Hangboards are not limited to elite climbers. If you’re new to climbing, you’ll benefit from basic exercises like assisted hangs or using a resistance band to reduce the load. Advanced users can add weight—starting with 5-10 lbs in a harness—to make hangs more challenging. Avoid using the smallest edges right away, as this can strain your tendons. Instead, work up to smaller holds over several weeks. Portable hangboards often have fewer grip types, but still provide enough versatility for grip conditioning on the go. Many climbers appreciate the durability and training options, and hangboards consistently receive positive user reviews for effectiveness.
What makes hangboards especially useful is their adaptability. You can train for different climbing styles by adjusting your grip or hang duration. Whether you’re preparing for a bouldering session or a multi-pitch route, the hangboard lets you target specific weaknesses. Installation is straightforward for most models, with included mounting hardware, and you’ll need about 20 minutes to set one up at home. If you’re serious about improving your finger strength, adding a hangboard to your routine is a practical, proven step. Just remember to progress gradually, listen to your body, and combine hangboard work with general conditioning for balanced climbing development.
"Hangboards help climbers improve grip and finger strength."True
This is true. Hangboards are designed to isolate and train the finger and grip muscles most used in climbing. Regular use can lead to noticeable gains in grip strength, which directly translates to better performance on climbing routes.
"Hangboards are only useful for advanced climbers."False
This is false. While advanced climbers benefit from hangboards, many models offer easy holds and adjustable exercises suitable for beginners. Versatile grip options allow users of all levels to train safely and progressively.
Key Benefits of Hangboard Training for Climbers
The biggest benefit of hangboard training for climbers is the rapid improvement in grip and finger strength. Using a hangboard for just 10-15 minutes, two or three times per week, can help you build the kind of endurance and power needed for tough routes. The hangboard’s small holds challenge your fingers, making each session more effective than most standard gym equipment. This translates directly to better climbing performance, especially on overhangs and crimpy boulder problems where finger strength is often the limiting factor.
Hangboards add training versatility that’s hard to match. You can target specific grip types—such as crimps, slopers, pockets, or jugs—by simply changing where you hold on the board. Most hangboards include multiple grip options, letting you adjust difficulty without buying extra gear. For example, you can perform dead hangs, pull-ups, or offset hangs to focus on different muscle groups. If you’re short on time, doing three sets of 10-second hangs with 60 seconds rest is enough to feel real progress. This flexibility also means you can train whether you’re at home or outside, using a portable hangboard that weighs under 3 pounds and fits in a backpack.
Hangboards suit both beginners and advanced climbers, because you control the intensity through grip selection and duration. Beginners can start with larger holds and shorter hangs, like 5-7 seconds per rep, while experienced climbers might use smaller edges and longer sets up to 20 seconds. Adjustable difficulty is built right in, so you don’t need to upgrade your board as you improve. If you’re new, avoid jumping straight to tiny crimps—this can lead to finger injuries. Instead, start with comfortable grips and gradually decrease hold size or increase time as your strength builds.
Hangboard training is easy to fit into your routine. Installation is simple with included mounting hardware—most climbers set theirs up above a doorway or in a garage. If you’re not ready to drill holes, a portable hangboard lets you train outside, like at the park or crag. The portability means you can keep up with your training even on climbing trips or vacations. Hangboards are durable and built to withstand regular use, which makes them a solid investment for climbers of any level. Prices for a quality hangboard start around $40-$60, making them accessible compared to other training tools.
To maximize benefits, stick to a consistent schedule and pay attention to your form. Avoid swinging or jerking during hangs, as this increases injury risk. Always warm up your fingers before full sets, and listen to your body—stop immediately if you feel sharp pain. If you’re looking for a practical, proven way to boost your climbing, regular hangboard sessions offer measurable results for both grip strength and overall versatility. Whether you’re training for your first V3 or pushing into 5.12 territory, the hangboard can adapt to your needs and help you reach your next goal safely.
How to Get Started with Hangboard Training Safely
Starting hangboard training safely is the key to enjoying the benefits of using a hangboard for climbers without risking injury. If you’re new to hangboarding, aim for short hangs—try 5 to 7 seconds per repetition—and make sure to rest at least 1 to 2 minutes between each set. Your fingers and tendons need time to adjust to the unique stress of hangboard workouts, so keep your total session under 15 minutes for the first few weeks. Gradually increase your hang time and reduce rest as your grip strength improves, but never rush the process.
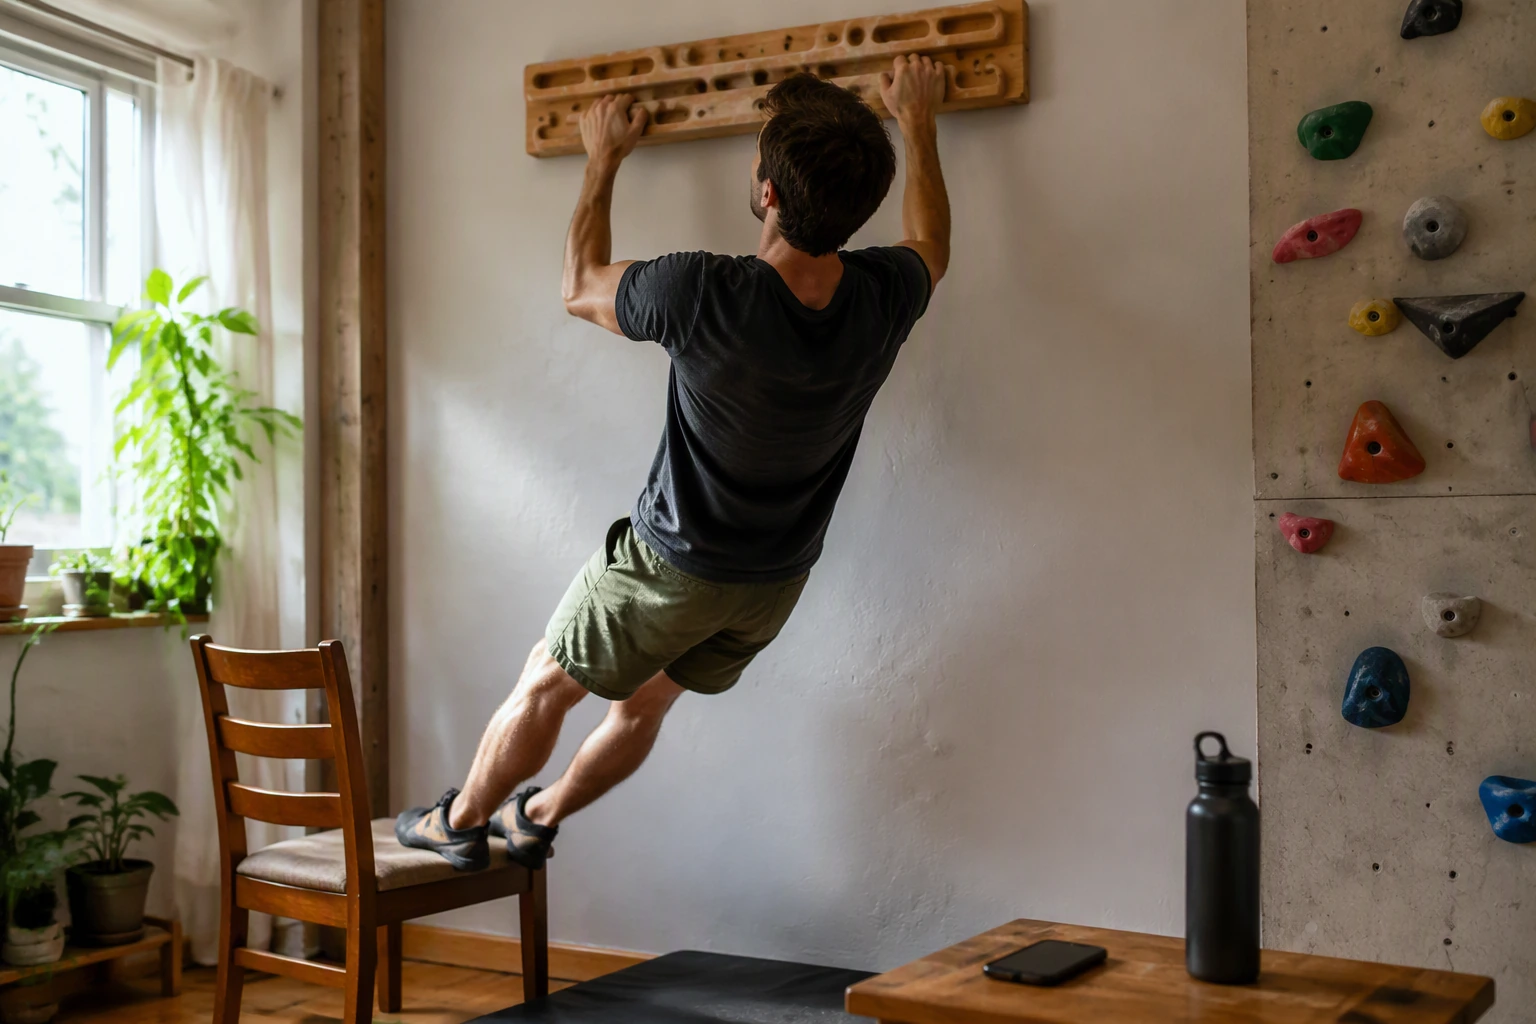
Proper installation of your hangboard is essential for both safety and effective training. Most hangboards are sold with mounting hardware designed for easy setup, allowing you to install them above a doorway or on a sturdy wall at home. Before drilling, double-check that the surface can handle your weight and the forces generated during hangs. If you’re unsure, consult the manufacturer’s instructions or seek advice from a hardware store. A securely mounted hangboard prevents accidents and lets you focus on getting stronger.
“I can skip warming up before hangboard training and just jump right in.”
False. Warming up is critical before any hangboard session. Gentle stretching and light aerobic activity for 5 to 10 minutes help boost blood flow to your fingers, hands, and forearms, reducing the risk of strains or overuse injuries. Skipping a warm-up can lead to painful tweaks or even more serious injuries, especially in the tendons and pulleys of your fingers.
Before you grip the board, spend a few minutes mobilizing your wrists and fingers. Try wrist circles, gentle finger extensions, and squeezing a soft ball or putty. Easy dead hangs from the largest hold on your hangboard can also serve as a warm-up; use your feet for assistance and hang for just 3 to 5 seconds at a time. This prepares your connective tissues for the higher loads of hangboard exercises.
“It’s safe for beginners to train on a hangboard if they use short hangs and long rests.”
True. Beginners can safely use a hangboard by limiting their hang time to under 10 seconds and resting for at least 1 to 2 minutes between reps. This gradual approach helps your finger tendons adapt, minimizing the risk of overuse injuries as you build strength and confidence on the board.
Portable hangboards are a smart option if you travel or train outdoors. These lightweight models often weigh less than 2 pounds and easily fit in a backpack, so you can keep up your grip training at the crag or on the go. Just remember that safe setup and a thorough warm-up are just as important with portable boards as with fixed ones. The flexibility to train anywhere is valuable, but safety should always come first.
Many climbers make the mistake of progressing too quickly or skipping rest days entirely. Resist the urge to add weight, increase hang duration, or reduce rest intervals too soon. If you feel any pain—especially sharp or persistent discomfort—stop immediately and allow time for recovery. Prioritizing safety and proper technique is the most effective way to enjoy the long-term benefits of using a hangboard for climbers.
“You should always install your hangboard using the included mounting hardware and follow the instructions.”
True. Using the provided hardware and following the manufacturer’s installation guidelines ensures your hangboard is secure and safe. Improper installation can cause the board to detach during use, increasing the risk of falls or damage to your home.
“Any wall in your home can hold a hangboard.”
False. Not all walls are strong enough to support the dynamic forces of hangboard training. Always check the structural integrity of your chosen location and use the recommended hardware to avoid accidents and ensure safe workouts.
"Portable hangboards make it possible to train almost anywhere."True
This is true. Lightweight portable hangboards are designed for easy transport, allowing climbers to train outdoors or while traveling. This flexibility ensures consistent grip training regardless of location.
"Hangboards are difficult to install and require professional help."False
This is false. Most hangboards come with the necessary mounting hardware and clear instructions for home or gym installation. Many users set them up without specialized tools or professional assistance.
Choosing the Right Hangboard: What to Look For
If you want to get the most out of your hangboard training, choosing the right model matters. The best hangboard for climbers should match your training goals, experience level, and lifestyle. If you plan to train outdoors or while traveling, look for a portable hangboard that is lightweight and easy to set up. Many portable models weigh under 2 pounds and can fit in a backpack, making them ideal for road trips or sessions at the local crag.
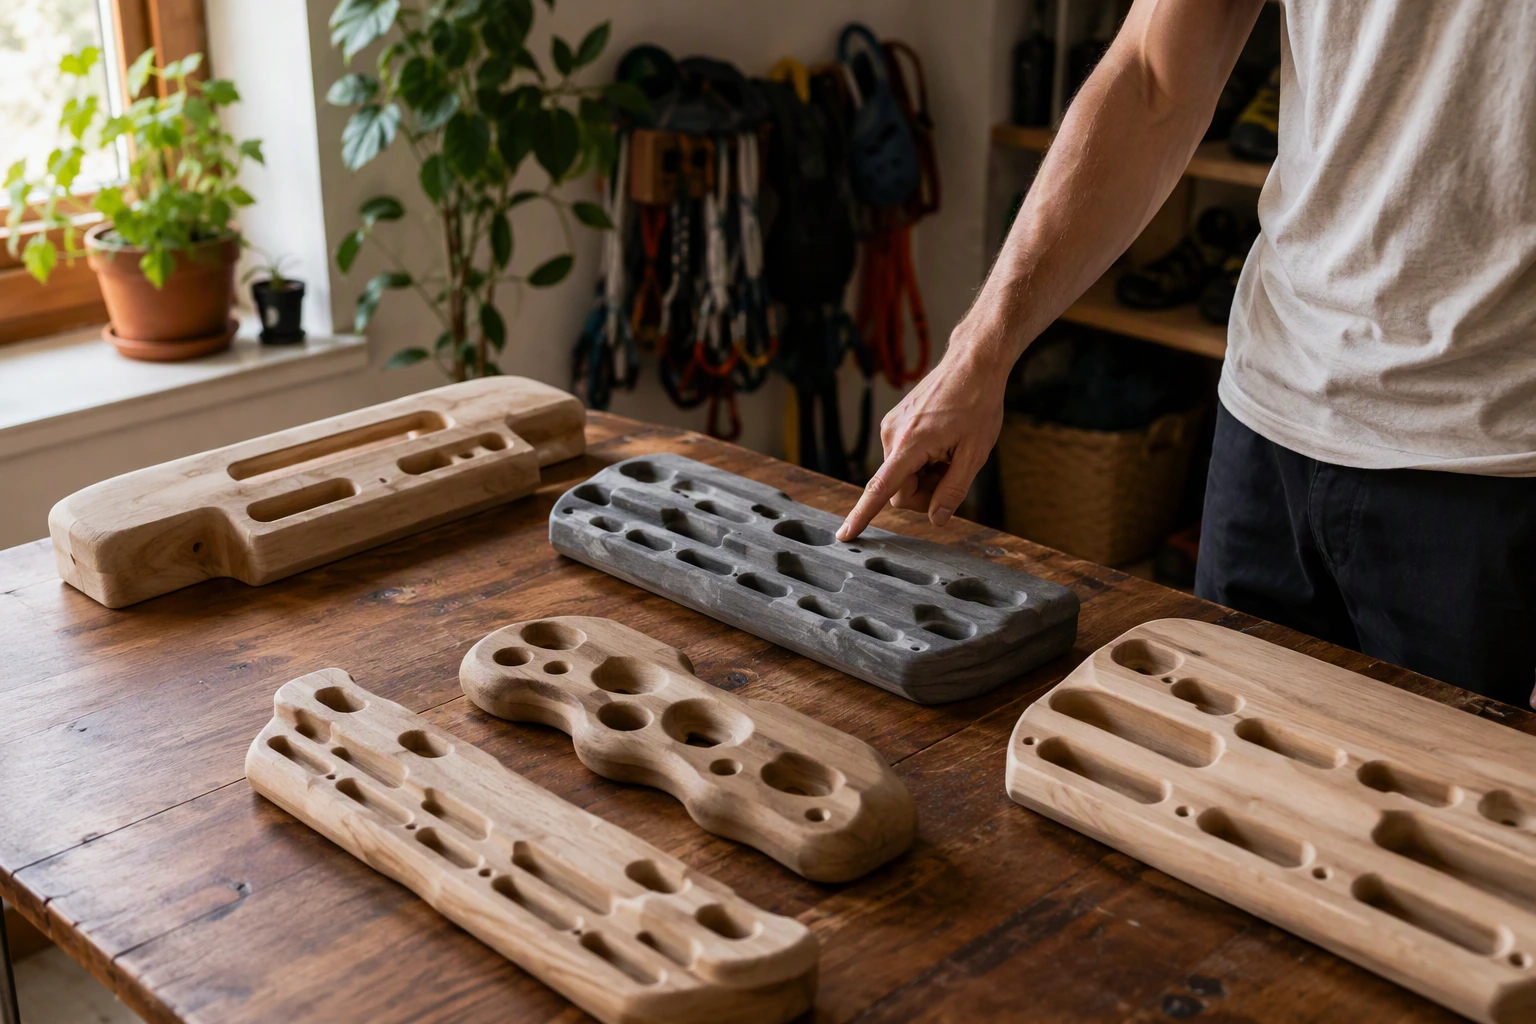
Grip variety is another key factor. A high-quality hangboard offers multiple grip options and edge depths, which allow you to target different finger groups and progress as your strength improves. Beginners benefit from larger edges (20-25mm), while more advanced climbers may want smaller crimps (10-15mm) and slopers to keep their workouts challenging. Some models include pockets, pinches, and jugs, so you can simulate a range of real climbing holds and avoid plateauing.
Durability and safety should always be top priorities. Most popular hangboards are made from dense wood or sturdy composite resin, both known for their longevity and skin-friendly texture. Check user reviews for feedback on crack resistance, edge wear, and overall reliability. A hangboard that lasts several years will cost less in the long run, even if the upfront price is $70-$120. Make sure the board comes with quality mounting hardware if you plan to fix it above a doorway or on a wall at home.
Claim card: "A portable hangboard is great for training outdoors or while traveling." That’s true. Many portable hangboards are specifically designed to be lightweight and compact, so you can train your grip on the go or during trips without access to a gym.
Claim card: "All hangboards are too bulky to take outside or on trips." This is false. Several models weigh under 2 pounds and are made to fit in a backpack, making outdoor or travel training practical for most climbers.
Matching your hangboard’s grip selection to your skill level is crucial. Avoid boards with only extremely small edges if you’re a beginner, as this can increase your risk of finger injuries. Start with a model that has at least three edge depths and a mix of holds, so you can gradually progress without overloading your tendons. If possible, try out different boards at your local gym before buying, or read detailed user reviews to see which models suit your needs.
Installation is usually straightforward, as most hangboards come with mounting hardware suited for door frames or walls. Some portable models use a simple loop-over design with a sling, letting you hang them from tree branches or playground bars. Always follow the manufacturer’s instructions for mounting, and double-check stability before loading your full body weight. Safety and proper setup help you train consistently and avoid injury.
Claim card: "A hangboard with multiple grip sizes helps climbers train more effectively." This is true. Boards with varied edges and pockets allow you to target different hand positions and gradually build finger strength, which supports steady improvement.
Claim card: "Any hangboard will work for all climbers, regardless of skill level." This is false. Boards with only tiny crimps or advanced features can make training unsafe or frustrating for beginners, so choosing one that fits your current level is essential for progress and injury prevention.
FAQ
Do I need any special equipment to start hangboard training?
Most hangboards come with the required mounting hardware, so you only need a secure place to install it, such as a solid doorway or wall. No additional equipment is required for basic exercises.
How often should beginners use a hangboard for climbing training?
Beginners are advised to start with 1-2 hangboard sessions per week, allowing rest days between sessions to prevent overuse injuries and build strength gradually.
Are hangboards safe for young or inexperienced climbers?
Hangboards can be safe if used correctly and with proper supervision. It's important for young or inexperienced climbers to use larger holds, short hang times, and focus on technique over intensity.
What types of exercises can I perform on a hangboard?
Common exercises include dead hangs, offset hangs, and pull-ups using different grip positions. These target the fingers, forearms, and supporting muscles essential for climbing.
Can a hangboard replace other forms of climbing training?
Hangboards are excellent for grip and finger strength but should complement, not replace, full climbing sessions or general strength training. A balanced training routine is most effective.
Related Products
Practical VVZIO equipment that matches the training focus of this article.
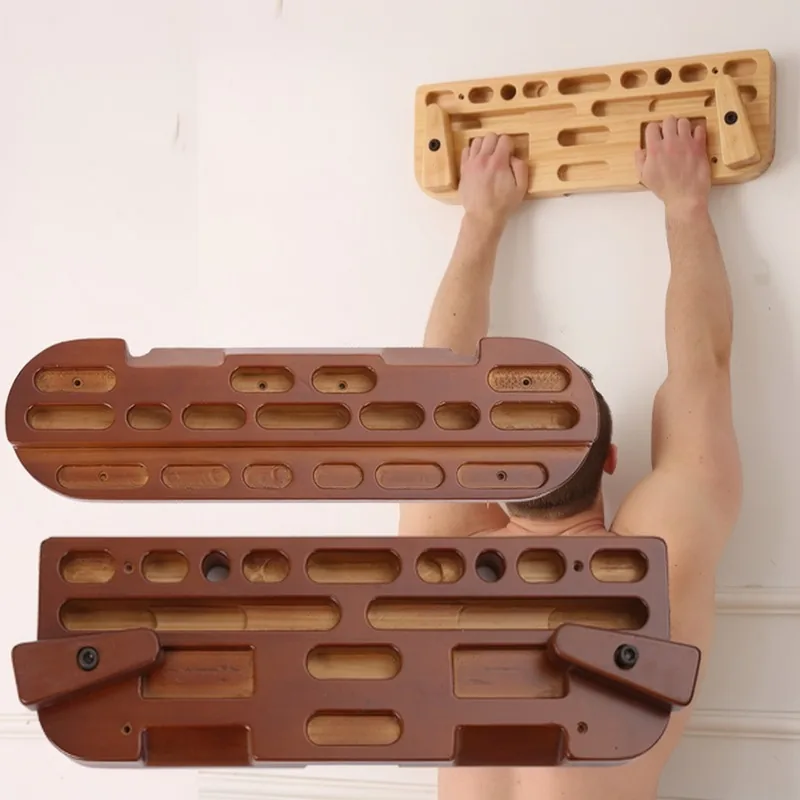
Portable Wooden Climbing Hangboard
This portable wooden climbing hangboard directly matches the article’s focus on at-home finger and grip strength training for climbers.
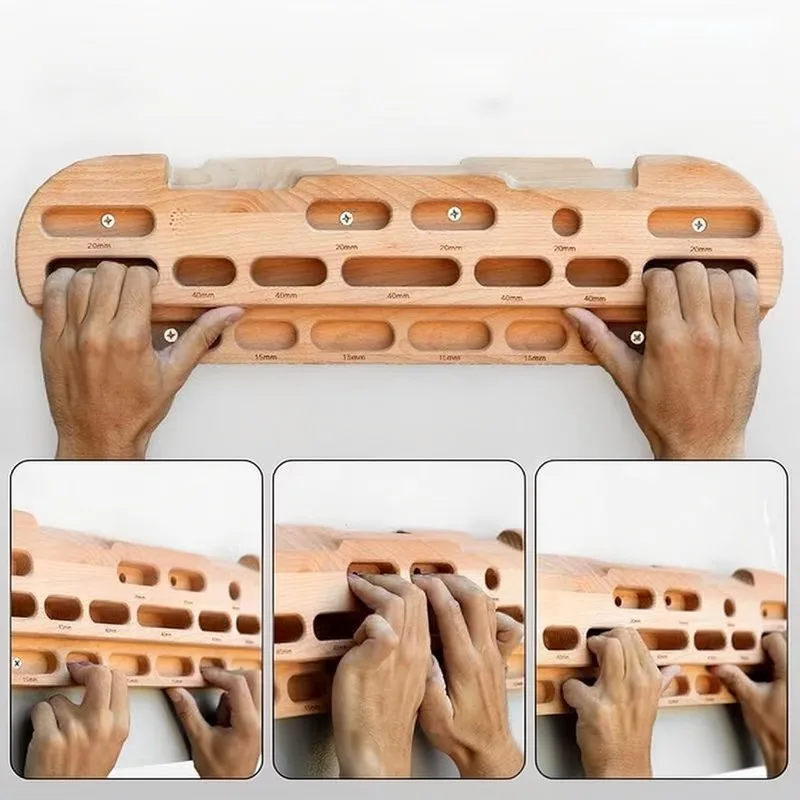
Wooden Hangboard for Finger Strength Training
The wooden hangboard is designed for climbers to train finger strength, pinch grip, and pulling power, aligning with the article’s emphasis on targeted grip training.
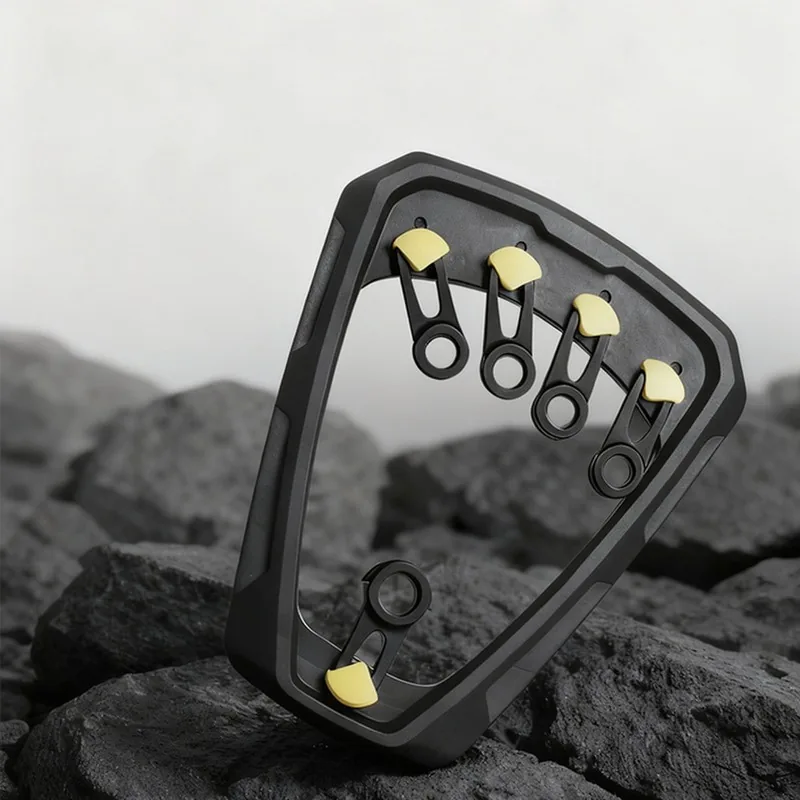
3-Level Adjustable Rotating Finger Strength Trainer
The 3-level adjustable rotating finger strength trainer supports progressive finger and forearm training, complementing the article’s advice on structured grip workouts for climbers.
Related reading

TRX vs Traditional Weights: Which Is Better for Home Strength Training?
Comparing TRX suspension training and traditional free weights reveals clear differences in versatility, muscle engagement, and accessibility. While…How to Use a TRX Suspension Trainer Effectively at Home
The TRX Suspension Trainer offers a versatile way to build strength, improve mobility, and enhance core stability at…The Cliff at Your Fingertips: How a Hangboard Unlocks Your Climbing Potential
A hangboard offers climbers a practical way to build grip strength and finger endurance, both crucial for tackling…