









The Cliff at Your Fingertips: How a Hangboard Unlocks Your Climbing Potential
A hangboard offers climbers a practical way to build grip strength and finger endurance, both crucial for tackling more advanced routes. This article explains how hangboard training simulates real climbing holds, outlines installation and safety tips, addresses common misconceptions, and helps you choose a model that fits your space and goals. Whether you’re stuck on a plateau or starting out, the right approach can put the cliff at your fingertips.
You know the feeling: after months of gym sessions and bouldering problems, your progress stalls. Gripping tiny holds on real rock feels impossible, your fingers burn out fast, and you wonder if you’ll ever unlock the next grade. It’s frustrating when your body is strong but your fingers just can’t keep up. Maybe you’ve tried squeezing a stress ball or doing endless pull-ups, only to realize the wall demands something more specific. The cliff at your fingertips—how a hangboard unlocks your climbing potential—suddenly becomes less of a catchy phrase and more of a lifeline.
Hangboard training matters because it targets the one thing that holds you back: finger strength. Instead of hoping for improvement each time you climb, you can actually train the exact muscles you need, right at home. For beginners, this means less time wasted on ineffective exercises and more direct progress toward confidently grabbing those elusive crimps. Hangboards aren't just for elite climbers; they're a tool for anyone who wants to climb harder, smarter, and with fewer injuries. If you want to stop plateauing, it’s time to take finger training seriously—and hangboarding is the most efficient way to do it.
- Hangboards target the grip strength needed for climbing progress
- Consistent hangboard use improves finger endurance
- Different hangboards offer varied grip types and pocket depths
- Proper installation and training technique prevent injury
- Choosing a hangboard depends on space, goals, and features
Why Hangboard Training Matters for Climbers
Hangboard training is one of the most effective ways to develop finger strength and grip endurance, which are essential for climbing progress. If you feel stuck at a certain climbing grade, you’re not alone—most plateaus aren’t caused by weak legs or poor cardio, but by limited grip power. The cliff at your fingertips how a hangboard unlocks your climbing potential is more than a catchy phrase; it highlights the direct impact finger strength has on your ability to move confidently on rock or plastic.
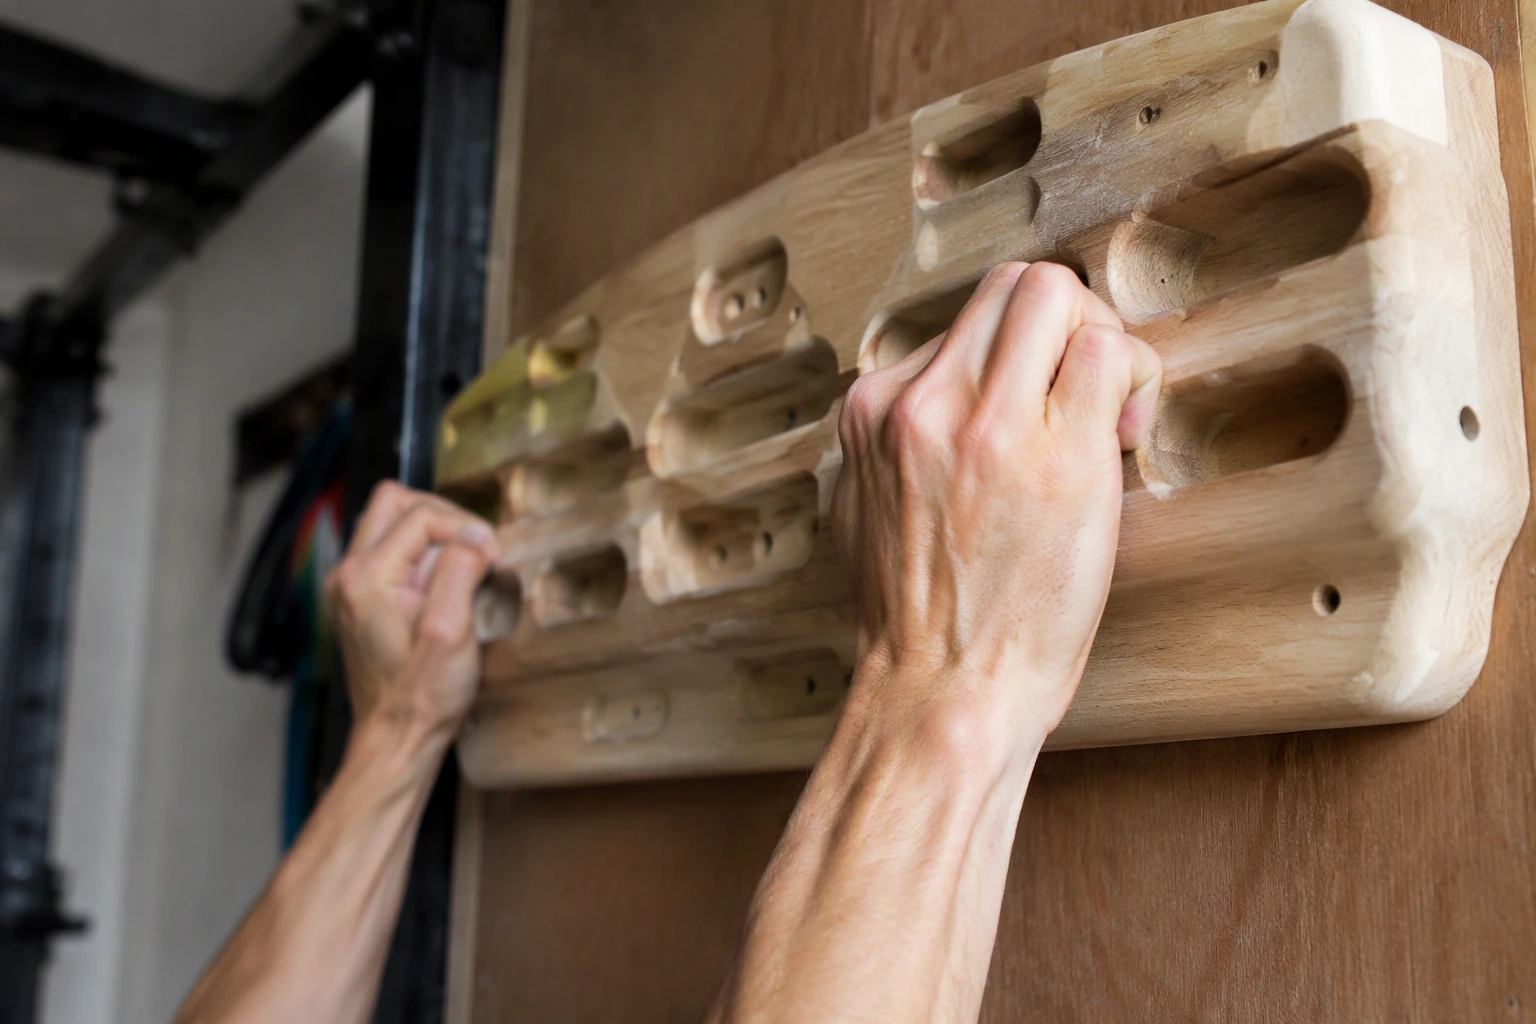
When you train with a hangboard, you’re targeting the muscles responsible for holding onto small edges, pockets, and slopers—the same holds you find outdoors or on gym routes. Consistency matters here: even just three sessions per week, with sets of 10-second hangs and 2-minute rest intervals, can make noticeable improvements within 8 weeks. Hangboards are designed with a variety of pocket depths and edge widths, so you can simulate the challenges of different climbing holds right from your living room.
Many climbers assume that general fitness or upper body strength will translate directly to better climbing performance, but research and practical experience say otherwise. The limiting factor is usually your fingers’ ability to bear load for extended periods. Without specific training, you may quickly tire on small holds even if your arms and shoulders feel fresh. Hangboard routines focus on this gap, offering a targeted approach that general gym workouts can’t provide.
One major advantage of hangboards is accessibility. Most models come with mounting hardware and can be installed above a doorway or on a home wall in under 30 minutes. You don’t need a climbing gym membership or specialized equipment beyond the board itself, which often costs between $50 and $100 in the US/EU. Some newer designs even include a phone holder, making it easy to follow interval timers or log your sets while you train.
Hangboard sessions are repeatable and scalable. You can start with bodyweight hangs and progress to added weight (up to 400 lbs, as supported by most boards), or vary your grip style for new challenges. The simplicity means you can fit training into busy weeks, maintaining consistent progress regardless of weather or gym access. Mistakes to avoid include doing too much too soon—overtraining fingers can lead to injury, so stick to controlled, short sessions and increase intensity gradually.
Whether you’re a beginner or intermediate climber, a well-structured hangboard routine at home provides a practical solution to grip-based plateaus. Finger strength is a skill that responds to direct, regular stimulus, and hangboards make this accessible without sacrificing safety or convenience. If you want to move past your current level, focusing on grip endurance through hangboard training is one of the best steps you can take.
How Does a Hangboard Simulate the Cliff at Your Fingertips?
"A hangboard lets you experience the cliff at your fingertips—literally. Hangboards are designed to mimic the types of holds you’ll encounter on real rock, such as pockets, edges, and slopers. When you grip a 20 mm edge or a shallow two-finger pocket on a hangboard, your fingers and forearms are working just like they would on an actual climb. Consistent hangboard practice builds grip strength, which is a cornerstone of climbing performance according to current climbing research.

The variety built into a quality hangboard is what sets it apart from a simple pull-up bar. Most hangboards offer several grip depths, ranging from deep jugs (about 40 mm) to razor-thin crimps (as small as 10 mm). You can target different muscles by hanging from different holds, which allows you to focus on weaknesses. For instance, if you struggle with slopers outdoors, you can prioritize training on the sloper sections of your hangboard for 3 sets of 10-second hangs each, resting 2 minutes between sets.
Multi-depth grips are not just for variety—they let you simulate real climbing scenarios at home. Training on smaller pockets prepares your fingers for delicate limestone routes, while wide edges get your hands ready for granite slabs. Consistently using a hangboard, at least two or three times a week, can help condition the tendons and muscles in your fingers and forearms for the demands of outdoor climbing. This kind of targeted training is why many climbers see steady gains in grip strength after just a month of regular sessions.
A common mistake is jumping straight to the smallest holds before your fingers are ready. Start with larger edges (25-30 mm) for 10-15 second hangs, and only progress to smaller grips as your tendons adapt. Overloading your fingers too soon can lead to injury instead of progress. Don’t forget to warm up your fingers and wrists with 5-10 minutes of light stretching and easy hangs before tackling harder holds. This small investment in preparation keeps your fingers healthy for the long haul.
Modern hangboards are designed for easy installation, supporting up to 400 lbs, so you can train safely in your home or gym. Some even include phone holders, letting you time your hangs or track progress with climbing apps. By replicating the demands of outdoor routes, hangboards put the “cliff at your fingertips” and make climbing-specific strength accessible year-round. Stick with a structured plan, track your sets and hold sizes, and you’ll notice your grip and confidence grow every week.
"Hangboards significantly increase grip strength for climbers."True
Consistent hangboard use targets the finger and forearm muscles most involved in climbing. Research and expert consensus agree that dedicated hangboard routines improve maximum grip strength and endurance, leading to measurable gains on the wall.
"Hangboards alone are enough to prepare for all climbing challenges."False
While hangboards improve grip strength, they do not address footwork, body control, or dynamic movement. Well-rounded climbing training includes technique practice, flexibility work, and on-wall experience.
What to Know Before Starting Hangboard Workouts
Starting hangboard workouts is a smart way to build grip strength and simulate the feeling of the cliff at your fingertips, but beginners need to approach these sessions thoughtfully. Your fingers and tendons are not used to sustained loads, so the safest route is to start with basic holds like jug grips or large edges. Aim for 5-10 second hangs and limit your first sessions to 3-4 sets. This gives your body time to adapt without risking injury, especially if you’re new to climbing or hangboard training.
Many hangboards offer multiple pocket depths and edge sizes, which can be tempting to experiment with right away. Resist the urge to try every hold in your first week. Instead, use the largest edges for your initial workouts, and only progress to smaller crimps after at least four weeks of consistent, pain-free training. For example, you might start with 30mm edges, then graduate to 20mm after a month. If you feel any sharp or persistent pain, stop immediately—a common mistake is ignoring early warning signs and pushing through discomfort, which often leads to long-term tendon problems.
Rest days are just as important as your training sessions when it comes to hangboard workouts. Tendons and ligaments require more time to recover than muscles, so plan to train grip strength no more than two or three times weekly. Schedule at least 48 hours between hangboard sessions, especially in your first two months. If you’re combining hangboard workouts with climbing days, make sure you don’t stack both on consecutive days. Overuse injuries, like tendonitis, are common among climbers who skip recovery, so treat rest days as a non-negotiable part of your program.
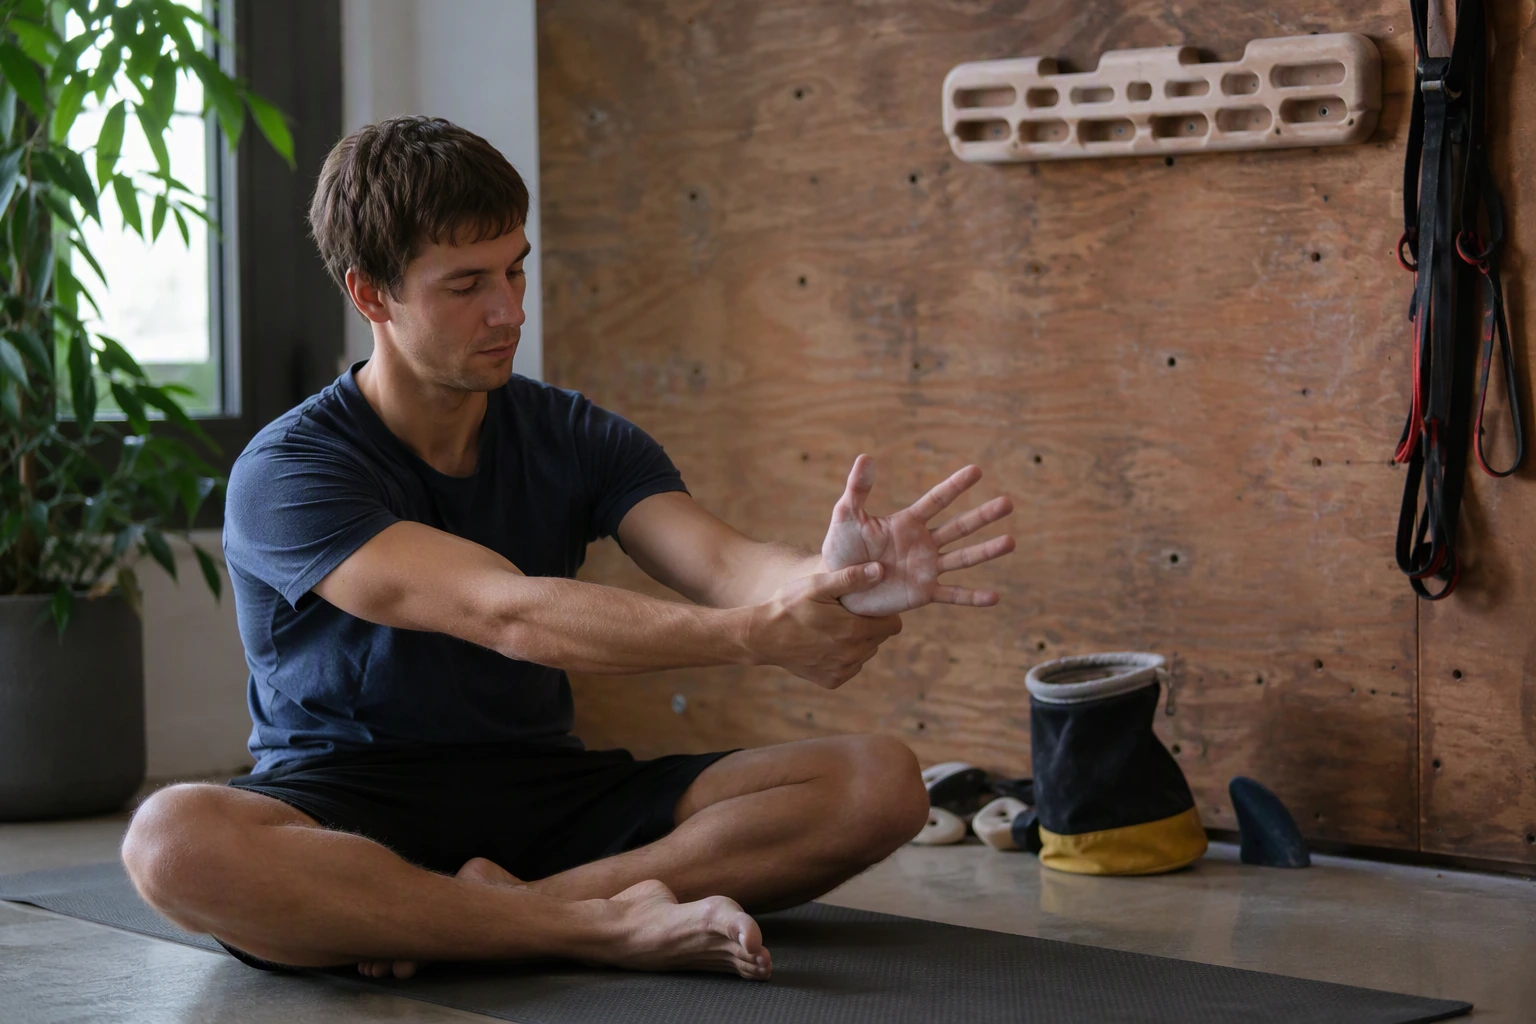
Proper warm-up is essential before touching the hangboard. Begin with 5-10 minutes of general movement—jumping jacks, arm swings, or easy pull-ups—to increase blood flow. Then, perform finger and wrist mobility drills, such as gentle finger extensions or squeezing a foam ball for 2-3 minutes. For each hang, maintain a slight bend in your elbows and keep your shoulders engaged. Avoid dead-hanging with locked elbows or relaxed shoulders, as poor form places excessive strain on your joints. Many beginners try to maximize hang time right away, but prioritizing technique will reduce your risk of injury and help you build sustainable strength.
To summarize, ease into hangboard training with basic holds, short hangs, and careful attention to recovery. Use large edges and avoid aggressive grips until your fingers and tendons are conditioned. Make rest days a priority and always warm up thoroughly before each session. If you follow these guidelines, you’ll be able to safely explore the cliff at your fingertips and steadily unlock your climbing potential.
"I can skip rest days if I feel fine after hangboard workouts." This belief is false. Tendons and ligaments need at least 48 hours to recover between sessions, even if you don’t feel soreness. Ignoring rest days increases your risk of overuse injuries like tendonitis, which can sideline your climbing progress for months.
"Starting with larger holds is safer than jumping straight to small crimps on a hangboard." This belief is true. Larger holds distribute force and reduce stress on your finger tendons, while small crimps can cause pain or injury if your fingers aren’t conditioned. Begin with 30mm edges, then gradually work toward smaller holds as your strength improves.
"A warm-up is optional for short hangboard sessions." This belief is false. Skipping warm-up increases your risk of joint and tendon injuries, even during brief workouts. Spend at least 5-10 minutes on general movement and finger mobility before starting hangs.
"Good form on the hangboard means slight elbow bend and engaged shoulders." This belief is true. Keeping your elbows bent and shoulders active helps protect your joints and tendons from excessive strain, reducing your risk of injury and improving training effectiveness.
Choosing and Installing the Right Hangboard
The cliff at your fingertips how a hangboard unlocks your climbing potential starts with choosing the right hangboard for your space and needs. Before you buy, measure your available wall area and check for a mounting surface that’s solid enough to handle repeated loading—wood studs, concrete, or brick are ideal. Most hangboards come with mounting hardware and can support up to 400 lbs, so they’re suitable for nearly all climbers and fitness levels. If you’re installing at home, confirm your wall’s structural integrity to prevent accidents or damage.
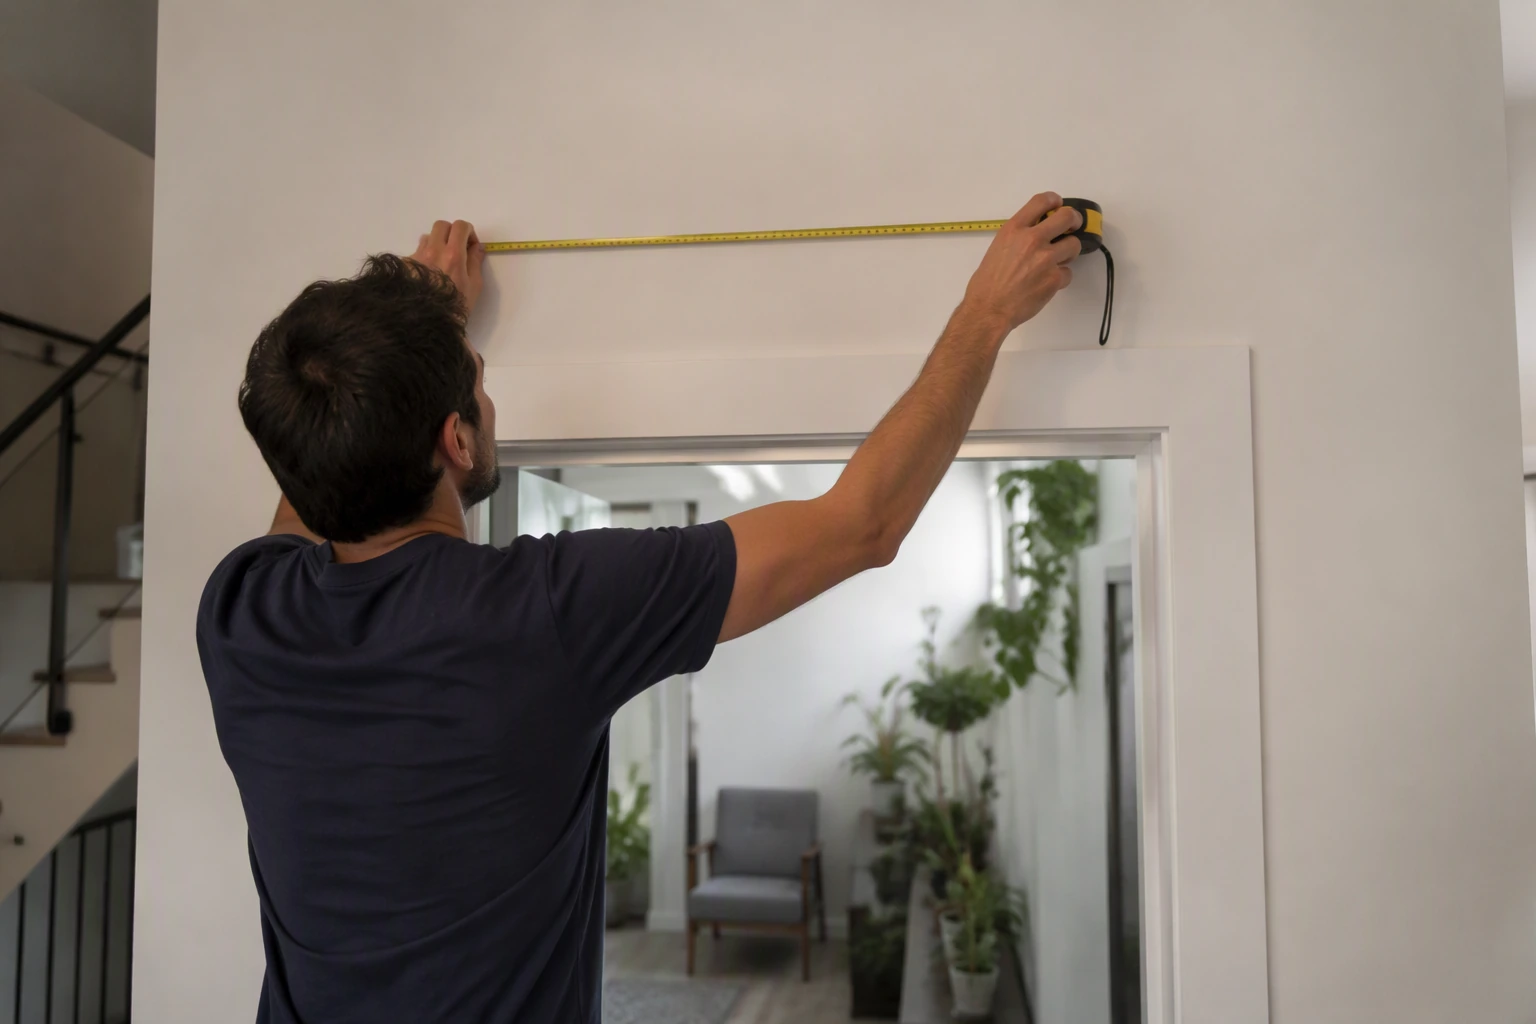
Look for hangboards that offer multiple grip types, such as pockets, edges, and slopers, so you can simulate the variety of holds you’ll encounter on real climbs. Some boards even feature a built-in phone holder, which is handy for following guided routines or timing your hangs without needing a second device. A board with different pocket depths lets you progressively train grip strength, moving from deeper holds to shallower ones as your fingers and forearms adapt. If you’re unsure which features matter most, focus on boards with at least three distinct grip options and a smooth surface finish to prevent skin irritation.
Installing your hangboard securely is non-negotiable. Manufacturers provide detailed instructions, and you should follow them step-by-step—even a minor shortcut can compromise safety. Typical installation takes 20–40 minutes with basic tools like a drill, level, and screwdriver. Use all included bolts and anchor points, and avoid mounting directly into drywall or unsupported surfaces. If you’re setting up in a gym, ask staff about their preferred installation locations and weight limits; home users should double-check stud placement before drilling.
Mistakes to avoid include ignoring the board’s weight capacity or rushing through alignment, which can lead to a crooked board and inconsistent training. Always test the board with your full weight before starting routines, and make sure there’s enough clearance above and below for safe movement. If you’re renting, look for portable hangboards that use door frames or removable brackets—these models still support up to 400 lbs but won’t damage your walls. For climbers training with friends or family, choose a board with wide grips so everyone can participate comfortably.
A well-chosen hangboard becomes your climbing training partner. It allows you to target grip strength and finger endurance, key variables in climbing performance, right from your home or gym. With the right grip options and secure installation, you’ll build confidence and strength every week. Remember: consistent training is what transforms small holds into big gains, so set up your board properly and stick to your routine for the best results.
"Most hangboards are designed for easy home installation and can support heavy loads."True
The majority of climbing hangboards come with mounting hardware and are built to hold up to 400 lbs, making them suitable for climbers of various sizes and experience levels.
"Hangboard training is only for advanced or elite climbers."False
Beginners can benefit from basic hangboard routines when performed with proper technique and progression. Starting with easier grips and shorter hang times helps new climbers safely build foundational strength.
Common Training Mistakes and How to Avoid Them
One of the most common mistakes made during hangboard training is overtraining or skipping rest days. Your fingers and tendons need time to recover after each session, especially when you’re loading them with your full body weight or adding extra resistance. Training on a hangboard more than three times per week without proper rest can quickly lead to overuse injuries such as tendonitis or pulley strains. To avoid setbacks, stick to two to three focused sessions per week, and always allow at least 48 hours between sessions for recovery.
Another frequent error is ignoring grip variety. Many climbers default to training on the same hold or edge every session, but your fingers need to adapt to a range of grip positions to see real-world improvements. Most hangboards come with multiple pocket depths and edge shapes for a reason. Use slopers, two-finger pockets, open-handed edges, and crimps in your workouts. For example, you might do 7-second hangs with a half-crimp grip for three sets, then switch to three-finger pockets for another three sets. This balanced approach develops comprehensive grip strength, which is critical for handling different types of holds you’ll encounter at the crag or gym.
Failing to progress difficulty gradually is also a classic pitfall. If you always train at the same intensity, your body adapts and your gains plateau. On the flip side, jumping too quickly to smaller holds or adding too much weight can overload your fingers and lead to injuries. The best approach is to increase the challenge in small increments. You might start with 10-second hangs on a 20mm edge, and after three to four weeks, reduce the edge to 15mm or add 2.5 pounds using a weight belt. Track your sessions in a notebook or use a phone holder built into your hangboard to keep tabs on your progress and adjust your training load methodically.
Many climbers also underestimate the importance of warming up and cooling down. Jumping straight into maximum hangs with cold fingers dramatically raises your risk of injury. Spend at least 10 minutes doing general warm-up exercises like arm circles, finger flicks, and easy hangs on larger holds before moving to smaller edges. After your session, stretch your forearms and fingers for 5-10 minutes to encourage blood flow and aid recovery.
Avoiding these mistakes will help you get the most out of your hangboard sessions and keep your fingers healthy for the long haul. Remember that smart, consistent practice—not just hard effort—builds lasting grip strength and climbing performance gains. If you listen to your body, vary your training, and progress sensibly, you’ll see real improvements in your time on the wall.
FAQ
How often should I use a hangboard as a beginner?
Most experts recommend starting with 1-2 sessions per week, focusing on short hangs and longer rest periods. This helps your tendons adapt without risking overuse injuries.
Can I install a hangboard in a small apartment?
Yes, many hangboards are compact and can be mounted above a doorway or on a sturdy wall. Ensure the mounting surface supports your weight and follow installation instructions for safety.
What muscles does a hangboard work?
Hangboard training primarily targets the finger flexors, forearms, and some shoulder stabilizers. These muscles are critical for holding climbing grips and supporting body weight.
How do I avoid injury when training on a hangboard?
Warm up thoroughly, start with easier grips, limit session length, and take rest days. Stop immediately if you feel sharp pain in your fingers, as tendon injuries can be serious.
Do I need any special equipment to start hangboard training?
You only need the hangboard and secure mounting hardware. Some climbers use a timer or phone holder for tracking hangs, but no specialized gear is required for beginners.
Related Products
Practical VVZIO equipment that matches the training focus of this article.
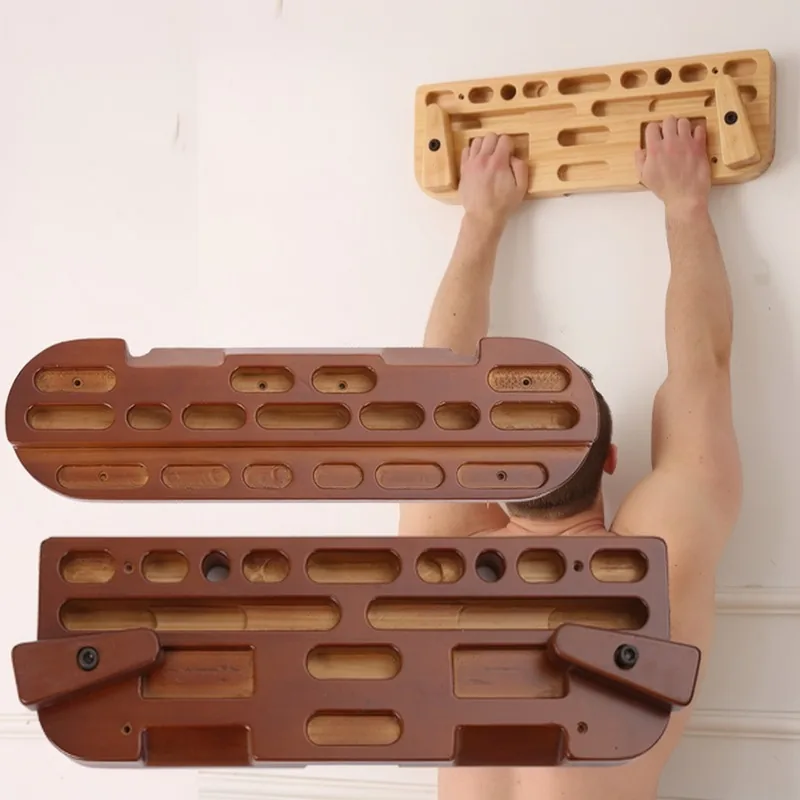
Portable Wooden Climbing Hangboard
This portable wooden climbing hangboard directly matches the article’s focus on at-home finger and grip strength training for climbers.
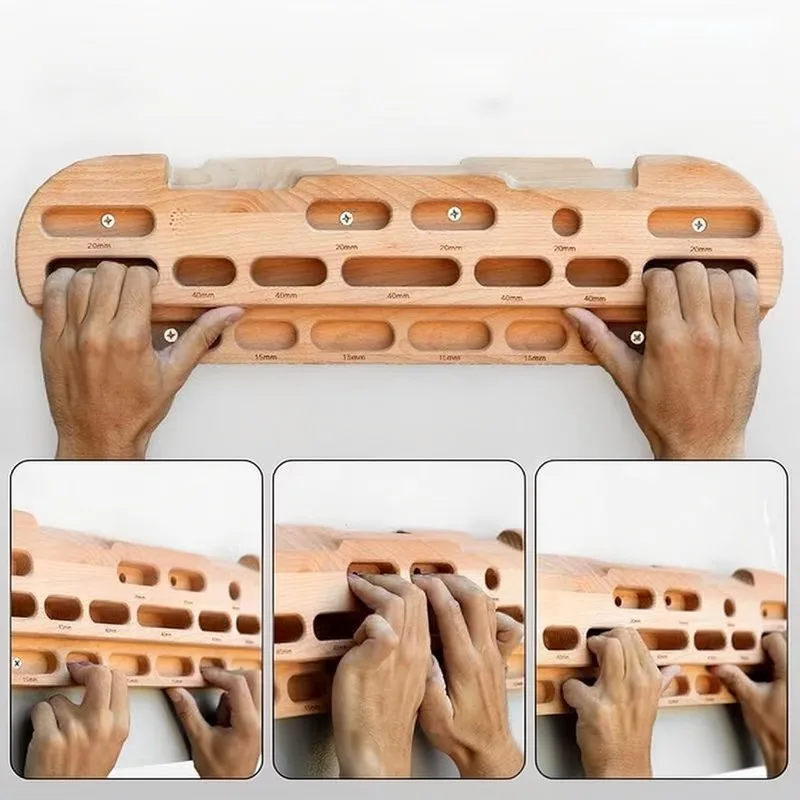
Wooden Hangboard for Finger Strength Training
The wooden hangboard for finger strength training is ideal for simulating climbing holds and improving grip endurance, as described in the article.
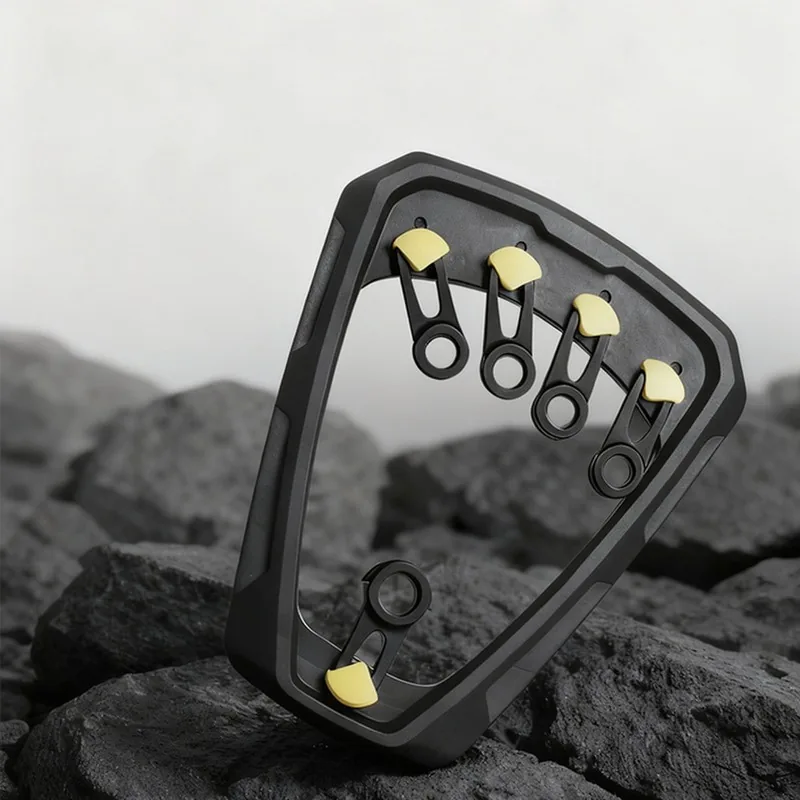
3-Level Adjustable Rotating Finger Strength Trainer
The 3-level adjustable rotating finger strength trainer complements hangboard routines by targeting individual finger strength and progressive loading, supporting the article’s training recommendations.
Related reading

TRX vs Traditional Weights: Which Is Better for Home Strength Training?
Comparing TRX suspension training and traditional free weights reveals clear differences in versatility, muscle engagement, and accessibility. While…How to Use a TRX Suspension Trainer Effectively at Home
The TRX Suspension Trainer offers a versatile way to build strength, improve mobility, and enhance core stability at…How to Install a Hangboard at Home: Safe Setup Guide
Learning how to install a hangboard at home can help climbers and fitness enthusiasts build grip strength and…