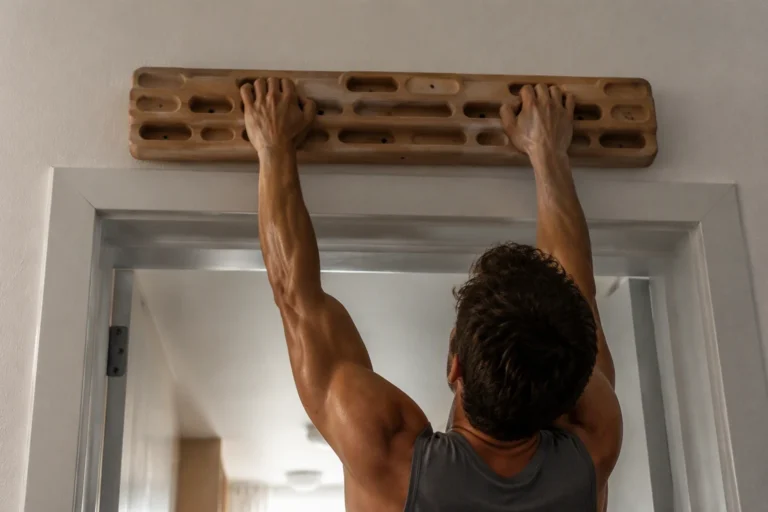










Common Mistakes When Using a Hangboard: How to Train Safely and Effectively
Many climbers use hangboards to build grip strength, but common mistakes can lead to stalled progress or even injury. Understanding proper installation, weight capacity, and training technique is essential for safe and effective sessions. This article examines the frequent errors climbers make with hangboards, offering practical solutions and product advice for home or gym setups.
You finally decided to step up your climbing game and bought a hangboard, but every time you try to use it, something feels off. Maybe you’re not seeing any progress, or worse, you’re starting to feel unusual aches in your fingers and elbows. It’s frustrating when you’re committed to training, yet worried you might be doing more harm than good. You start to wonder if all those online videos left out crucial advice, and the fear of injury looms every time you grip those plastic holds.
These setbacks aren’t just bad luck—they’re common mistakes when using a hangboard, and they happen to beginners all the time. The truth is, hangboarding isn’t as straightforward as it looks, and without a clear understanding of its risks and requirements, it’s easy to fall into the same traps. If you’ve ever felt confused about your form, unsure about rest times, or worried about overdoing it, you’re not alone. Recognizing why these mistakes happen is the first step to building a safer, more effective hangboard routine.
- Incorrect installation can compromise hangboard safety.
- Overloading beyond 400 lbs risks equipment failure.
- Poor technique increases injury risk and reduces results.
- Wood and plastic hangboards offer different grip experiences.
- Portable hangboards provide flexibility for home workouts.
Why Do People Make Mistakes When Using Hangboards?
Many people make mistakes when using hangboards because they underestimate the importance of proper technique and preparation. Beginners often rush into hangboard training thinking it’s a simple pull-up device, but that mindset can lead to injury or poor progress. If you don’t take time to learn how to grip, hang, and release correctly, you risk straining your fingers—sometimes after just a few sets. For example, jumping straight into two-arm hangs for 30 seconds without practice can cause tendon pain, especially if you haven't warmed up or built finger strength gradually.

Claim card: “Hangboards are easy to use for anyone, even without prior training.” Verdict: False. Even though hangboards come with user-friendly mounting hardware and durable materials like high-density plastic or solid wood, most beginners need specific instruction to avoid unsafe setups and improper technique. Rushing in without guidance increases your risk of finger injuries, regardless of the board’s construction.
Lack of clear guidance is a major reason for mistakes. Many home setups skip professional advice, so users install hangboards at the wrong height or in unstable locations. A board mounted too high can force awkward shoulder positions, while an insecure mount might not support your weight. Hangboards are built to handle up to 400 lbs, but that’s only true when they’re properly installed. If you use a portable hangboard (around 500mm x 100mm, weighing 1.65 lbs), check that your mounting hardware is compatible with your home structure. Poor installation is a preventable problem—take time to read instructions or consult an expert before your first hang.
Claim card: “Most hangboards can safely support my weight, even if I weigh over 200 lbs.” Verdict: True. Hangboards are designed with robust materials and mounting systems, supporting users up to 400 lbs. Make sure your wall or doorway is equally strong to avoid accidents, and always inspect the hardware before each session.
Another frequent mistake comes from misconceptions about hangboard durability. Some users assume all boards are indestructible, but even solid wood or high-density plastic can crack if misused. Overloading the board with extra weights, sudden jerks, or improper installation can shorten its lifespan. Avoid testing limits with heavy weights or explosive movements. Instead, stick to controlled reps—like five sets of 10-second hangs with rest intervals—to protect both your board and your fingers.
Claim card: “Wooden hangboards last longer than plastic ones and are better for skin health.” Verdict: True. Wooden hangboards are praised for durability and skin-friendly surfaces, making them suitable for frequent training. If you value comfort during long sessions, wood is a smart choice.
Overconfidence in grip strength is another culprit. Many climbers skip warmups, assuming their hands can handle maximum loads right away. This is risky, especially for beginners. Even experienced athletes benefit from basic warmups—try two sets of 10 wrist stretches or gentle finger curls before you hang. Skipping this step increases your chance of tendon strain or skin tears. Building grip strength takes time, so start with manageable reps and progress gradually.
Claim card: “Strong climbers don’t need to warm up before hangboarding.” Verdict: False. No matter your experience, warming up prevents injury and prepares your muscles for intense grip work. Always take 5–10 minutes for warmup exercises before you start hangboard training.
Safe Installation: What Should You Check First?
"I can mount my hangboard using just a couple of screws from my toolbox." That might seem convenient, but it's not safe. You should always use all the mounting hardware included with your hangboard. Manufacturers supply specific bolts, washers, or anchors that match the board's design and load requirements. Skipping hardware or substituting with random screws weakens the installation and increases the risk of board failure during use.

"Any wall in my house is strong enough for a hangboard." This is a common misconception that can lead to dangerous accidents. The installation surface must safely support your body weight, and most hangboards are rated to hold up to 400 lbs. Drywall alone is not sufficient—you need to mount directly into solid wood studs, a masonry wall, or another robust structure. If you're unsure about your wall's capacity, consult a qualified contractor before proceeding.
Safe installation starts with checking the wall or door frame where you plan to mount the hangboard. Use a stud finder or tap with a knuckle to confirm you have a solid anchor point. For wooden hangboards, which are both durable and skin-friendly, securing into studs with provided lag bolts is essential. High-density plastic hangboards are also strong, but still require a stable, weight-bearing surface for safe use.
After mounting, don't rush to begin training. Double-check that the hangboard sits flush against the wall, with no wobbling or tilting. Apply gentle downward pressure, then hang for a few seconds with your feet still touching the ground to test for any movement. Any instability should be fixed immediately—loose boards can slip or tear out completely, putting you at risk of injury.
Never skip the manufacturer's instructions. Each hangboard model may have unique requirements, such as minimum screw lengths, spacing, or weight recommendations. Portable hangboards, for example, usually measure about 500mm x 100mm and weigh around 1.65 pounds, but still need secure mounting to avoid shifting during use. If the instructions offer diagrams or templates, use them to mark holes accurately and avoid mistakes.
Some climbers try to save time by mounting their hangboards above door frames without verifying the frame's construction. Many door frames are hollow or use thin trim, which cannot support a hangboard safely. Always confirm the frame is solid wood, and use all supplied hardware in the recommended positions. If you live in a rental, consider a portable hangboard that can be hung from a pull-up bar instead of drilling permanent holes.
Finally, inspect your hangboard and its mounting regularly. Look for cracks, loose bolts, or wear on the surface, especially if you train several times a week. Keeping the installation secure means you can build grip strength safely, focusing on your climbing goals without worrying about equipment failure.
"Most hangboards can support up to 400 lbs."True
This is accurate—most hangboards are designed with a weight capacity of up to 400 lbs, making them suitable for a wide range of users. Always check manufacturer specifications before use to ensure safety.
"Hangboards made of wood are weak and wear out quickly."False
Wooden hangboards are actually known for their durability and skin-friendly surface. They withstand regular use and often last as long, if not longer, than plastic alternatives when properly maintained.
Training Errors That Lead to Injury
"I don’t need to warm up before using a hangboard." Skipping warmups is a common mistake that sets you up for injury. Your fingers and tendons are much more vulnerable to strain and microtears when you jump straight into hangs without preparing your body. Even just 8-10 minutes of light aerobic activity and gentle finger mobilizations can increase blood flow and reduce the risk of pulling or overloading delicate connective tissue.
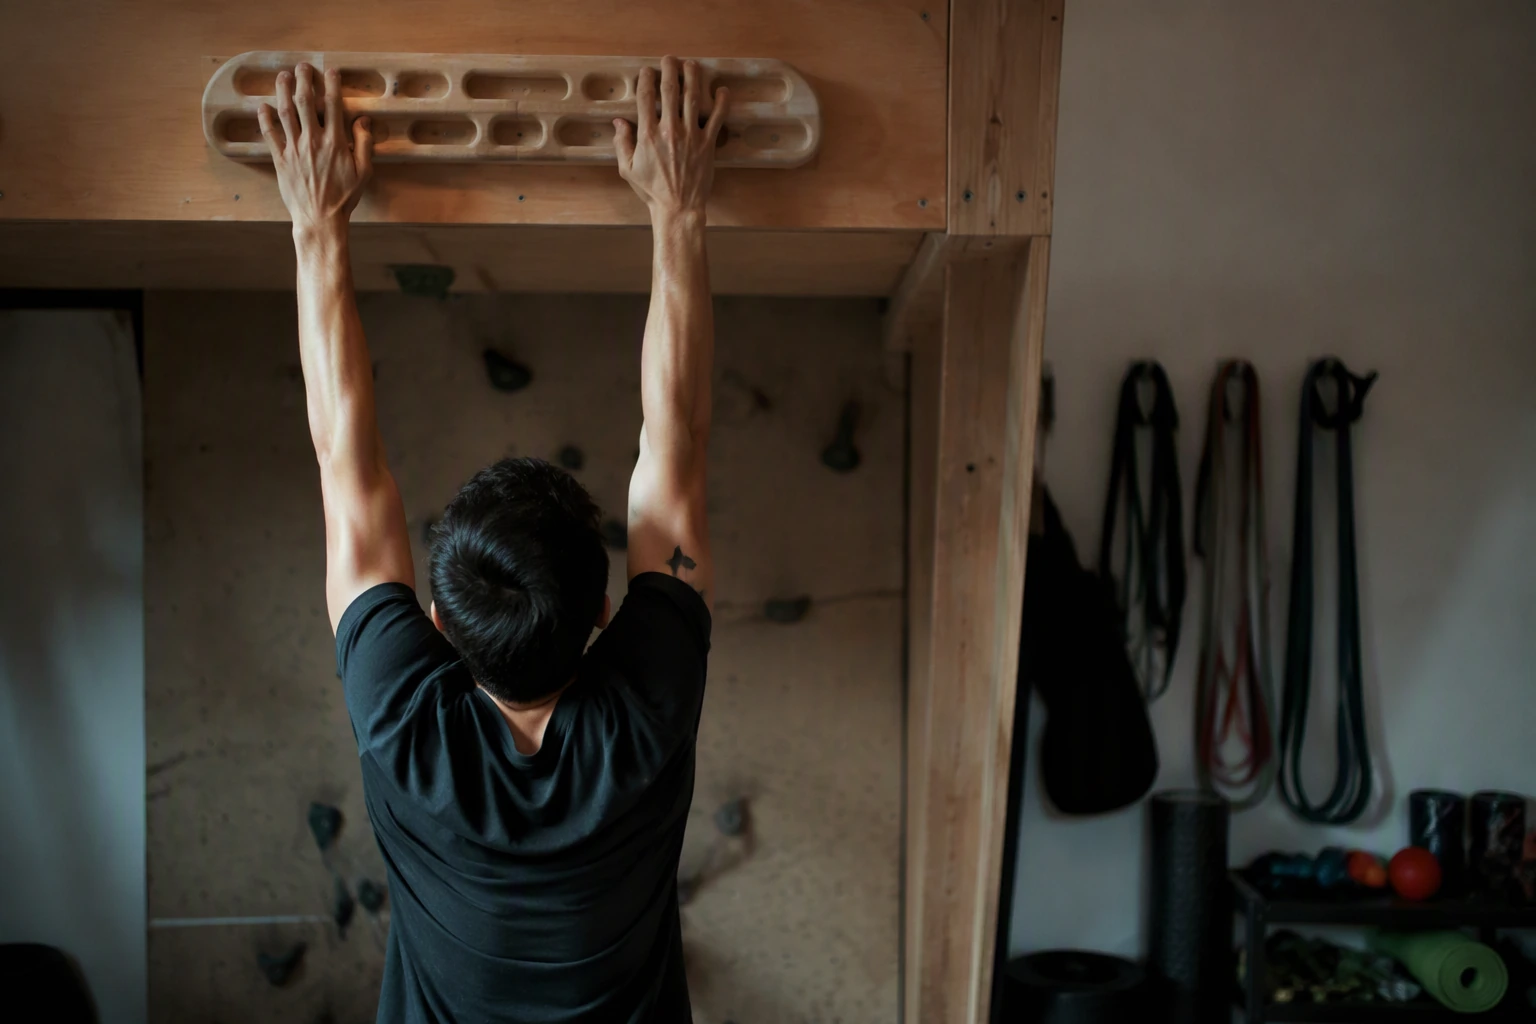
"Hangboards are indestructible—I can load as much weight as I want." This is false. Most hangboards are rated for a maximum of 400 lbs of combined user and additional weight. Exceeding this limit can cause the board or its mounting hardware to fail, risking not only your hangboard but also your safety. If you add a weight vest or backpack, make sure your total weight stays well below this threshold. Always check the manufacturer’s specs before stacking on extra load.
Training errors are one of the biggest reasons climbers and fitness enthusiasts end up with preventable injuries on the hangboard. Skipping your warmup is high on the list. Warming up isn’t just tradition or “nice to have”—it primes your muscles, increases tendon elasticity, and helps you mentally prepare for the strain ahead. Aim for at least 10 minutes before your first hang, including wrist circles, gentle finger flexes, and a few light dead hangs on larger holds before moving to the smallest edges.
Another frequent mistake is overloading your hangboard beyond its capacity. Most home and gym hangboards are designed to support up to 400 lbs, including your body weight and any extra weights you add. Going over this can cause the board to crack or even rip out of the wall, which could mean a dangerous fall. If you weigh 180 lbs and use a 50-lb vest, you’re at 230 lbs—well within range for most boards, but keep scaling up and you’ll hit the limit faster than you think. Always include both your weight and any gear in your calculations, and inspect the mounting hardware regularly.
Form matters just as much as load. Many users accidentally place extra stress on their joints by using poor technique. Avoid half-crimping on small holds if you don’t have the tendon strength, and never swing or kick your legs while hanging. These habits can torque your fingers and wrists, setting you up for strains or worse. Focus on controlled, static hangs with your shoulders engaged and elbows slightly bent. If you’re unsure about your grip, start with the open-hand position—it’s safer for most beginners and trains good habits.
Rest is another area where many athletes go wrong. Training on a hangboard every day might feel productive, but it often backfires. Tendons take much longer than muscles to recover, so back-to-back sessions can lead to chronic soreness or even overuse injuries like tendinitis. Most coaches recommend at least 48 hours between intense hangboard workouts, especially if you’re new to this type of training. Track your sessions and listen to your body; signs like finger pain or persistent fatigue are warnings, not badges of honor.
If you’re starting out, set a schedule of no more than three hangboard sessions per week, each lasting 20-30 minutes. Always prioritize quality over quantity. Mistakes like poor warmup, overloading, sloppy form, and skipping rest days are all avoidable—and correcting them will keep you progressing without sidelining yourself with injuries.
How Do Material and Design Affect Your Results?
Material and design choices play a bigger role in your hangboard training than you might expect. The right surface can mean the difference between productive sessions and unnecessary skin damage or discomfort. Wooden hangboards stand out for their durability and gentle feel on your skin, so you can train longer without painful splits or abrasions. In fact, most wooden hangboards are engineered to maintain a smooth surface even after months of daily use, making them a smart pick if you’re concerned about hand health or plan to hang frequently.

High-density plastic hangboards offer another set of benefits. The molded shapes and textured grips available in plastic boards allow for a wide variety of grip positions and edge depths, which can help you target different finger and forearm muscles. Plastic designs often feature multiple pocket sizes and slopers, giving you more options to progress or vary your workouts. However, some climbers find that rougher plastic textures can be tough on sensitive skin during repeated hangs, so it’s worth considering your skin’s tolerance when choosing a board.
For climbers who travel or have limited space, portable hangboards present a flexible alternative. Most portable models weigh around 1.65 pounds and measure about 500mm by 100mm, so you can easily toss one in your gym bag or backpack. Despite their small size, these boards can still support a full range of finger training exercises. You can hang them from a pull-up bar or sturdy door frame using the included mounting hardware, giving you the freedom to train wherever you are without sacrificing safety or effectiveness.
“A plastic hangboard is always more durable than a wooden one.” While plastic hangboards are tough, wooden hangboards are equally known for their durability and can withstand years of use without warping or cracking. Wood also resists the buildup of sweat and skin oils, which helps it maintain grip quality over time.
“Wooden hangboards are more comfortable for frequent training.” This is true—wooden hangboards provide a skin-friendly surface that reduces friction and minimizes the risk of skin tears, making them ideal for daily or high-volume use. If you notice your fingers getting raw quickly during plastic board sessions, switching to wood could help you maintain a more consistent training schedule.
Your choice of hangboard material also affects your long-term progress. Using a board that’s uncomfortable or wears out your skin quickly can lead to skipped sessions and slower gains in grip strength. If your goal is steady improvement, look for a hangboard whose material matches your training frequency and skin type. For some climbers, that means investing in a premium wooden board, while others might prefer the versatility and texture variety of high-density plastic.
Another factor to consider is design. Boards with well-rounded edges are gentler on your tendons and pulleys, which is especially important if you’re new to hangboard training. Avoid models with sharp or aggressively textured holds, as these can increase injury risk and discourage regular practice. When you’re starting out, test different designs to see which feels most secure and least taxing on your fingers. Remember, comfort and consistency will help you avoid common mistakes when using a hangboard and keep your sessions both safe and effective.
“All portable hangboards are too flimsy for real training.” This is false—high-quality portable hangboards can support weights up to 400 pounds, making them safe and effective for most users. Just make sure to follow the installation guidelines and check mounting points before each session.
“Changing your hangboard material can help prevent skin injuries.” True—a smoother wooden surface can help reduce skin wear, especially during phases of frequent or high-intensity training. If you find yourself nursing sore fingertips after every session, a material swap might be the key to safer, more productive workouts.
"Grip strength is crucial for climbing performance."True
Grip strength is a foundational element in climbing, and targeted hangboard training can significantly improve performance on the wall. Consistency and proper technique are key for effective results.
"You can skip warmups when using a hangboard if you feel strong."False
Skipping warmups increases your risk of finger, tendon, and joint injuries, even if you feel strong. Proper warmups prepare your body and help prevent strains during intense grip training.
Choosing a Hangboard for Home or Gym Use
Choosing a hangboard for your home or gym isn't just about picking the design you like. You need to consider the board's weight capacity first. Most hangboards support up to 400 pounds, which covers nearly every user and additional weights for advanced training. If your body weight plus any extra resistance gets close to this limit, double-check the manufacturer's specs to stay safe. Trying to push past the rated capacity risks not just damaging the board, but also injury if it fails mid-training.
The installation space is another critical factor. Hangboards work best when mounted on a strong, stable surface like a reinforced wall or a solid beam. Before buying, measure your available space and check that the surface can handle both your weight and any dynamic forces from training. For example, a standard wooden door frame may flex or crack under repeated stress, especially if your board is made of dense wood or high-density plastic. Most hangboards come with mounting hardware, but some setups require extra brackets or wood backing for safer installation. If you’re uncertain, consult a professional or ask your local gym for advice.
Portable options are ideal if you travel often or rent your living space. Portable hangboards typically measure around 500mm by 100mm and weigh about 1.65 pounds, making them easy to pack in a suitcase or gym bag. These boards can be hung from pull-up bars, trees, or even sturdy door frames without permanent installation. However, portable models often have fewer grip variations and smaller surfaces, limiting your training variety. For renters, portable boards can prevent damage to walls and eliminate the hassle of patching holes later.
Grip types and board size should match your training goals. If you’re focusing on improving grip strength for climbing, prioritize boards with diverse grip depths—from large jugs to shallow crimps and slopers. Solid wood boards offer durability and a skin-friendly feel, which can be helpful if you train frequently. High-density plastic boards usually provide more texture for better grip, but they can be harsher on your skin. For beginners, start with a board that features larger holds and round edges. Advanced users often look for boards with micro edges and multiple finger pockets to target specific muscle groups.
A common mistake is choosing a hangboard without considering your own needs. If you grab a board with tiny edges before developing basic finger strength, you risk injury. Overestimating your installation skills can also lead to unsafe setups. Review the mounting instructions, and test the stability before your first session. If you plan to use extra weight, such as a 10-pound plate, add that to your total load calculation. Finally, check that your hangboard fits your training style: if you only have 15 minutes per session, a compact board with two grip types may be all you need. Avoid buying a feature-rich model “just in case”—choose what matches your routine and space.
By evaluating weight capacity, installation space, portability, and grip options, you’ll avoid the most common mistakes when using a hangboard. This careful approach keeps your setup safe and your training effective, whether you’re working out at home, at the gym, or on the road.
FAQ
How do I know if my wall is strong enough for a hangboard?
Check that your wall is solid wood or concrete, not drywall alone. Use a stud finder to mount the hangboard directly into wall studs or a sturdy door frame for safe support.
How often should beginners use a hangboard?
Most beginners should limit hangboard sessions to twice per week, allowing at least 48 hours between workouts to let tendons and muscles recover fully.
What is the best grip to use on a hangboard?
Start with an open-hand grip, which places less stress on finger tendons compared to a crimp grip. Gradually progress as your strength and technique improve.
Can I use a hangboard without screws or drilling?
Some portable hangboards are designed to be used without permanent installation, such as those that hang from pull-up bars or door frames. Check the product instructions before use.
Do I need chalk when training on a hangboard?
Using chalk can reduce sweat and improve grip, especially on plastic boards. For wooden hangboards, some users prefer minimal chalk due to the naturally grippy surface.
Related Products
Practical VVZIO equipment that matches the training focus of this article.
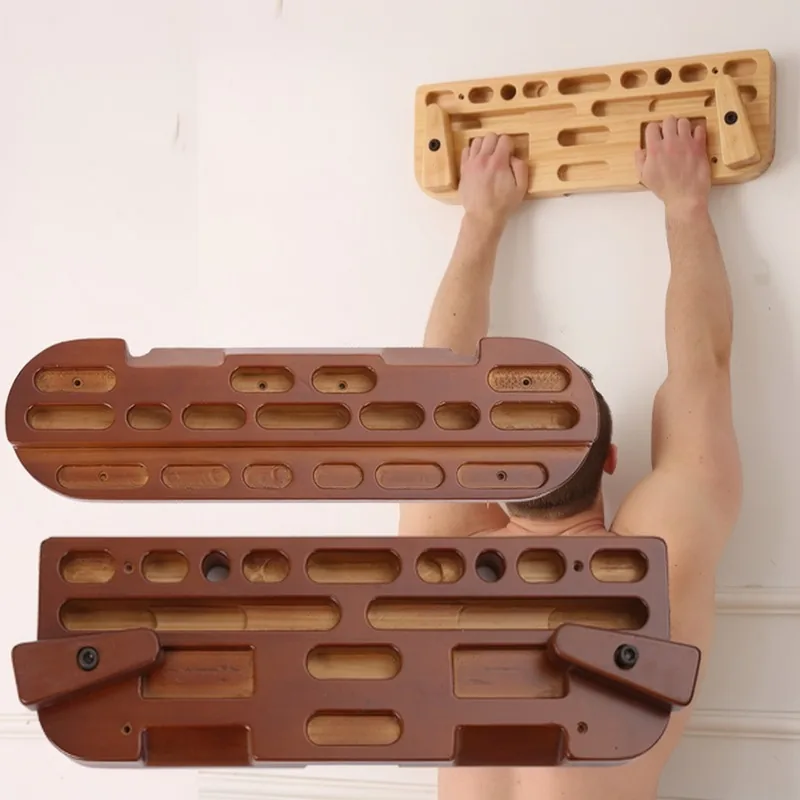
Portable Wooden Climbing Hangboard
This portable wooden climbing hangboard directly addresses safe installation and grip training for home climbers, as discussed in the article.
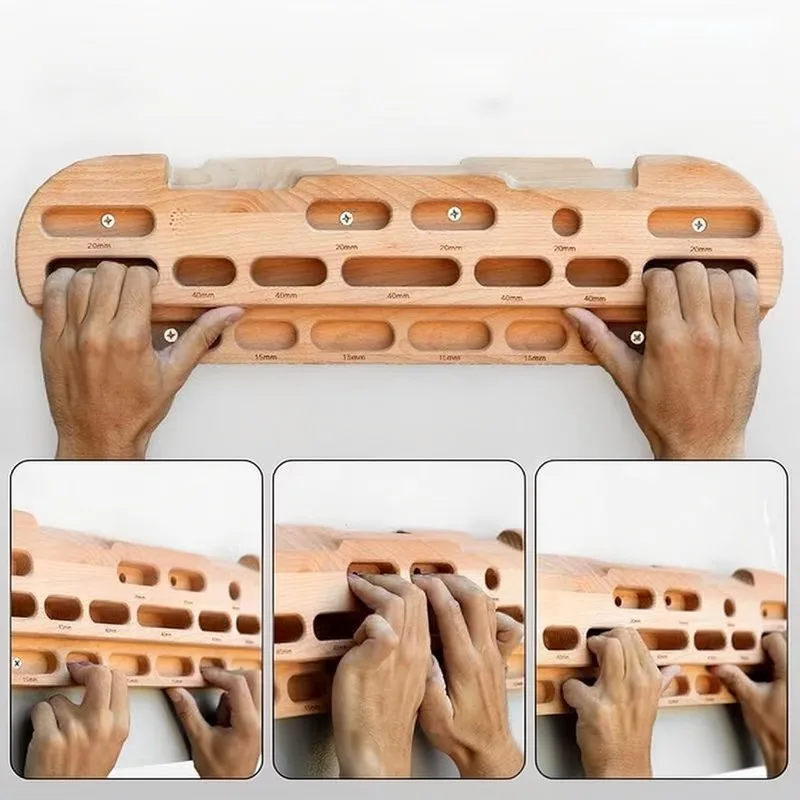
Wooden Hangboard for Finger Strength Training
The wooden hangboard for finger strength training matches the article's focus on durable, skin-friendly boards and proper finger technique.
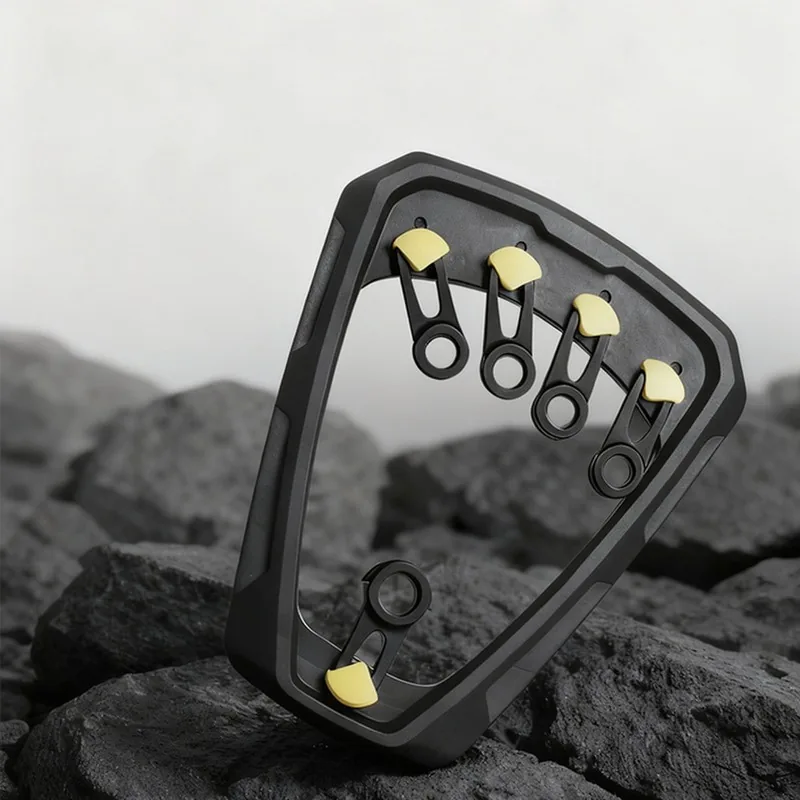
3-Level Adjustable Rotating Finger Strength Trainer
The adjustable rotating finger strength trainer supports progressive grip and finger conditioning, helping prevent injuries from poor hangboard technique.
Related reading

Comparison of Wooden vs. Plastic Hangboards: Which Is Best for Home Strength Training?
Choosing between wooden and plastic hangboards can impact both your grip training and comfort. Wooden hangboards offer a…The Multifaceted Benefits of Rock Climbing: Strength, Focus, and Beyond
Rock climbing offers more than just adventure; it delivers a full-body workout that enhances grip strength, mental focus,…Best Practices for Hangboard Training: Safe & Effective Grip Gains
Hangboard training is a proven method for building grip strength, essential for both beginner and advanced climbers. Effective…