









كيفية استخدام جهاز التعليق TRX بفعالية في المنزل
The TRX Suspension Trainer offers a versatile way to build strength, improve mobility, and enhance core stability at home. By understanding proper setup, foundational exercises, and progression strategies, both beginners and experienced users can safely achieve results. This article explains effective routines, common mistakes to avoid, and how to fit TRX training into different fitness goals.
You finally bought a TRX Suspension Trainer, hoping it would be the solution to your home workout struggles—only to realize it’s not as intuitive as it looks. Maybe you’ve clipped it to your door, watched a few videos, and tried to mimic the moves, but somehow your muscles aren’t burning like you expected, your form feels awkward, and you worry you’re not making real progress. The frustration is real: you want efficient, safe workouts, but there’s a nagging sense that you’re missing out on everything the TRX can really offer.
If you’re feeling lost or unsure about whether you’re using your TRX Suspension Trainer effectively, you’re not alone. Many beginners wonder if they’re actually working the right muscles, or if this equipment is even meant for them. You might be asking yourself: is it for total beginners, or only for athletes? Will it help you lose weight, build strength, or just add confusion to your routine? Let’s clear up the basics—what this trainer actually is, and who stands to benefit most from using it at home.
- TRX uses bodyweight for scalable resistance.
- Proper setup is essential for safety and results.
- Start with basic moves before progressing.
- Adjust angles to control exercise intensity.
- Consistent form prevents strain and injury.
What Is a TRX Suspension Trainer and Who Should Use It?
"I believe you need a lot of space to use a TRX Suspension Trainer at home." In reality, a TRX Suspension Trainer only requires an anchor point about 7 to 9 feet off the ground and a small clear area—about 6 by 8 feet—to perform most exercises safely. You can set it up on a sturdy door, ceiling mount, or even a strong tree branch if you’re outdoors.

"You can hang a TRX from any door in your house." This is only partly true. You need a solid, heavy door that closes toward you, with enough clearance and strength to support your body weight. Flimsy doors or hollow-core interior doors are not safe anchors and could get damaged or cause injury if used incorrectly.
The TRX Suspension Trainer is a portable system of adjustable straps and handles that lets you use your own body weight for resistance training. The main setup includes two straps with handles, a carabiner, and an anchor, allowing you to attach it to a door, ceiling beam, or other secure points. To use it properly indoors, you'll want a reliable anchor at head height or above, such as a solid door with a TRX door anchor. You don't need expensive hardware—most starter kits include what you'll need, and setup takes just a few minutes.
TRX is incredibly versatile and works for a wide range of users. Beginners appreciate the ability to adjust the intensity simply by changing body angle or foot position. For example, you can make a TRX row easier by standing more upright, or more challenging by leaning further back. Athletes and advanced users benefit from the instability of the straps, which forces your core and stabilizing muscles to engage more than in traditional weight training. If you’re recovering from injury, TRX can help with low-impact, controlled movements that are easy to scale to your abilities.
One major advantage of the TRX Suspension Trainer is portability. The basic set weighs under 2 pounds and packs down to the size of a small shoe bag, making it easy to store or take while traveling. You don’t need a dedicated gym room—just a strong door or beam, and you’re ready for a full-body workout. This flexibility means you can fit a session in during a lunch break, before work, or in a hotel room. Home users also like that you don’t need heavy weights or bulky machines, just your own body and gravity.
Many people worry that suspension training is too hard for beginners, but TRX is designed for all fitness levels. You control the difficulty by adjusting your position, and you can start with basic moves like squats, rows, and chest presses. As you get stronger, you can progress to single-leg work, planks, or explosive movements for more challenge. Mistakes to avoid include using a weak anchor, setting up in a cramped space, or jumping into advanced exercises before mastering the basics. Always double-check your anchor and keep the area clear to stay safe.
"TRX Suspension Trainers are only useful for young, athletic people." This is false. People of all ages and fitness backgrounds—including older adults and those in rehab—can benefit from TRX. The system’s adjustability means you can match the resistance and complexity to your current ability, making it a safe and effective option for a broad range of users.
"You have to buy expensive equipment to get started with TRX at home." That’s not true. A standard TRX Home2 System costs around $200 and includes all essential parts: straps, handles, anchors, and a mesh bag. Once you have it, you don’t need to buy weights, benches, or other gear—just a sturdy anchor point and some free floor space.
Setting Up Your TRX for Safe and Effective Workouts
"You can only anchor your TRX Suspension Trainer to a ceiling mount for it to be safe." That's not true. Door anchors, if installed according to manufacturer instructions, are just as secure as ceiling mounts for most home workouts. Always check that the door is sturdy, closes toward you, and the anchor plate is flush for reliable support.

"Any closed door will work as a TRX anchor." This is false. Hollow-core interior doors or doors that open away from you can fail under bodyweight loads, risking injury and damaging your door. Stick to solid doors, ideally with a deadbolt or secondary lock to prevent surprise openings during exercise.
Setting up your TRX Suspension Trainer correctly is the foundation for a safe, effective workout at home. Whether you anchor it to a door or use a ceiling mount, start by reading the included instructions every time you move your setup. For door anchoring, place the anchor over the top edge of a solid, closed door that swings toward you. Check that the anchor pad sits flat and the strap pulls directly away from the hinge side. If you’re using a ceiling mount, drill it into a ceiling joist, not just drywall, and use the hardware provided or rated for at least 350 pounds.
Once anchored, inspect the TRX straps for tears or worn stitching each session—just a minute of checking can prevent a strap failure. Adjust the length of both straps so the handles hang evenly. Most exercises use strap lengths between 18 and 36 inches (45-90 cm), but movements like chest presses or rows may require full extension. The equal length prevents asymmetrical loading and keeps your body aligned, reducing the chance of poor form or muscle imbalances.
Before starting any movement, pull down on the straps with your full body weight for 10 seconds to confirm the attachment holds. Look for slipping or creaking, both signs you need to reset the anchor. Never skip this quick test, especially if you’re switching anchor points between workouts.
Give yourself at least a 6-by-8-foot (about 2-by-2.4-meter) clear space for a full range of motion. Move furniture, rugs, and any tripping hazards out of your zone so you can lean, squat, and move your arms overhead without restriction. If your hands or feet hit anything during a test move, reposition your TRX or choose another spot. Adequate space helps you perform each rep with correct form and reduces the risk of accidental bumps or falls.
Check the attachment point and straps again after your workout, especially if you notice any fraying, stretching, or looseness. Maintaining your setup only takes a few minutes and ensures your TRX Suspension Trainer stays reliable for every workout, whether you’re doing planks, rows, or squats at home.
"You need at least 6 feet by 8 feet of clear space to use a TRX Suspension Trainer safely at home." True. Most full-body movements, like lunges and chest presses, require you to step or lean in multiple directions. Clearing this much space helps you avoid hitting walls, doors, or furniture, supporting safe and effective workouts.
"You can use your TRX Suspension Trainer safely even in a cramped hallway." False. Limited space means you won't achieve proper body angle or full range of motion, making many exercises less effective and increasing your risk of hitting nearby objects. Always choose a larger, unobstructed area for suspension training.
"Adjusting your body angle on the TRX makes exercises easier or harder."صحيح
This is true because changing your body angle relative to the floor increases or decreases the amount of your bodyweight being lifted. For example, standing more upright during TRX rows reduces the load, while a steeper angle makes the exercise more challenging.
"You need advanced strength to start using the TRX Suspension Trainer."خطأ
This is false. The TRX system allows for scalable resistance and works well for beginners because you can adjust exercise difficulty by altering body position. Many people new to strength training start with TRX rows or squats using a moderate angle.
How Do You Perform TRX Exercises With Good Form?
"You always need to keep your back perfectly straight during TRX exercises." While a neutral spine is essential, your back naturally curves in some movements like deep squats or rows. The key is to avoid excessive rounding or arching—aim for a gentle S-curve, not a rigid board.

"If your core feels relaxed, you’re probably using the right form." Actually, your core should stay engaged throughout every TRX exercise. Whether you’re planking, squatting, or pressing, actively tighten your abs like you’re bracing for a punch. This stabilizes your spine and prevents sagging or swaying, especially for moves like TRX planks where you want to hold a straight line from head to heels. For most exercises, focus on pulling your belly button toward your spine and keeping your hips level. If you notice your hips dropping or back arching, pause and reset your position before finishing your reps.
When learning how to use a TRX Suspension Trainer effectively, start with basic exercises that reinforce proper form. Begin with a TRX row: stand facing the anchor point, grab the handles with palms facing each other, and walk your feet forward until your body forms a plank. Keep your shoulders away from your ears and squeeze your shoulder blades together as you pull. Aim for 10-12 reps per set, maintaining a neutral spine and steady tempo. For TRX squats, face the anchor, hold the handles lightly, and sit back as if onto a chair. Drop your hips below your knees while keeping your chest lifted and heels down. Complete 12-15 repetitions, focusing on knee tracking and avoiding excessive forward lean.
TRX planks challenge your stability. Place your feet in the foot cradles and set your forearms on the floor. Hold for 20-40 seconds, keeping your body straight and glutes squeezed. If your hips sag or shoulders tense, stop and adjust—quality matters more than duration. For chest presses, face away from the anchor, grip the handles, and lean forward. Lower your chest toward your hands like a push-up, then press back up for 8-12 reps. Keep your wrists neutral and elbows at a 45-degree angle, not flared. Monitor your shoulder position; if they hike up, reduce the intensity or reset your angle.
Intensity with TRX is all about body angle. The closer your feet are to the anchor (for rows or squats), the harder the move becomes. For example, a row at 45 degrees is much tougher than at 60 degrees. If you’re a beginner, start more upright—think 60-70 degrees—then gradually move your feet forward as you build strength. For chest press and plank, increase challenge by moving your feet backward or raising your feet. Adjust only one variable at a time to avoid losing form. Always check your grip: hold the handles with a “soft fist,” not a death grip, to reduce tension in your neck and shoulders. If your forearms or hands fatigue before your target reps, lighten your grip or pause to shake out.
"The lower you go in a TRX squat, the better." Deep squats aren’t always safe or effective for everyone. Go as low as your hips and knees allow without pain or losing balance—quality depth matters more than bottoming out.
"You should grip TRX handles tightly for maximum control." A firm but relaxed grip is best. Over-gripping can tense your forearms and shoulders, making exercises less effective and more tiring. Focus on stabilizing from your core, not just your hands.
Progressing Your TRX Routine Without Risk
"I should master advanced TRX moves right away to see fast results." For beginners, this rush often leads to poor form and injury. Building strength and stability with basic TRX exercises for your first 2-4 weeks creates a safer foundation for progress.
"If I start with planks, squats, and rows using the TRX, I’ll improve faster." This is true because foundational moves teach body control and core engagement. Aiming for 10-12 reps per set and two to three sets per exercise, three times a week, sets you up for steady gains and reduces the risk of joint strain.
Progressing your TRX Suspension Trainer routine safely means moving from simple to more challenging exercises only after you’re confident with your form and control. Start with staples like TRX rows, squats, chest presses, and planks for the first few weeks. These moves build core stability and muscle awareness, which are crucial before you add complexity. If any movement feels shaky or uncontrolled, stick with the basics and focus on hitting clean reps instead of rushing ahead.
Once you can complete 3 sets of 12 reps with good technique, you can increase the difficulty by adjusting your body angle. For example, with TRX rows, move your feet forward to bring your body closer to parallel with the ground—this means your body supports more of your weight, making the exercise tougher. Another way to up the challenge is by adding single-leg variations, like single-leg squats or lunges. These not only increase the load on your working muscles but also fire up your core and balance. If you feel your hips twist or your knee wobbles, reduce the angle or return to the regular version until you’re ready.
Pay attention to rest intervals during your sessions. For strength and muscle growth, rest 60-90 seconds between sets to allow your muscles to recover and reset your form. If you’re new to the TRX, start with two sessions per week and work up to three as your capacity grows. This frequency gives your muscles time to adapt and helps prevent overuse injuries. Skipping rest or training every day can actually slow your progress or cause nagging aches, so aim for quality over quantity.
Always listen to your body and track your workouts so you know when to increase difficulty. Adjust your angles, add new variations, and rest well to keep your TRX sessions productive and safe. Consistency and gradual progression will deliver better long-term results than pushing for quick wins.
"Resting less between sets will help me build muscle faster." This is a common misconception. Muscles need 60-90 seconds to recover between sets during strength training, and cutting rest short can lead to poor form and fewer quality reps.
"I should train with the TRX every day for best results." Training every day increases injury risk and fatigue. Most people get better results from two to three TRX sessions per week, allowing time for muscles and joints to recover properly.
"Maintaining a neutral spine during TRX exercises helps prevent injury."صحيح
This is true. Keeping your head, neck, and back aligned reduces stress on the spine and encourages proper muscle activation, which lowers the risk of strain or injury, especially during moves like planks, rows, and push-ups.
"All TRX exercises should be performed quickly for best results."خطأ
This is false. Performing TRX exercises with controlled tempo improves muscle engagement and form. Rushing through reps can cause poor technique, raising the risk of injury and reducing the effectiveness of each movement.
Avoiding Common TRX Mistakes and Staying Motivated
"You have to keep your core engaged during every TRX exercise." That's true. Letting your hips sag or arch takes tension away from your muscles and can put unnecessary stress on your lower back. Always check your form in a mirror if possible, especially during planks or rows, to make sure your spine stays neutral and your core is tight.

"It doesn’t matter how fast you do your TRX reps, as long as you finish the set." That’s false. Rushing through exercises with a TRX Suspension Trainer often leads to sloppy form and reduced muscle activation. Each rep should take about 2 seconds up and 2 seconds down, so a set of 10 rows should last around 40 seconds total. Controlled tempo keeps tension on your muscles and lowers the risk of injury.
The most common mistakes with a TRX Suspension Trainer are sagging hips, rushing repetitions, and poor anchoring of the straps. Sagging hips, especially during planks and push-ups, put strain on your back and reduce core engagement. Rushed reps can turn a strength session into a momentum-driven movement, making your workout less effective. Always double-check your anchor point before exercising; a poorly secured anchor can slip or fail, risking both your safety and your walls.
Tracking your progress with the TRX Suspension Trainer is one of the best ways to stay motivated and consistent. Start by logging your sets, reps, and which exercises you do each session. Try to increase your reps by 1-2 per week or move your feet closer to the anchor to make moves like TRX Rows or Chest Presses harder. You can also time your holds—aim to increase plank holds by 10 seconds every two weeks. Even small, steady improvements are a sign your training is working.
To stay consistent, schedule your TRX workouts just like any other appointment. Block out 20-30 minutes, three days per week, and set a recurring reminder on your phone. If you find yourself losing motivation, try joining an online TRX class or using a workout app with pre-built routines. Sharing progress with a friend or family member can also help keep you accountable and add a social element to your home training.
Once you’ve mastered basic moves and can do 12-15 perfect reps of key exercises, consider adding accessories or getting professional guidance. TRX offers accessories like foot cradles for more advanced core moves, or weighted vests to boost resistance. If you’re unsure about your form or want a personalized plan, a certified TRX coach can spot mistakes and design progressions that fit your goals. Investing in a few sessions, even online, can pay off in safer, faster progress.
"Anchoring the TRX to any door at home is always safe." That’s false. Not every door is strong enough to handle dynamic bodyweight movements. Always use solid, load-bearing doors and follow the manufacturer’s anchoring instructions to prevent accidents or equipment damage.
"You can make TRX moves harder by changing your body angle." That’s true. Walking your feet closer to or farther from the anchor point changes how much bodyweight you lift. For example, lowering your body in a TRX Row increases resistance, challenging your back and arms more with the same equipment.
Which TRX Accessories and Alternatives Are Worth Considering?
"TRX Home2 is enough for most people starting out." This is TRUE. The TRX Home2 kit supports nearly all suspension exercises you’d want to do at home, weighs only about 1.5 pounds, and sets up in under five minutes. Unless you need extra anchoring options or plan to use your trainer outdoors frequently, you don’t need to pay extra for the TRX Pro4 or Tactical models.
"You need the TRX Pro4 or Tactical to get a real workout." This is FALSE. Both the Pro4 and Tactical kits offer heavier-duty straps and more anchors, but they don’t increase resistance or unlock new exercises compared to the Home2. For 99% of home users, the upgrade won’t affect your results or safety.
Choosing the right TRX model and accessories depends on your workout space, goals, and budget. The TRX Home2 ($200–$230) comes with basic door and suspension anchors, which cover almost every move. The Pro4 ($250–$270) adds a commercial-grade carabiner and rubber handles for higher-frequency use. If you’re planning to install your system outside or in a gym, the Tactical model ($270–$290) uses military-grade webbing and a mesh carry bag. For most home users, the Home2 will be more comfortable and is $50–$60 less than the others.
If you want to expand your set-up, TRX offers compatible accessories. The X-Mount ($40–$50) lets you safely attach the straps to a ceiling or wall stud, opening up more vertical space than a door frame can provide. TRX resistance bands ($30–$50 for a set) add variety for isolation exercises like biceps curls or lateral raises. The TRX Mat ($60–$80) isn’t required but helps if you have hardwood floors and want extra grip during planks or push-ups. Most accessories are optional unless you’re working out in a garage, basement, or want faster transitions between moves.
On a tight budget or looking for alternatives? Consider generic suspension trainers that cost $30–$70. While they’re less refined and may lack the TRX warranty, many can support 300–400 pounds and offer similar adjustability. Just check user reviews for strap quality and carabiner strength. For unique needs like mobility training, the Monkii 360 ($150–$200) or Lifeline Jungle Gym XT ($90–$120) have different anchor systems and handle designs. Resistance bands or loop bands ($10–$40) can also mimic many TRX moves if you adapt angles and use a sturdy anchor.
Combining your suspension trainer with other fitness tools creates a more balanced home gym. Pairing TRX rows or push-ups with kettlebell swings (starting at $40 for a 15-pound kettlebell) builds both strength and power. Add a stability ball ($20–$40) for core exercises like pikes or hamstring curls. Even a simple pull-up bar ($30–$50) works well for alternating between bodyweight pulls and TRX chest presses. Mixing equipment keeps workouts challenging and prevents plateaus, especially if you rotate exercises every 4–6 weeks.
When you’re setting up your TRX Suspension Trainer, think about your space, your main goals, and which accessories will actually get used. Often, starting with a basic kit is more effective than buying every add-on. Upgrade only if you find yourself limited by your setup or want to train outdoors year-round. That way, you’ll get the most out of your investment and keep your home gym clutter-free.
"You can use generic suspension trainers instead of TRX and still get a good workout." This is TRUE. Many generic systems support similar bodyweight loads and adjustability, so you can safely perform the same push, pull, squat, and core moves for a fraction of the price, as long as you check for sturdy hardware and strong anchor points.
"Mixing suspension training with equipment like kettlebells or resistance bands is a waste because the TRX does everything." This is FALSE. While the TRX Suspension Trainer is versatile, combining it with free weights or bands adds variety, targets muscle groups differently, and helps you avoid training plateaus—especially if you want both strength and cardio benefits in your home routine.
الأسئلة الشائعة
Can I use a TRX Suspension Trainer if I have limited space at home?
Yes, you can use a TRX in a small area. You need about 6-8 feet of open floor space and a sturdy anchor point, such as a door or ceiling mount, to perform most exercises safely.
How often should I use the TRX Suspension Trainer for results?
For general strength and fitness, aim to use the TRX 2-4 times per week, allowing at least one rest day between sessions for recovery. Beginners may start with two sessions and gradually increase as they adapt.
What are the best TRX exercises for beginners?
Beginner-friendly TRX exercises include rows, squats, chest presses, and planks. These moves build foundational strength and stability before progressing to advanced variations.
Is the TRX Suspension Trainer safe for people with joint issues?
The TRX is often recommended for joint-friendly exercise because it allows for controlled, low-impact movements. However, individuals with joint concerns should consult a healthcare provider before starting any new fitness program.
How do I clean and maintain my TRX Suspension Trainer?
Wipe the straps with a damp cloth after each use and let them air dry. Check for fraying, loose stitching, or damaged carabiners regularly to ensure safety and longevity.
المنتجات ذات الصلة
معدات VVZIO العملية التي تتوافق مع تركيز التدريب في هذا المقال.
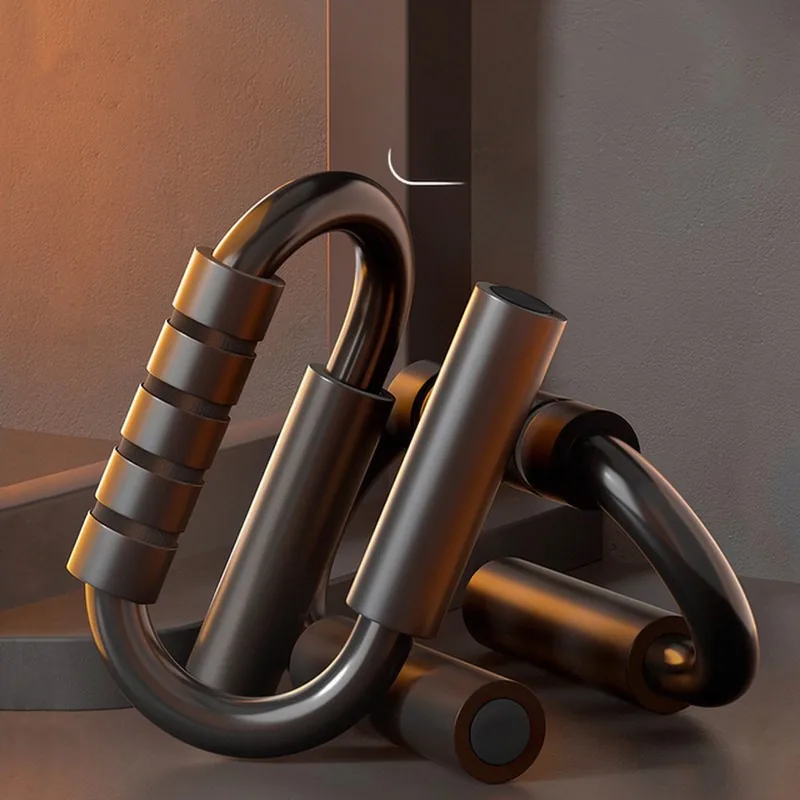
قضبان تمارين الضغط المريحة للصدر والعضلة الثلاثية.
Push-up bars complement TRX suspension training by allowing users to perform chest and triceps exercises with neutral wrists, enhancing upper body and core strength routines.
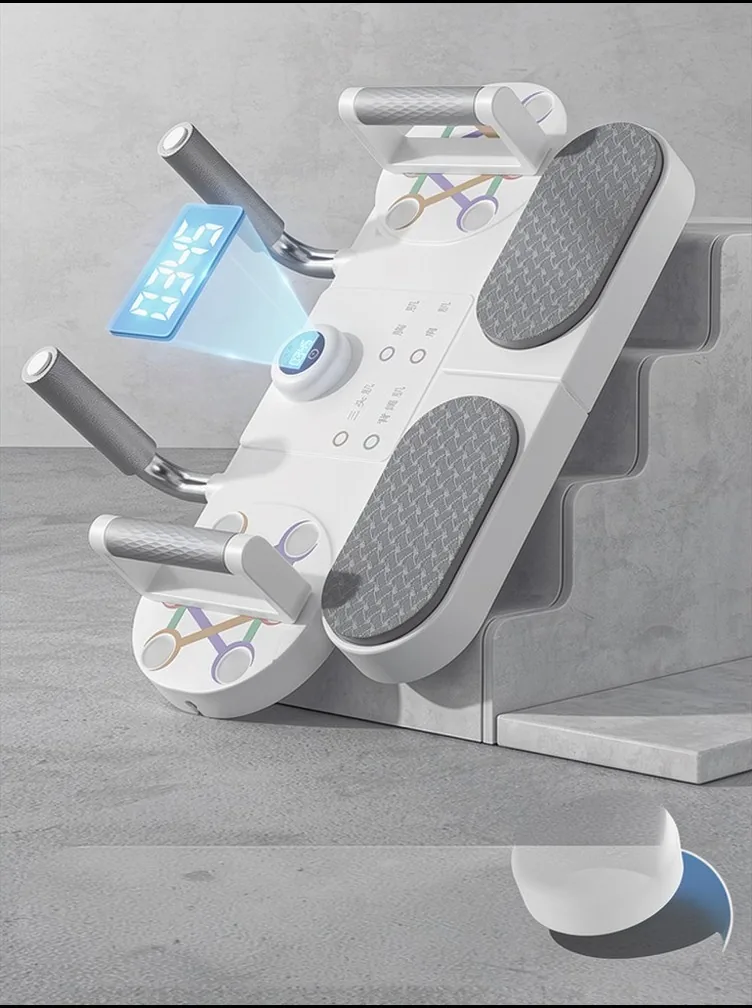
لوحة تدريب متعددة الوظائف للبلانك وتمارين الضغط.
The multi-function plank and push-up training board supports core stability and upper body strength, which are key focuses of TRX suspension workouts at home.
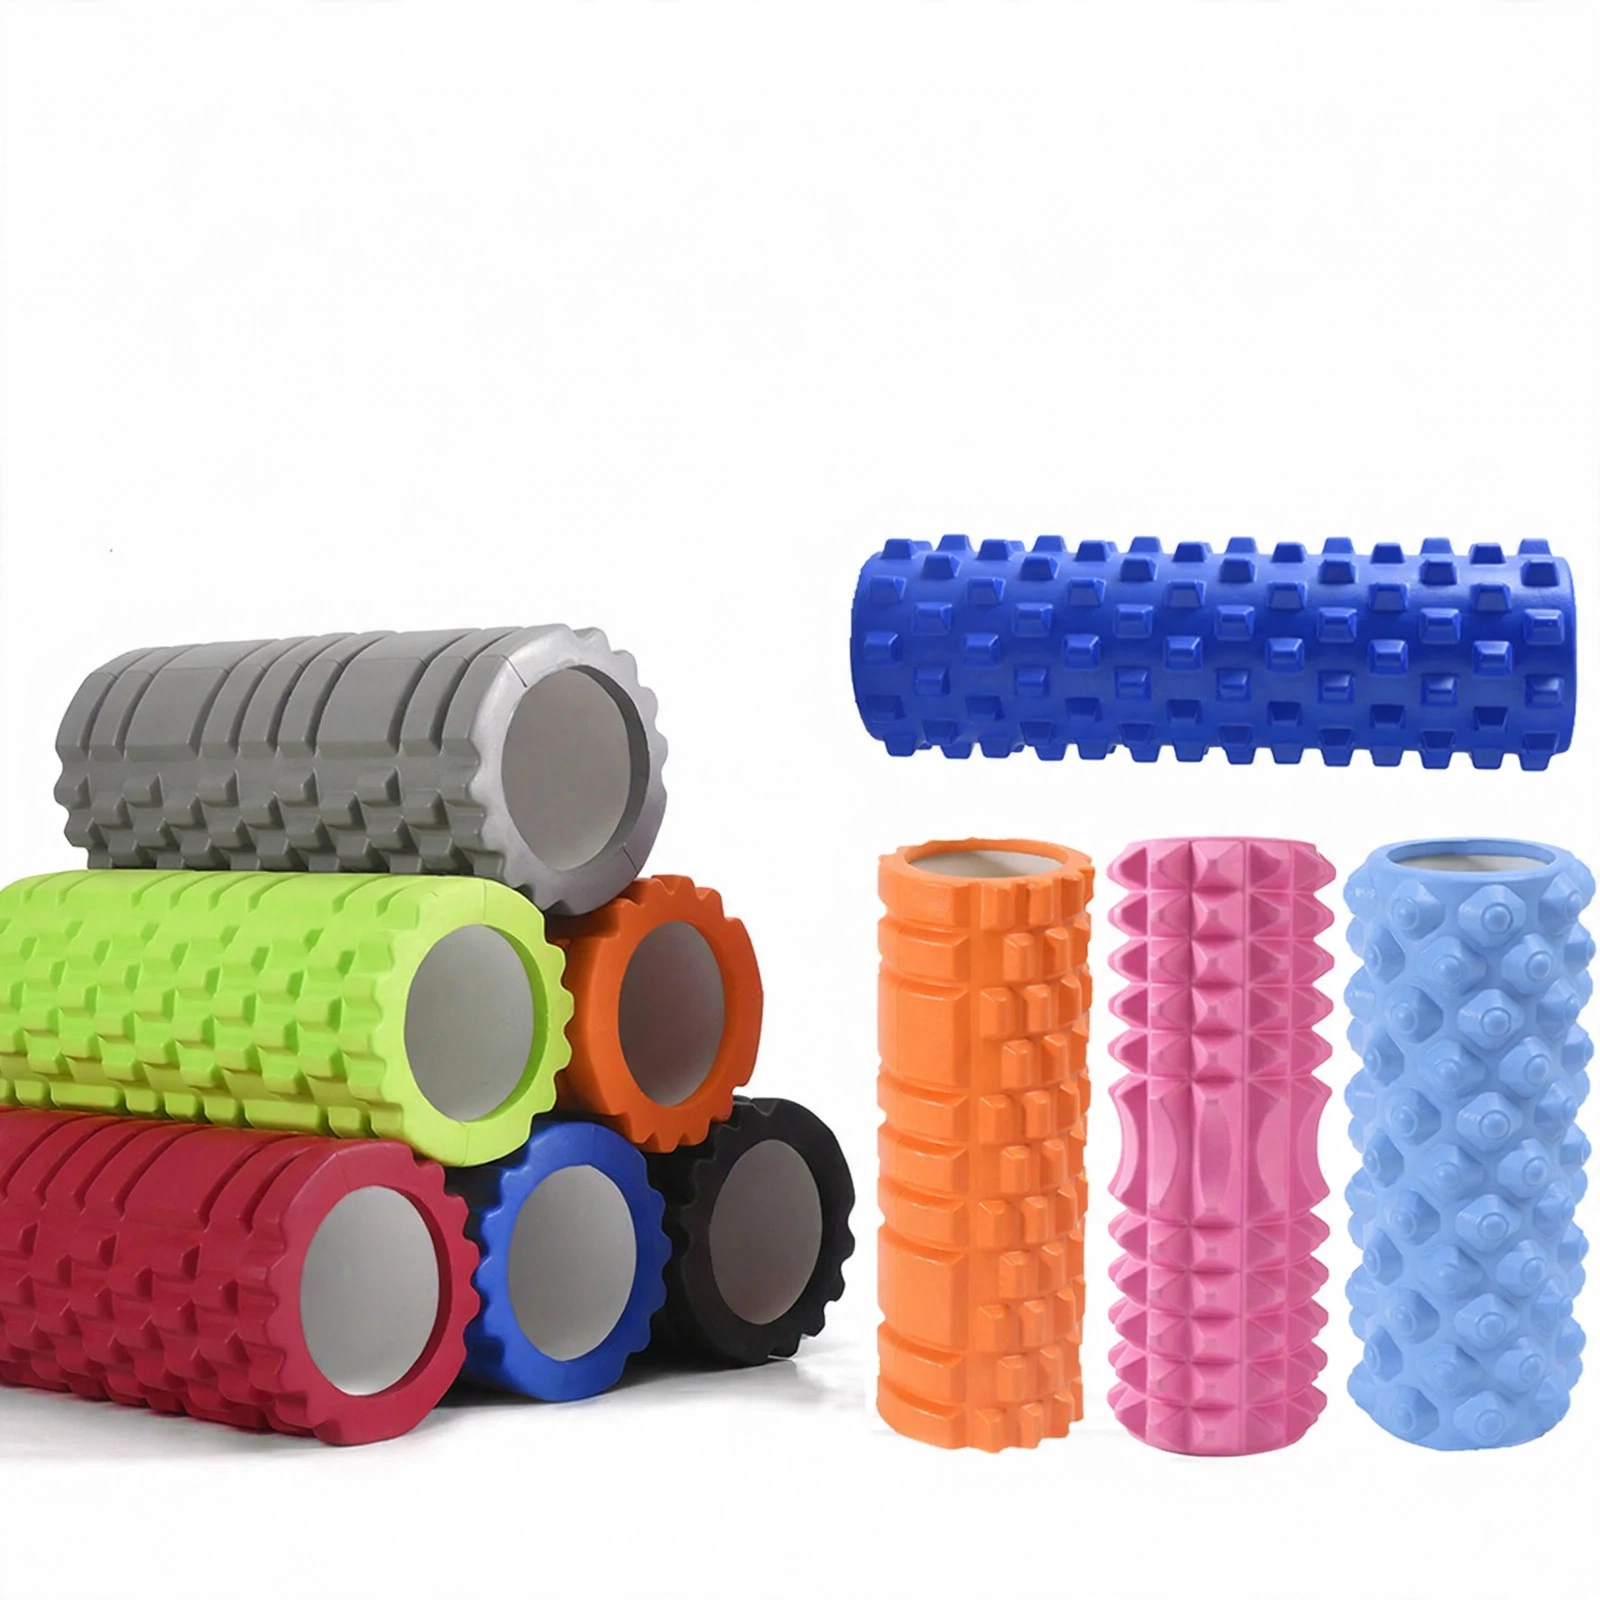
أسطوانة الفوم الهلالية – تدليك الأنسجة العميقة EVA
A foam roller aids muscle recovery after TRX sessions, helping to relieve soreness and improve mobility following bodyweight resistance training.
قراءة ذات صلة

مقارنة بين ألواح التعليق الخشبية والبلاستيكية: أيهما أفضل لتدريب القوة في المنزل؟
يمكن أن يؤثر الاختيار بين ألواح التعليق الخشبية والبلاستيكية على كل من تدريب القبض والراحة. توفر ألواح التعليق الخشبية…هل تسلق الصخور صعب للمبتدئين؟ ماذا تتوقع وكيف تبدأ
قد يبدو التسلق الصخري مخيفًا للمبتدئين، لكن الكثيرين يجدونه متاحًا مع النهج الصحيح والانتظام…فوائد استخدام لوحة التعليق لقوة القبضة: دليل عملي
استخدام لوح التعليق هو طريقة مثبتة لبناء قوة القبضة، خاصة للمتسلقين الذين يهدفون إلى تحسين الأداء.…


