









Transforming Your Home Into a Rock Climbing Training Sanctuary: Essential Steps and Tools
Transforming your home into a rock climbing training sanctuary is an effective way to boost grip strength and overall climbing performance. With the right equipment—like hangboards featuring multiple pocket depths, phone holders, and simple installation—anyone can create a dedicated space for regular, targeted training. This approach supports both beginners and experienced climbers aiming for consistent progress from home.
You’ve probably felt the sting of missing a climbing session because your schedule just won’t cooperate. Maybe the nearest gym is too far away, or the unpredictable weather keeps you off the rocks. The frustration grows when your progress stalls, and you wonder if you’ll ever break through your current plateau. It’s easy to lose motivation when climbing feels like a luxury rather than a routine. You crave the excitement and challenge, but life keeps getting in the way.
Transforming your home into a rock climbing training sanctuary is one way to reclaim control over your climbing journey. No more worrying about gym hours, commute times, or weather forecasts. You can train on your own terms, whenever you’re ready, and steadily build strength and confidence. Creating a dedicated space means you won’t have to compromise, and each session brings you one step closer to your goals. Instead of feeling stuck, you’ll finally have the freedom and tools to keep climbing, no matter how busy life gets.
- Grip strength is key for climbing progress
- Hangboards are ideal for home training
- Easy installation makes home setups accessible
- Multi-functional hangboards enhance versatility
- Regular training leads to measurable gains
Why Build a Climbing Training Space at Home?
Creating your own climbing training space at home gives you complete control over when and how you train. Instead of planning your schedule around crowded climbing gyms, you can squeeze in 10-minute grip workouts before work or practice footwork drills after dinner. This kind of flexibility makes regular training not just possible, but genuinely convenient. Whether you’re working on strength, endurance, or technique, your tools and setup are always within reach.

Consistent access to training equipment has a direct impact on skill development. Regular hangboard sessions, for example, can noticeably improve your grip strength—a critical factor for any climber. When you can train multiple times per week without commuting, you’re more likely to stick to your routine. Over time, these small, frequent sessions add up to faster progress and greater confidence on real rock or at your next gym visit.
Personalizing your climbing training sanctuary also boosts motivation and enjoyment. When you pick out the exact hangboard that fits your hands or install a hangboard with a built-in phone holder, you’re creating a space that feels rewarding to use. You can adjust the wall color, put up inspiring posters, or track your progress on a whiteboard. These personal touches make training feel less like a chore and more like something you look forward to, helping you stay consistent month after month.
Another advantage of training at home is the ability to target your own weaknesses. If you struggle with crimp holds, you can choose a hangboard with multiple pocket depths specifically for that need. If finger strength is your main goal, set aside 15 minutes for focused hangs three times a week. This targeted training, tailored to your goals, simply isn’t possible when you’re limited by the equipment or rules of a public gym.
Setting up a home climbing area can also save money over time. While a good hangboard might cost $70-$120 upfront, it eliminates recurring gym fees and commuting costs. If you’re training regularly, this investment pays for itself within months and continues to support your progress for years. Many hangboards come with mounting hardware, making installation straightforward even for beginners.
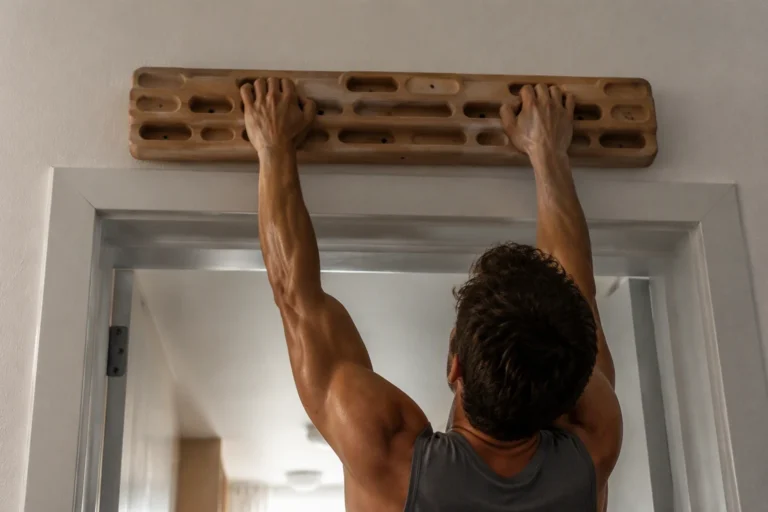
One mistake to avoid is assuming you need a huge space or expensive gear to get started. Even a doorway-mounted hangboard can deliver real results if you use it consistently and follow a structured plan. Start simple and add equipment as your training evolves. The key is building a routine that fits your lifestyle and keeps you coming back to your home sanctuary, session after session.
The Role of Grip Strength in Climbing Progress
Grip strength is the foundation of nearly every climbing move, whether you're tackling crimps, slopers, or jugs. Consistent grip training is one of the most effective ways to progress in climbing. Transforming your home into a rock climbing training sanctuary means prioritizing tools and routines that directly target your finger and hand strength. Without sufficient grip, you'll struggle to pull yourself up, hang confidently, or transition smoothly between holds.

Hangboard training stands out as the most reliable method for developing finger and hand strength in a home environment. Hangboards are designed with multiple pocket depths and edge shapes, allowing you to simulate the variety of holds you encounter on real rock. After installing a hangboard—most models include mounting hardware and clear instructions—you can start with short sessions: 10 minutes, three times per week. Begin with simple dead hangs, using both hands for 10 seconds at a time, repeating for 6-8 sets. Over several weeks, gradually reduce rest intervals and experiment with single-finger pockets or smaller edges as your confidence grows.
Studies have linked targeted grip training with improved climbing outcomes. For example, climbers who regularly train on hangboards typically see measurable gains in grip force within 8-12 weeks. The mechanism is straightforward: by stressing the flexor muscles and tendons in your forearms and fingers, you encourage adaptation and strength growth. When you train grip regularly, you build endurance for longer climbs and resilience against injuries. If you’re serious about transforming your home into a climbing training sanctuary, a hangboard is a must-have—prices range from $50 for basic models to $120 for advanced versions with phone holders and varied grip options.
It's easy to make mistakes when starting grip training. One common error is overtraining—doing daily hangboard sessions can lead to tendon injuries. Stick to a routine of three days per week, allowing at least 48 hours between sessions. Another pitfall is ignoring proper warm-up. Before hanging, spend five minutes squeezing a rubber ball, rotating wrists, or using light resistance bands. This reduces injury risk and preps your muscles for the load. Track your progress by logging hang times, grip types, and sets, so you can see steady improvement and adjust your routine as needed.
As you build grip strength, you'll notice climbing moves become smoother and less fatiguing. Even if you don’t have immediate access to outdoor rock, hangboard training at home keeps your fingers ready for every challenge. With careful scheduling, correct technique, and a bit of patience, you’ll transform your home into a rock climbing training sanctuary that delivers real results. If you’re unsure about which hangboard to choose, look for models with multiple pocket sizes and a phone holder, so you can follow training timers or routines easily. By prioritizing grip strength, you lay the groundwork for every other climbing skill you want to master.
"Hangboard training regularly can significantly improve grip strength for climbing."True
Consistent hangboard training targets the small muscles in your fingers and hands, which are crucial for climbing. This focused approach is widely recognized among climbers as one of the most effective ways to build grip strength, supporting more advanced moves on the wall.
"You need a large space or full climbing wall to train effectively at home."False
You do not need a dedicated climbing wall or a large room for effective training. Hangboards are compact and can be installed above doorways or on small sections of wall, making them suitable for most home environments.
What Equipment Do You Need for Effective Training?
If you are serious about transforming your home into a rock climbing training sanctuary, the right equipment makes all the difference. The centerpiece for most home climbing setups is a hangboard. Hangboards are compact training devices that mount onto a wall or door frame, letting you target grip strength with specific holds. Many modern hangboards feature multiple pocket depths and edge sizes, simulating the variety you’ll face on real routes.
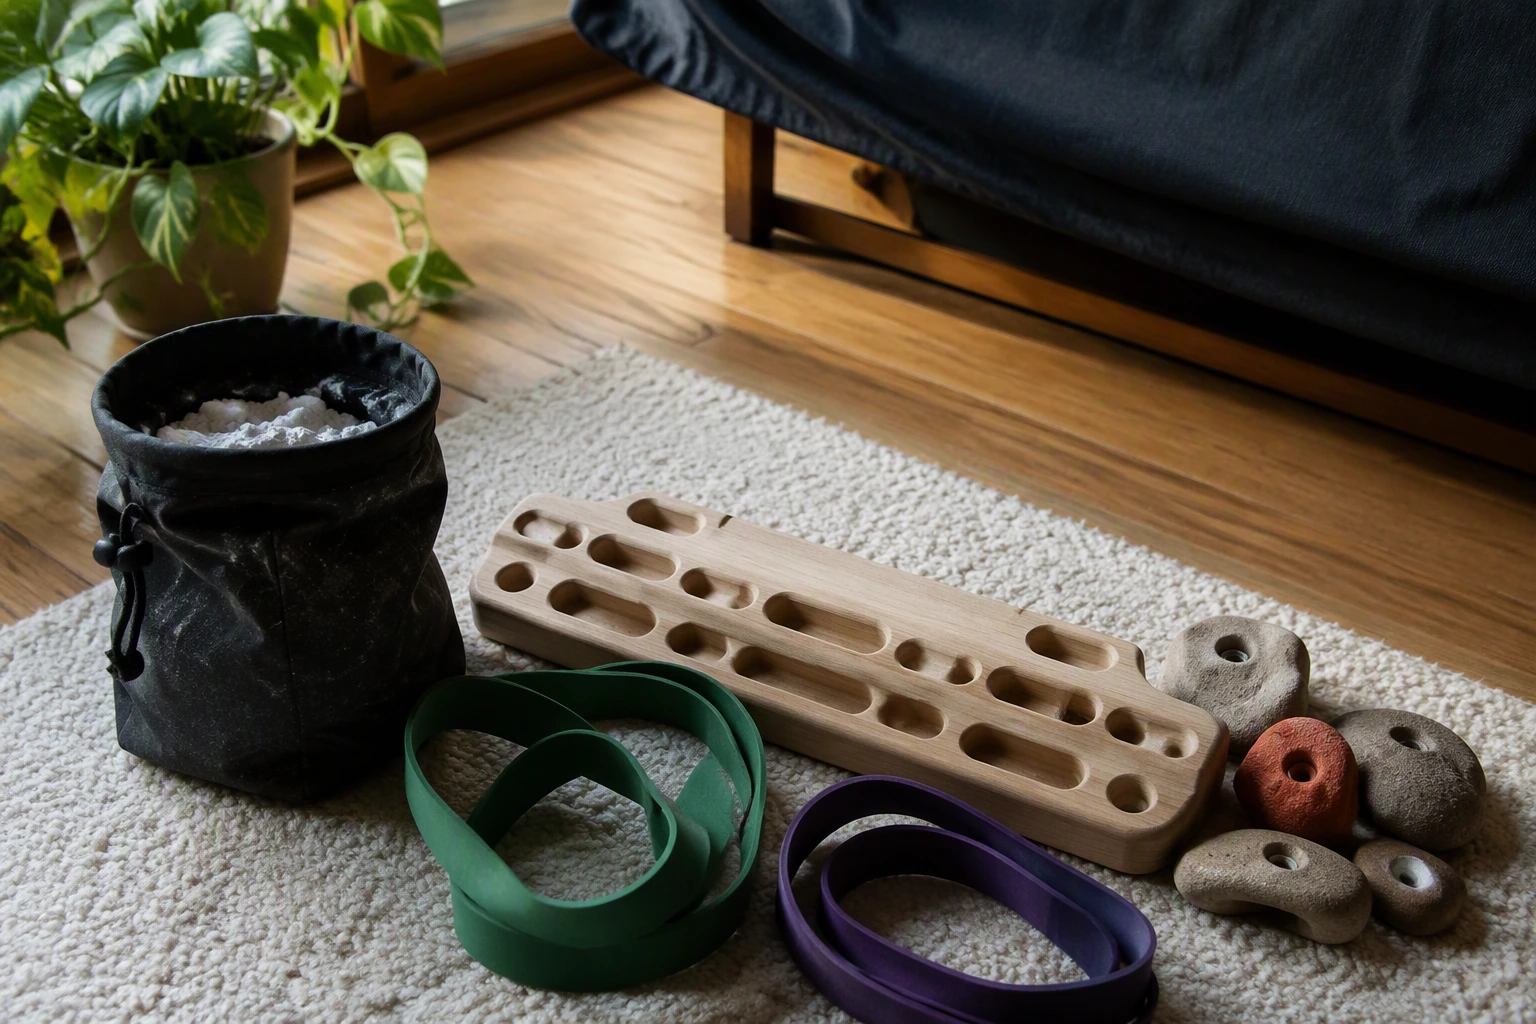
Choosing a hangboard with several pocket depths allows you to work on open-hand and crimp grips, as well as finger strength across different positions. For example, training on 20mm, 15mm, and 10mm pockets challenges your fingers and helps you progress safely. Starting with 7-10 second hangs for 5-7 reps per grip, two or three times a week, is a common recommendation for beginners aiming to build baseline strength. If you have more advanced goals, you can add weight or increase hang duration as your grip adapts.
Convenience matters, especially when you’re following a structured training plan. Some hangboards now include a phone holder built right into the design. This small feature makes a big impact—you can use your phone to track sets, follow interval timers, or record your progress hands-free. Having your phone visible and secure reduces distractions and keeps you focused during each workout. If you like to follow video routines or need to reference your plan, this feature quickly becomes something you don’t want to live without.
Installation is a common concern, but most quality hangboards come with mounting hardware for easy setup. You’ll usually find screws and brackets designed for both wall and door frame installation. Take time to find a sturdy spot—studs in a wall or a solid door frame are best. Always use the included hardware and follow the manufacturer’s instructions to avoid accidents. Rushed or improper installation can lead to damaged walls or, worse, injuries during training. Double-check that the board feels secure before every session.
When planning your home setup, don’t forget the details that make training smoother. Place a small mat below your hangboard to cushion your landing and protect your floor. Make sure your chosen space allows for full arm extension without hitting obstacles. If you share your home, consider noise and choose a location that won’t disturb others during your evening hangs. These simple steps help create a space you actually want to return to every week.
One mistake new climbers make is neglecting variety. Relying on a hangboard with only one pocket depth limits your progress and can lead to overuse injuries. Look for boards with at least three distinct pocket sizes and a couple of different edges to keep your training balanced. Another pitfall is ignoring installation guidelines—mounting on drywall without hitting a stud is unsafe, no matter how tempting the shortcut.
Transforming your home into a rock climbing training sanctuary is about more than just owning equipment—it’s about choosing the right tools, installing them securely, and setting up your space for consistent, effective practice. By focusing on hangboards with multiple pocket depths, using a phone holder for tracking, and paying close attention to mounting hardware, you’ll create a training environment that supports real climbing improvement.
How Often Should You Train With a Hangboard?
Hangboard training is one of the most effective ways to boost your climbing grip strength at home, but how often you train matters as much as how hard you train. For most climbers transforming your home into a rock climbing training sanctuary, two to three dedicated hangboard sessions per week are enough to see real progress without risking injury. Regular, consistent sessions—every Monday, Wednesday, and Saturday, for example—help your tendons adapt and your grip get stronger over time. Spacing your sessions at least 48 hours apart gives your connective tissues a chance to repair, which is critical for long-term gains.
Overtraining is a common mistake with hangboarding, especially if you're eager to accelerate your progress. Tendons adapt more slowly than muscles, and pushing too hard can lead to painful overuse injuries like tendonitis. Always include at least one full rest day between sessions. For example, if you complete a 20-minute hangboard workout on Tuesday, wait until Thursday before your next session. This schedule allows your hands and forearms to recover fully, making your next workout more effective.
Each hangboard session should include a thorough warm-up—five to ten minutes of light aerobic activity plus wrist and finger mobility drills. Then, focus on quality over quantity with 6 to 10 hangs per grip type, each lasting 7 to 10 seconds, with at least a minute of rest between hangs. This approach builds maximum finger strength while minimizing the risk of injury. If you ever feel sharp pain or strain, stop immediately and give yourself extra rest days. Consistency over months is what leads to real improvements in grip strength, not pushing through discomfort in a single session.
Beginners often assume daily hangboarding will speed up their results, but that's a recipe for trouble. Instead, use the off days to work on other climbing skills or general conditioning—core exercises, mobility work, or even technique drills on a portable climbing wall. This variety keeps your training balanced and more enjoyable, while still prioritizing the key role of grip strength. If you're new to hangboarding, start with bodyweight hangs only and avoid adding extra weight until you can complete all sets with good form for three weeks in a row.
Most modern hangboards are easy to install at home and come with mounting hardware, so there’s no excuse to skip sessions due to setup hassles. Look for models with multiple pocket depths and edges to mimic real climbing holds, and consider a hangboard with a phone holder if you like to time your hangs or follow a training app. Aim to track your sessions in a notebook or app, noting sets, reps, and grip types used—tracking progress keeps you motivated and helps you spot plateaus before they stall your gains. A consistent, smart hangboard routine will turn your home into a true training sanctuary and set you up for new climbing achievements.
"Hangboards with multiple pocket depths simulate different climbing holds."True
Hangboards are designed with various pocket depths and edges to mimic the range of holds found on real climbing routes. This variety helps climbers train for the demands they will encounter outdoors or at the gym.
"Installing a hangboard at home is complicated and requires professional help."False
Most hangboards include mounting hardware and clear instructions, allowing users to install them safely with basic tools. Professional installation is not necessary for most standard setups.
Choosing the Right Hangboard for Your Home
Choosing the right hangboard is one of the most critical steps when transforming your home into a rock climbing training sanctuary. A quality hangboard offers multiple grip options, allowing you to target various muscle groups and simulate different types of holds you'll encounter at the crag or gym. Look for boards featuring pockets of varying depths, slopers, and edges. This variety supports both beginner and advanced training, letting you progress from basic two-finger hangs to more challenging four-finger dead hangs. If you’re new to hangboard training, start with 5 sets of 10-second hangs using the largest holds, resting 60 seconds between sets. As your grip strength improves, gradually introduce smaller edges and deeper pockets to keep challenging your fingers and forearms.

Mounting your hangboard should be straightforward, and most reputable brands include all necessary hardware in the box. You’ll typically receive sturdy screws, mounting brackets, and sometimes even a template for accurate installation. Before you drill, use a stud finder to locate a solid anchor point—never mount a hangboard on drywall alone. For safety, install the board at shoulder height and ensure it’s level. If you’re unsure about DIY installation, ask a friend with handyman experience or hire a professional. Incorrect mounting can cause the board to loosen or fall, risking injury and damage to your walls. Don’t rush—double-check measurements and test each hold gently before starting your first workout.
Hangboards aren’t just about grip variety and easy installation; some models offer extra features that make training more enjoyable and efficient. For instance, a built-in phone holder can be surprisingly useful. You can position your phone for timing your sets, tracking progress, or following structured routines. This eliminates the need for balancing your phone on top of the board or reaching for it mid-workout. If you prefer guided sessions, apps like Crimpd or MyClimb integrate well with these setups, helping you stick to a consistent schedule. Training with a hangboard three times per week is a common practice among climbers aiming to boost grip strength, but adjust frequency based on your recovery and experience level.
When evaluating hangboards, consider how each feature aligns with your goals and available space. Boards range from compact models for small apartments ($40-$80) to larger, multi-grip options ($100-$140) suited for dedicated home gyms. Avoid boards with only one or two grip options—they limit your progress and could lead to overuse injuries. Instead, prioritize versatility, solid construction, and user-friendly extras. If you’re gifting a hangboard to a climber, choose one with both multiple grip options and a phone holder for maximum utility. With the right board installed, you’ll create a reliable foundation for consistent, effective training and make your home a true sanctuary for climbing progress.
FAQ
How much does it cost to set up a home climbing training area?
A basic home climbing training setup with a quality hangboard usually costs between $50 and $150 depending on features such as multiple grip options and phone holders. Additional costs may include mounting hardware, which is often included with the product.
Can beginners use hangboards safely?
Beginners can use hangboards safely by starting with easier grip positions and shorter hang times. It is important to follow recommended guidelines, warm up thoroughly, and rest between sessions to avoid injury.
What is the best location for a hangboard at home?
The best spot for a hangboard is above a sturdy doorway or on a solid wall where you have enough space to hang freely. Make sure the mounting surface can support your body weight and follow product instructions for safe installation.
How do I track my progress with hangboard training?
You can track progress by recording hang times, grip types, and repetitions in a training log or app. Some hangboards come with integrated phone holders to make tracking workouts easier during your sessions.
Do I need any other equipment besides a hangboard?
A hangboard is the main tool for home climbing training, but you may also want a timer, chalk, and a mat for added comfort and safety. These items help support effective and consistent practice.
Related Products
Practical VVZIO equipment that matches the training focus of this article.
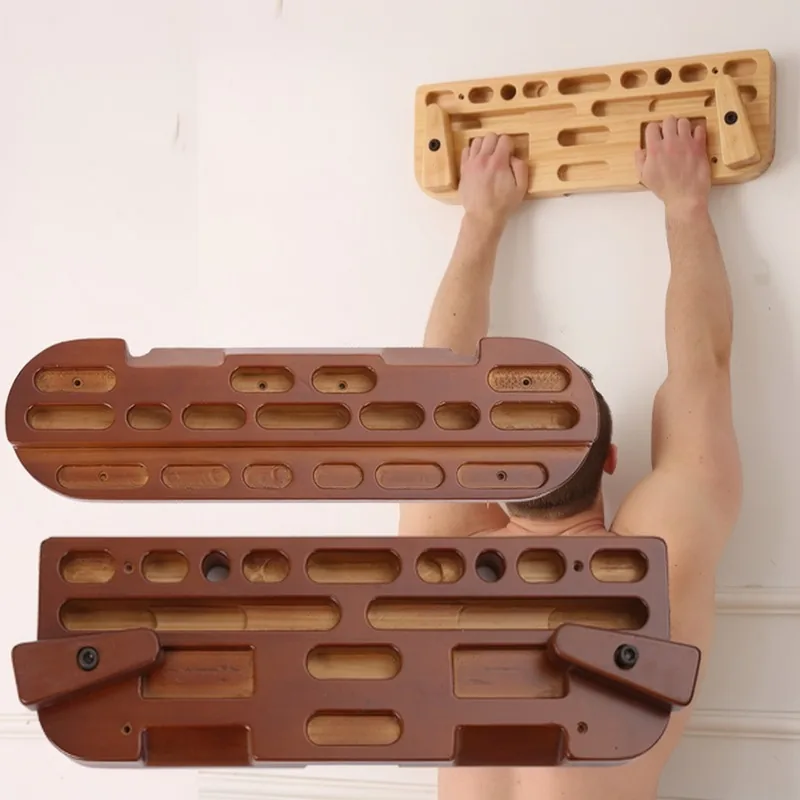
Portable Wooden Climbing Hangboard
This portable wooden climbing hangboard is ideal for home grip and finger strength training, directly supporting the article's focus on building a climbing training sanctuary.
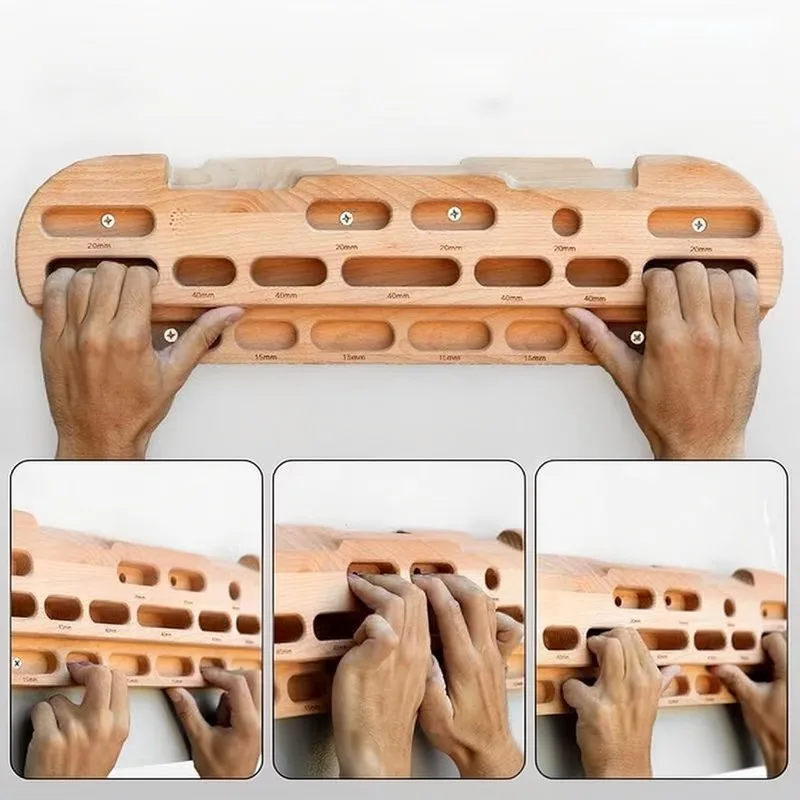
Wooden Hangboard for Finger Strength Training
The wooden hangboard with multiple edge depths and sloper slots enables targeted finger and grip strength training, which is essential for climbers training at home.
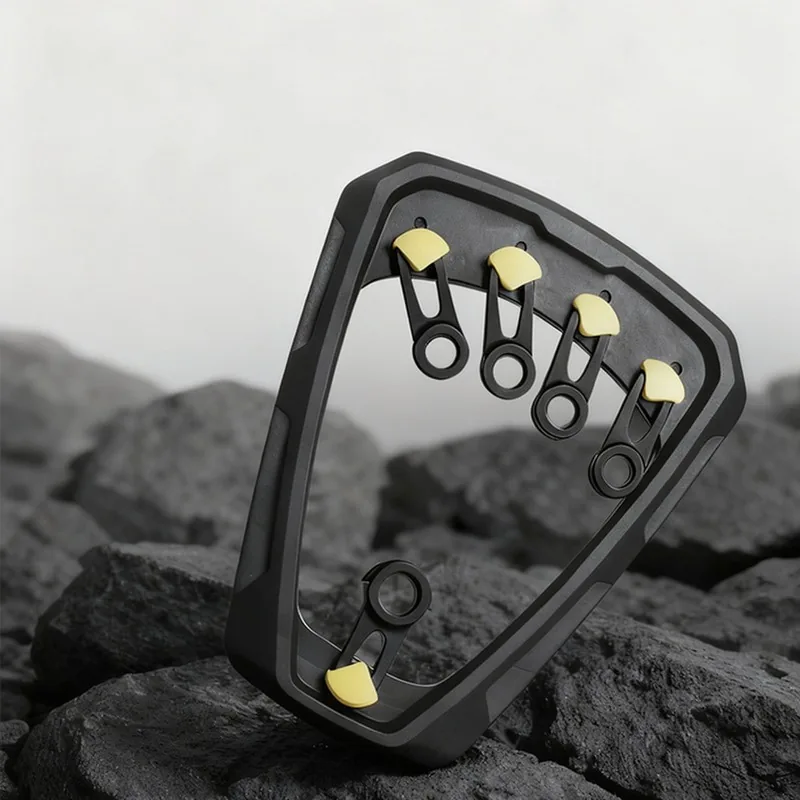
3-Level Adjustable Rotating Finger Strength Trainer
The 3-level adjustable rotating finger strength trainer offers progressive resistance for finger and forearm development, complementing hangboard routines for comprehensive grip training at home.
Related reading

Comparison of Wooden vs. Plastic Hangboards: Which Is Best for Home Strength Training?
Choosing between wooden and plastic hangboards can impact both your grip training and comfort. Wooden hangboards offer a…Is Rock Climbing Difficult for Beginners? What to Expect and How to Start
Rock climbing can seem intimidating for beginners, but many find it accessible with the right approach and consistent…Best Practices for Hangboard Training: Safe & Effective Grip Gains
Hangboard training is a proven method for building grip strength, essential for both beginner and advanced climbers. Effective…