









Melhores Suportes para Agachamento para Academias em Casa: Principais Escolhas e Dicas de Compra
Squat racks are key for safe, effective strength training at home, supporting a wide range of lifts beyond just squats. This guide explains how to choose the best squat rack for your home gym, what features matter most, and how to compare popular options for different spaces, budgets, and training needs. We also answer common beginner questions to help you get started confidently.
You’re tired of feeling cramped every time you try to lift at home, balancing your barbell awkwardly on furniture or risking injury by picking up heavy weights from the floor. The frustration kicks in when your progress stalls—not because you lack motivation, but because your setup simply isn’t safe or reliable. If you’ve ever skipped a squat session because you couldn’t trust your makeshift rack, you know how limiting that can be. It’s hard to build strength when your training space feels more like a hazard zone than a gym.
Finding the best squat racks for home gyms isn’t just about upgrading your equipment; it’s about reclaiming your confidence and pushing your limits without worrying about injury. You want to lift heavier, try new exercises, and see real progress, but the absence of a sturdy squat rack keeps holding you back. Investing in the right rack means you can focus on your workout, not on whether your setup will fail. For beginners in the US or EU, this is the difference between a frustrating home routine and a safe, effective strength-building environment.
- Squat racks enable safe lifting and versatile workouts at home.
- Stability, adjustability, and safety features are crucial in a home squat rack.
- Compact racks fit small spaces, while full racks offer greater versatility.
- Accessory compatibility can expand your workout options.
- Choose a rack that matches your training style and available space.
Why a Squat Rack Is Essential for Home Strength Training
A squat rack is a cornerstone of safe and effective home strength training because it stabilizes your barbell and supports you during heavy lifts. Whether you’re squatting 45 pounds or pushing past 200, the rack acts as your backup, catching the bar if you miss a rep. This safety net is crucial when you’re working out alone or testing your limits, and it’s the main reason most coaches consider a squat rack non-negotiable for serious home gyms. Without it, attempting barbell squats or presses becomes risky—even a slight loss of balance can result in a dropped weight or an avoidable injury.
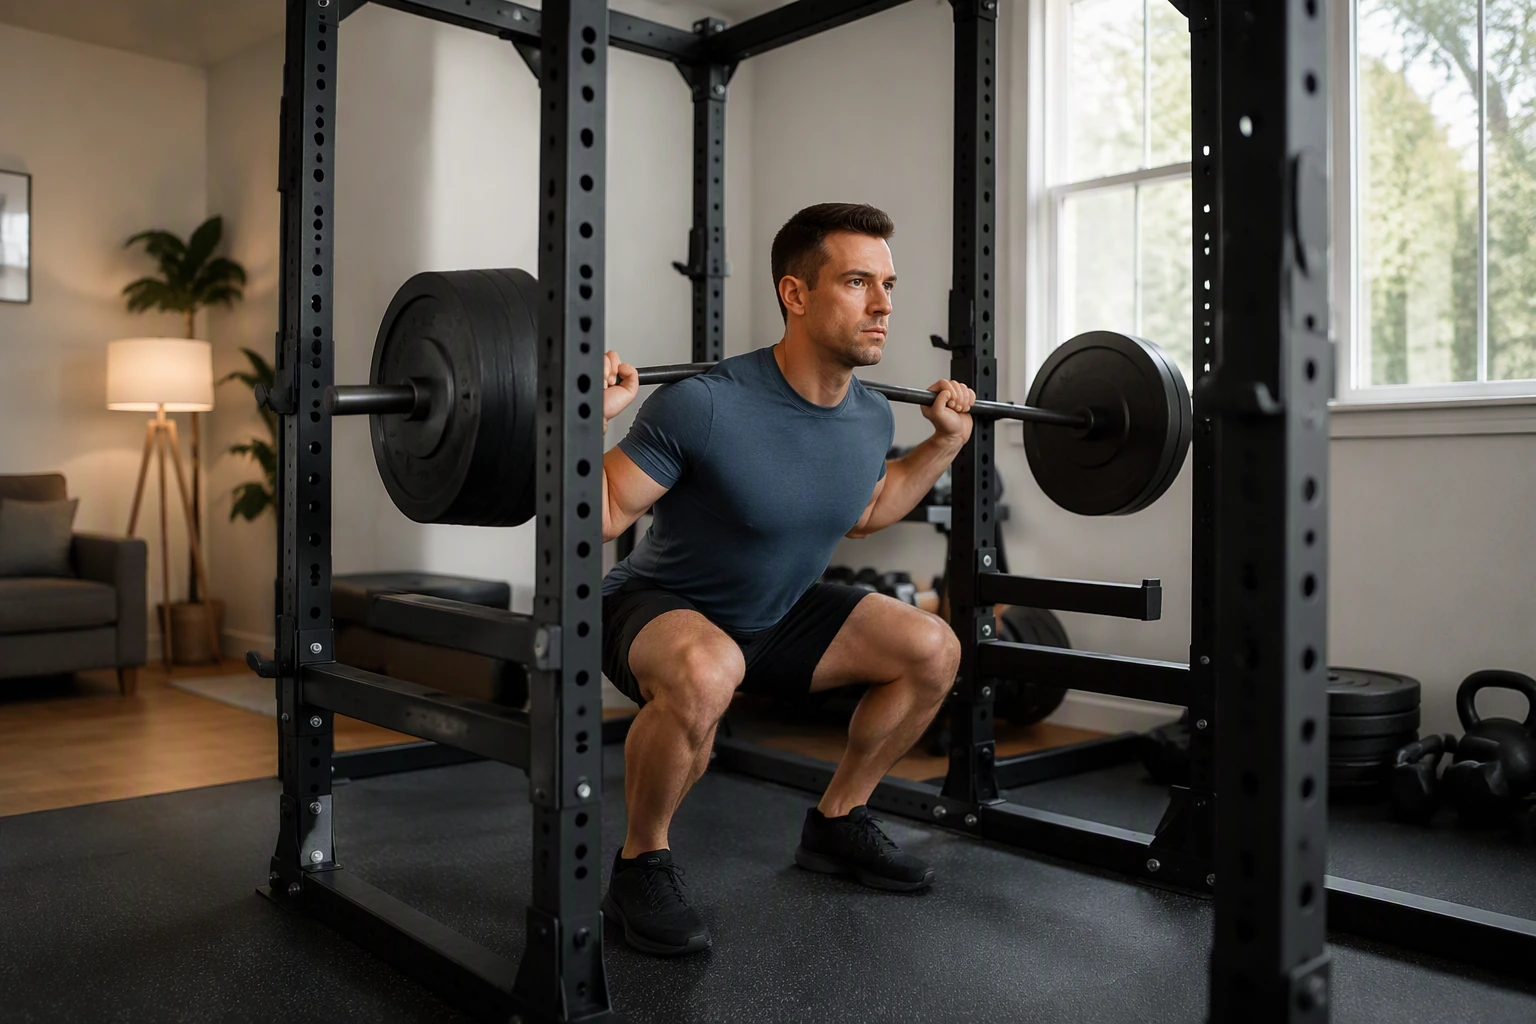
Beyond safety, a squat rack turns your home gym into a versatile training space. You can use the rack for classic barbell squats, but it also unlocks bench presses, overhead presses, rack pulls, and even add-ons like dip stations for triceps work. According to REP Fitness, you can expand your exercise selection with attachments that let you train more muscle groups without extra equipment clutter. If your goal is full-body strength, a rack’s sturdy frame and adjustable J-hooks help you transition smoothly between movements—no awkward shifting or hunting for a safe place to set the bar.
For beginners and experienced lifters alike, confidence is a big deal. Training with a squat rack lets you load up the bar and focus on your form instead of worrying about dropping the weight. If you’re using a spotter, the rack’s safety arms make life easier for both of you. If you’re training alone, you get peace of mind knowing the bar won’t crash onto you or your floor. This mental edge encourages better technique, more sets, and, over time, bigger strength gains without the setbacks of bad accidents.
Imagine trying to squat or press heavy in a home gym with no rack—each rep becomes a gamble. Even with lighter weights, fatigue can sneak up and cause a slip or stumble. A good squat rack solves this risk by providing a secure, adjustable catch at exactly the right height for your lift. You can rack and unrack the bar safely, even during challenging sets or max-effort attempts. That reliability is why seasoned lifters and beginners agree: a squat rack is the backbone of any serious home strength program.
If you’re tempted to skip the rack and improvise with benches, chairs, or boxes, think twice. These workarounds rarely provide the stability or safety needed for proper barbell training. Mistakes like uneven setups or makeshift supports can tip over or fail under load, putting your progress and your body at risk. Investing in a real squat rack, even a budget-friendly model under $300, is a smart move for anyone committed to long-term strength and safety at home.
What Features Matter Most When Choosing a Squat Rack?
When you’re choosing the best squat rack for your home gym, stability should be your top priority. A rack with a wide, heavy base and thick steel construction will keep you safe as you load up the barbell. Look for racks with frame tubing that’s at least 2x2 inches and weighs over 100 pounds. Lightweight racks may wobble during heavy lifts, which can throw off your form or even risk a tip-over.
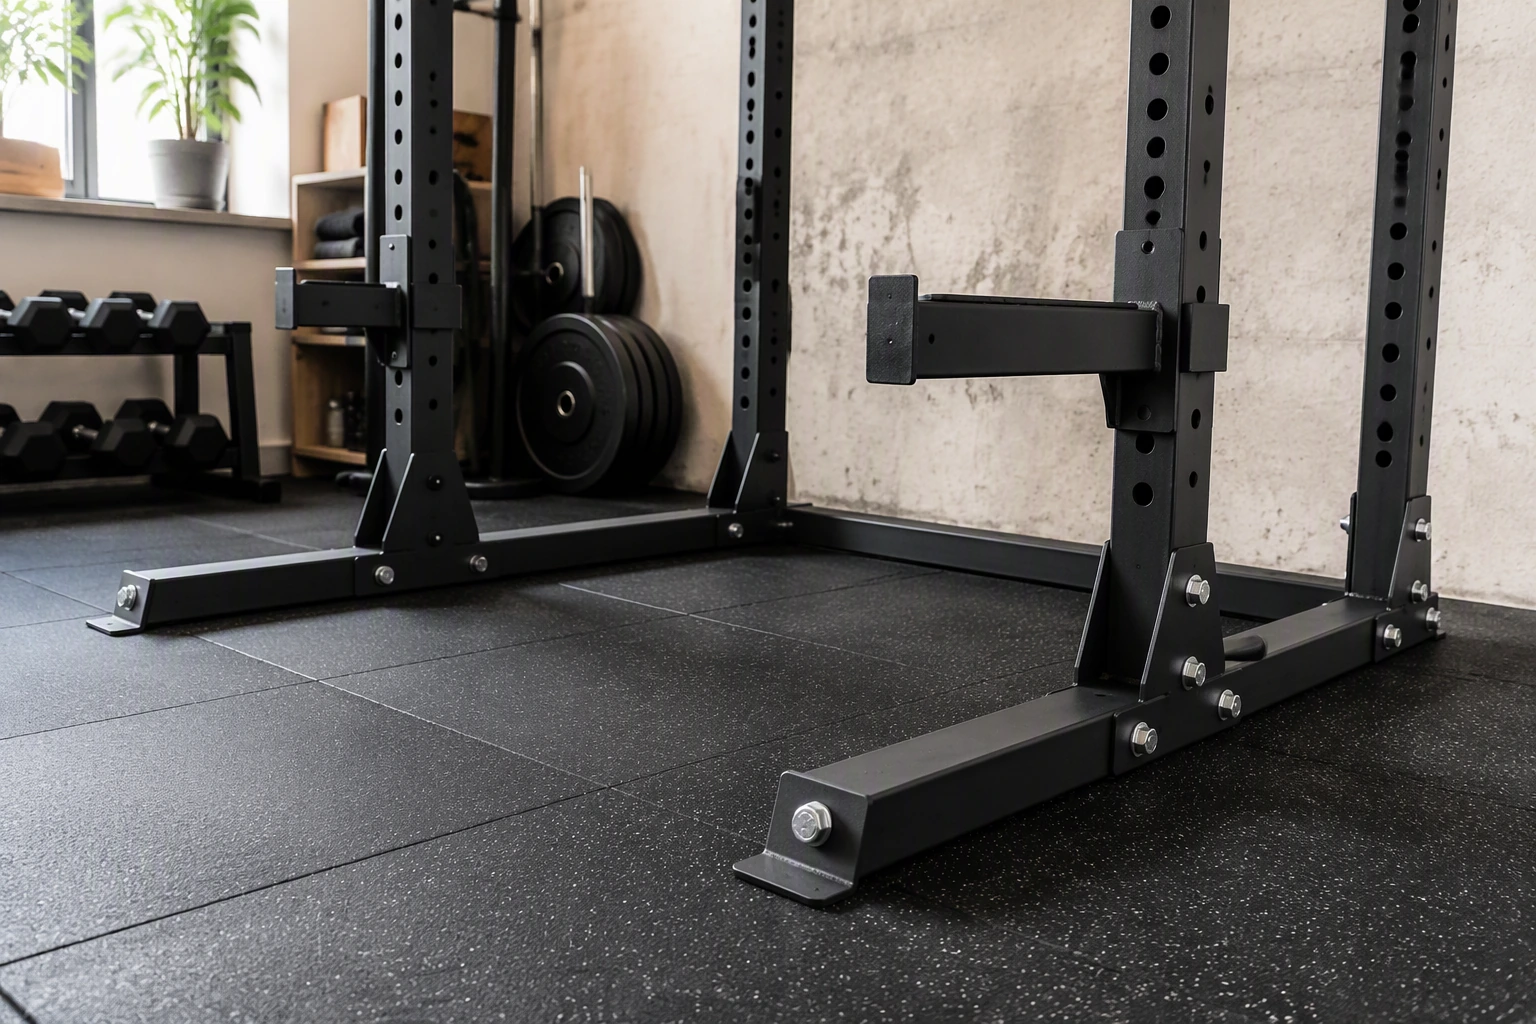
Adjustability is another key feature you shouldn’t overlook. Good squat racks offer J-hooks and safety bars that you can move to multiple heights. This lets you set the bar for squats, bench presses, or overhead presses at just the right level for your body size and exercise. Quick-change J-hooks are especially convenient if you share your gym with family members or want to switch between exercises fast.
Your training goals should guide your choice of weight capacity. Many home racks handle up to 500 pounds, which covers most beginner and intermediate lifters. If you plan to squat or bench more than 400 pounds, look for a rack rated to 700 or even 1,000 pounds. Never try to “test” your rack’s limits—always stay at least 10% below its maximum rating to avoid bending or failing hardware.
Before you buy, measure your available gym space down to the inch. Most squat racks need a footprint of at least 48x48 inches and a ceiling height of 7-8 feet. Low ceilings can make overhead presses impossible, while cramped footprints leave no room for movement or spotters. If your space is tight, consider a half rack or foldable wall-mounted option.
Some racks come with extra features you might appreciate over time. Built-in pull-up bars add upper body training options, while plate storage pegs help keep your gym tidy. Attachment points for dip bars or band pegs can expand your workout variety. However, don’t let flashy add-ons distract you from the core requirements of safety, adjustability, and fit for your space.
One common mistake is buying a rack based solely on price. Bargain racks often use thinner steel or skip safety spotters, which can put you at risk during failed lifts. Always check for independent safety reviews or certifications before making a final decision. Assembly is another overlooked factor—some racks take just 30 minutes with a wrench, while others have dozens of bolts and fiddly hardware.
In summary, the best squat racks for home gyms combine solid construction, flexible adjustability, sufficient weight capacity, and a size that matches your available space. Take the time to match these features to your training needs and your room dimensions. A careful choice now ensures safer, more productive workouts for years to come.
"A squat rack is necessary for safe barbell training at home.""Usar uma faixa de yoga pode ajudar iniciantes a obter o alinhamento adequado nas posturas."
This is true. Squat racks provide a stable structure that holds the barbell at the correct height, allowing you to lift heavy weights with a lower risk of injury, especially when training alone.
"Any squat rack will fit in a home gym, regardless of size.""Faixas de yoga são úteis apenas para iniciantes e não são necessárias para praticantes avançados."
This is false. Squat racks come in various sizes, and some require significant floor space and ceiling height. Always measure your available area before purchasing to avoid installation issues.
How Do I Pick the Right Squat Rack for My Space?
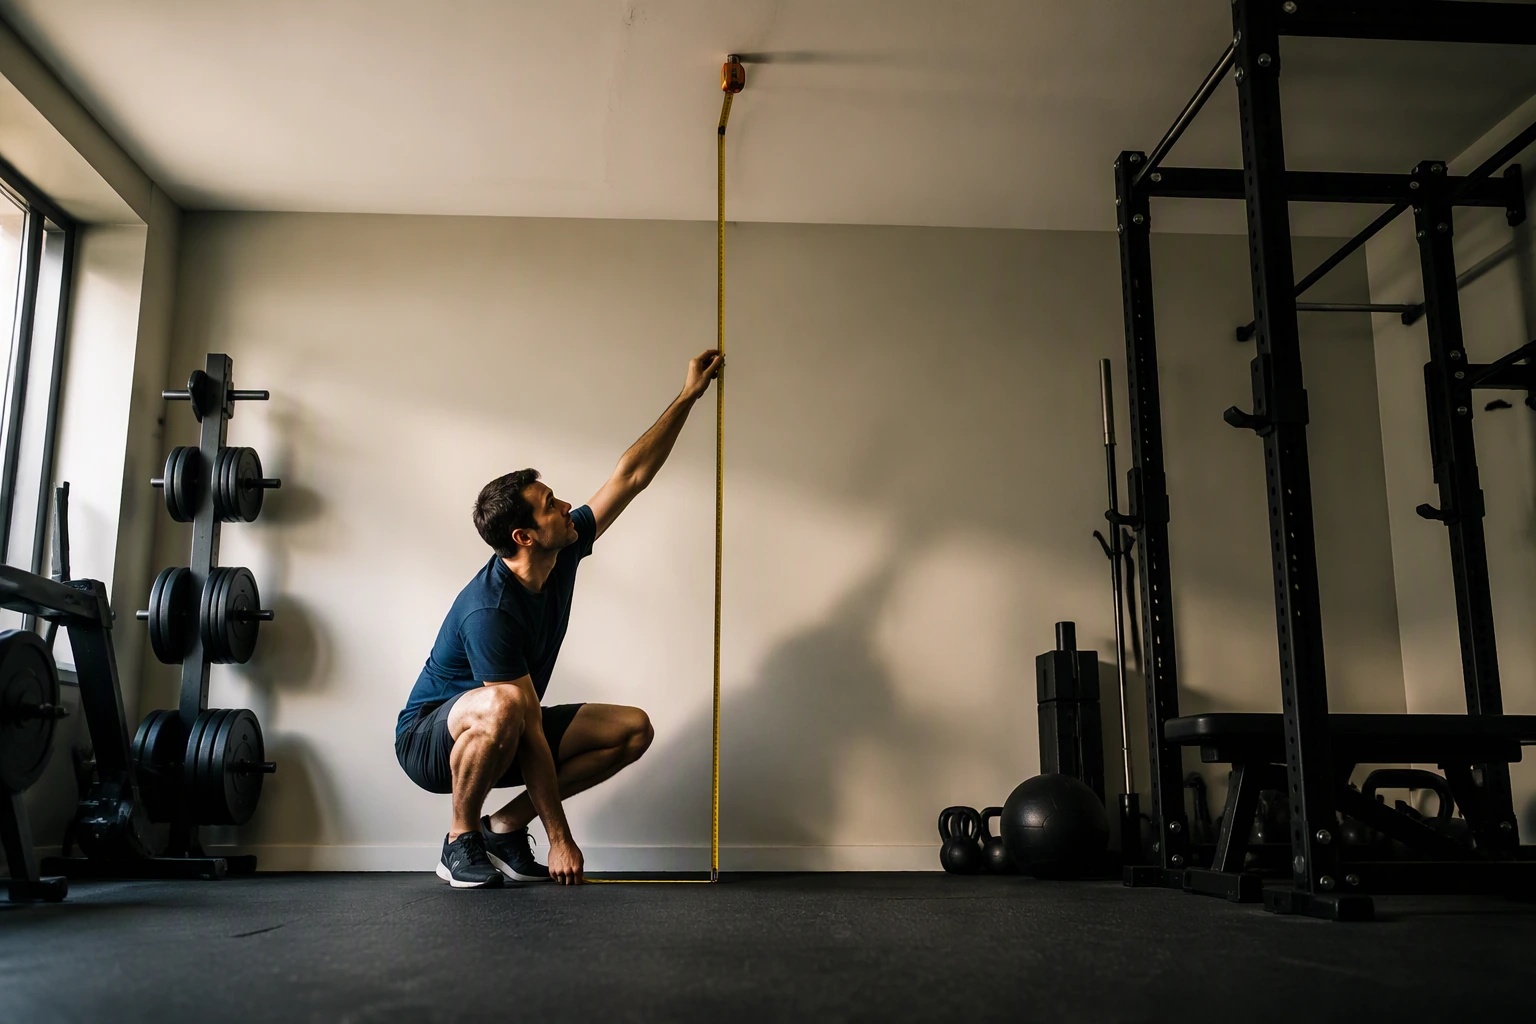
If you want the best squat rack for your home gym, start by measuring your available space before shopping. Grab a tape measure and note the width, depth, and ceiling height where you plan to place the rack. Most compact squat stands can fit into a space as small as 48 inches wide and 36 inches deep, but full power racks often need at least 50 inches by 50 inches on the floor, plus a ceiling height of 85 inches or more to allow for pull-ups or overhead presses. If your room is on the smaller side or has low ceilings, knowing your exact limits will save frustration and avoid returns.
Compact squat stands can be a smart choice if your workout area is tight or you need to share the space with other activities. These stands typically weigh 40-60 pounds and are easy to move if you need to clear the floor. However, they may not offer the same stability or safety features as larger racks, especially when lifting heavy. If your budget is around $150 to $300, you can find a solid squat stand that supports up to 400 pounds, but always check the product specifications to match your strength goals.
Full power racks, sometimes called cages, are bulkier but provide maximum safety and versatility. If you have at least 7 feet of ceiling height and a dedicated space, a power rack is a strong investment. Expect these racks to weigh 120-200 pounds and cost $350 to $700 for a sturdy model with safety bars and pull-up attachments. Keep in mind, though, that moving a full rack after assembly is difficult—so plan your layout carefully before you build.
Wall-mounted squat racks are a great solution for especially tight spaces like a garage or basement corner. These racks fold flat against the wall when not in use, freeing up valuable square footage. Installation usually takes about 30 to 60 minutes with basic tools, but you need to mount them securely into studs or masonry for safety. While wall-mounted racks generally support 500 pounds or more, always confirm the weight rating and ensure your wall can handle the load.
When choosing between these types, think about how you train and the equipment you want to add later. For example, if you're planning to use dip attachments or resistance bands, check that your chosen rack is compatible. Some racks, like those from REP Fitness, offer optional dip stations and other accessories that can expand your exercise options. If your space is flexible, leaving at least 3 feet of clearance on each side of the rack allows for safer bar loading and spotter access.
Avoid the common mistake of squeezing a rack into a space that's just barely big enough. This can make workouts awkward and even unsafe. Also, remember to factor in the length of your barbell, which is usually 86 inches (7 feet) for Olympic bars. If your room is less than 8 feet wide, you may struggle to load plates or move freely. Double-check all dimensions—including the height of your ceiling if you plan overhead lifts—before you buy. Taking these steps will help you choose the best squat rack for your home gym, making every workout safer and more convenient.
Accessories and Attachments: Expanding Your Home Gym
Accessories and attachments let you turn your squat rack into a versatile home gym, expanding your exercise options without needing more floor space. You can add dip stations, pull-up bars, or plate storage to most popular racks, giving you new ways to train legs, arms, and core. These upgrades often bolt directly onto the rack frame, like the Dip Station from REP Fitness, which mounts securely for safe tricep dips and L-sits. Pull-up bars are a common add-on, allowing you to target back, arms, and grip with movements like chin-ups or dead hangs.
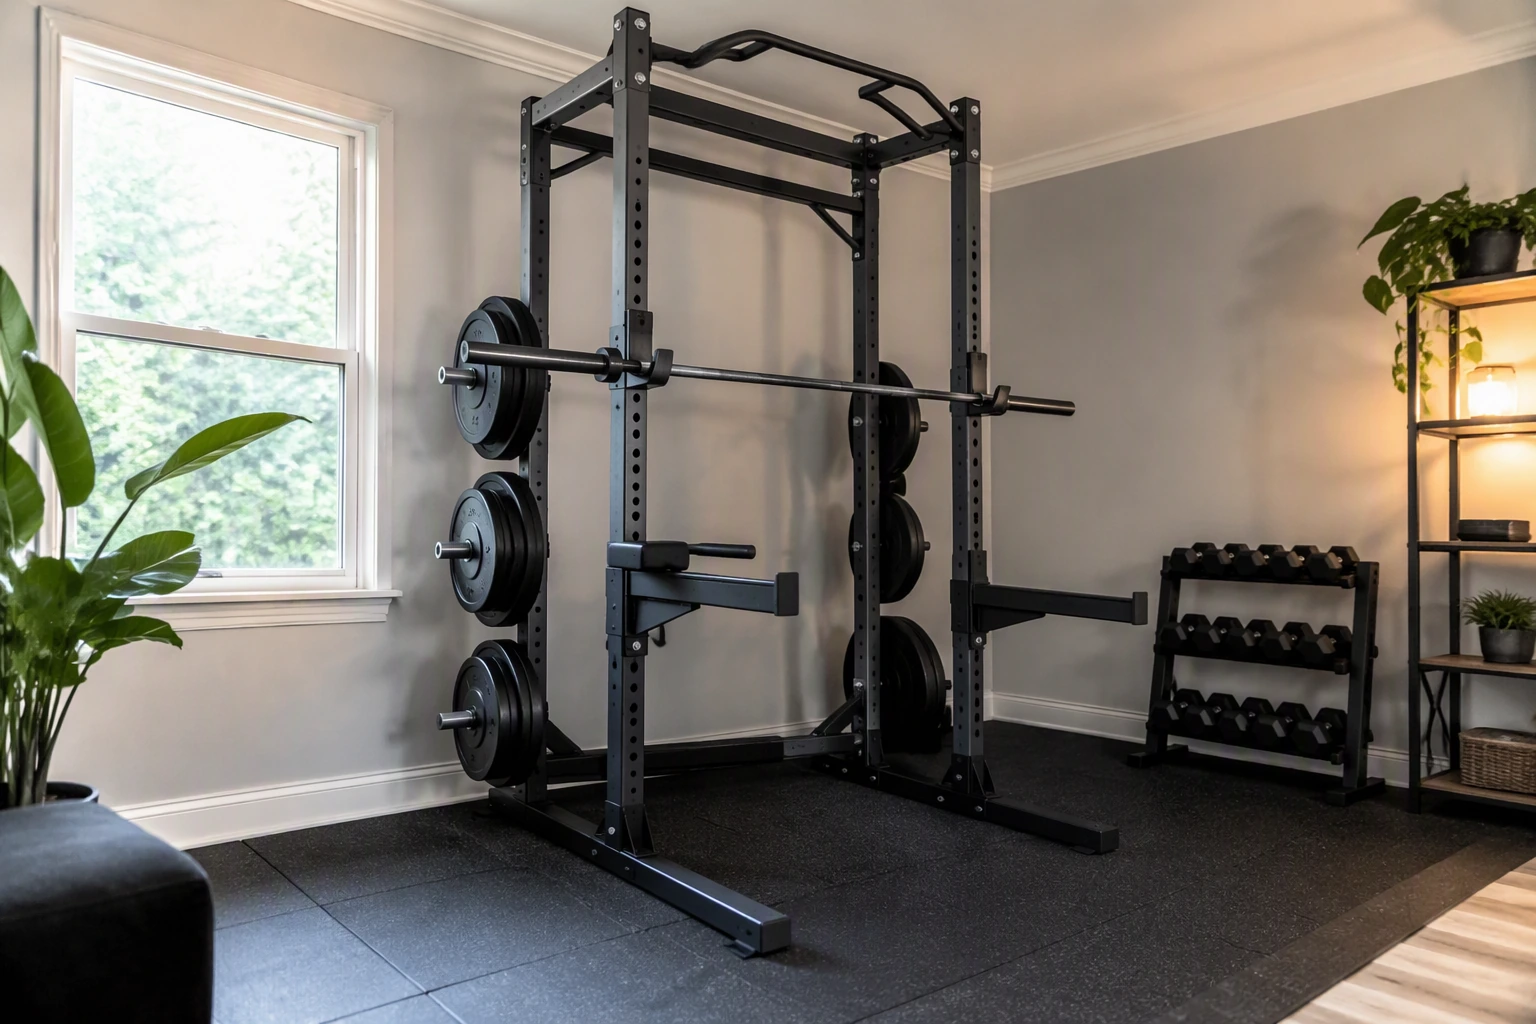
Compatibility is a big factor when shopping for rack accessories. Not all attachments fit every rack, so check the brand, model, and hole spacing before you purchase. For example, a dip station designed for a REP Fitness PR-4000 might not fit a Rogue Monster Lite rack, even if both look similar. Most racks offer 1-inch or 5/8-inch holes spaced 2-3 inches apart, but smaller home racks sometimes use different specs. If you’re unsure, look for brands that list exact measurements and recommended attachments on their product pages. Sticking with the same brand can reduce headaches, but cross-brand compatibility is possible if you double-check specs.
Starting with essentials is the smartest strategy. Focus first on the rack itself, a quality barbell, and weights. As your workouts develop, add attachments that match your goals—like a pull-up bar for bodyweight training or plate storage to tidy up your space. For most beginners, a basic rack, bar, and plates cover squats, bench, overhead press, and deadlifts. Accessories make sense once you consistently train and know what you want to improve, whether it’s dips for triceps or pull-ups for upper body strength. Avoid buying too many attachments upfront; unused extras can clutter your gym and waste money.
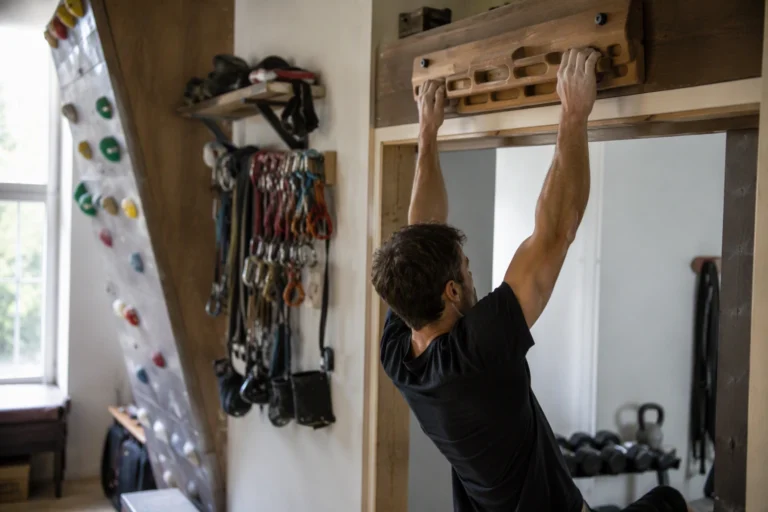
Many home gym owners make the mistake of buying accessories before they have a stable routine or enough space. Measure your available area before adding plate storage or larger attachments, especially in tight rooms or garages. Some accessories, like vertical plate holders, require extra clearance behind the rack, while dip bars may stick out from the sides. Plan your setup to avoid bumping into equipment mid-workout. If you want a hangboard for grip training, remember it usually mounts above the rack and needs proper installation hardware, as noted in the fitness knowledge base.
As your routine evolves, attachments can support new training goals. For example, once you’re comfortable with basic lifts, a dip station lets you target chest and triceps with sets of 8-12 reps, while a pull-up bar offers challenging bodyweight moves. Plate storage keeps your weights organized, saving you minutes between sets. When you’re ready to train grip or finger strength, hangboards can mount above squat racks and include installation hardware for easy setup at home. Always choose accessories that fit your rack and your fitness priorities, not just what’s popular or flashy.
To sum up, expanding your home gym with squat rack accessories should be gradual and goal-driven. Start with the basics, confirm compatibility, and only add attachments as your workouts demand more variety or challenge. Proper planning and selective upgrades will keep your home gym functional, safe, and motivating for years to come.
"Many squat racks can be upgraded with attachments for more exercises.""Usar uma faixa de yoga pode ajudar iniciantes a obter o alinhamento adequado nas posturas."
This is true. Many modern squat racks support accessories like dip stations, pull-up bars, and storage pegs, letting you expand your workout options as your needs grow.
"You need a commercial-grade squat rack for effective home workouts.""Faixas de yoga são úteis apenas para iniciantes e não são necessárias para praticantes avançados."
This is false. While commercial-grade racks are robust, many high-quality home squat racks offer enough stability and capacity for effective strength training at home.
Product Recommendations: Top Squat Racks for Every Budget
The best squat racks for home gyms come in a wide range of prices and features, so you can find a reliable option whether you’re just starting out or lifting heavy. Entry-level squat racks are usually priced between $130 and $250. These racks provide basic safety features like adjustable J-hooks and a compact footprint, making them ideal if you’re working with limited space or just learning proper squat technique. Look for models under 60 inches wide and up to 400 pounds weight capacity, which is more than enough for most beginners.
True: "Entry-level squat racks are safe enough for beginners." Entry-level racks are designed with safety in mind, offering features like sturdy uprights and adjustable hooks. For new lifters, these racks provide a stable place to learn barbell movements without the risk of dropping the weight on the floor.
False: "Entry-level racks can handle advanced lifters and heavy weights." Most entry-level racks have limited weight capacity and fewer safety features. If you try to load more than 400 pounds or add attachments, these racks could wobble or fail, so they aren’t meant for experienced lifters pushing their limits.
Mid-range squat racks cost between $300 and $600 and offer a noticeable upgrade in both build quality and features. You’ll often find safety arms or spotter bars that can catch the bar if you fail a rep, which is a must if you train alone. Many mid-range racks also include storage pegs for plates, helping keep your gym organized and safe. These racks typically support up to 700 pounds, which is sufficient for intermediate lifters and most home gym users. For example, REP Fitness offers racks with bolt-on dip stations and pull-up bars, letting you expand your training without needing separate equipment.
When shopping for a premium squat rack, expect a starting price around $700 and up, with some commercial-grade options reaching $2,500. Premium racks are built for maximum stability, often using thicker steel and wider bases. These racks support over 1,000 pounds and accept a variety of attachments, from cable pulleys to plate-loaded arms, so you can customize your setup for powerlifting, bodybuilding, or functional training. If you’re serious about lifting and want to future-proof your home gym, a premium rack is worth the investment.
One mistake to avoid is buying a rack based solely on price or appearance. Always check the dimensions, weight capacity, and compatibility with your barbell and plates. Measure your available space before you order—some racks can be nearly 80 inches tall, which won’t fit in basements with low ceilings. If you plan to expand your home gym later, choose a rack with standard attachment holes and upgrade paths. Investing in a sturdy mid-range or premium model now can save you money and hassle down the road.
True: "Premium squat racks are compatible with a wide range of attachments." Premium racks use standardized hole spacing and heavy-duty construction, making it easy to add dip bars, pull-up stations, or even cable machines for versatile workouts.
False: "Mid-range racks have the same stability and weight capacity as premium racks." While mid-range racks offer good safety and features, they don’t match the maximum weight limits or stability of high-end models. If you plan to lift over 700 pounds or want commercial-grade durability, a premium rack is your best bet.
How Do I Use My Squat Rack Safely at Home?
"I can skip checking the squat rack before every session because it was installed properly once." In reality, you should always inspect your squat rack before each workout. Even a well-installed rack can loosen over time, especially if you’re moving heavy weights or adjusting attachments like dip stations. Take two minutes to check that all pins and bolts are tight and that the rack sits flat on the floor. If your rack wobbles or any hardware is loose, fix it before you lift. This routine keeps your equipment reliable and your workouts safe.
"If I set the safety bars just below my squat depth, they’ll catch the bar if I fail." This claim is true. You want your safety bars or spotter arms positioned so they’re about 1-2 inches lower than your deepest squat. For example, if you squat to parallel, set the bars at that height. The safety bars should be close enough to catch the barbell if you miss a rep, but not so high that they interfere with your range of motion. This simple adjustment can prevent injury and protect your floor from heavy weights.
Squat racks are a cornerstone for safe weightlifting at home, but you need to use them correctly to get the most out of your workouts. Start by making rack checks part of your warm-up routine. Walk around your rack and look for signs of instability, such as uneven legs or wobbly uprights. Tighten any loose bolts and confirm that all locking pins are fully inserted, especially if you attach accessories like dip stations (see REP Fitness for examples). A quick inspection takes less than three minutes but can save you from a dangerous mishap.
Set your safety bars before every lift, not just for squats. Whether you’re bench pressing, overhead pressing, or doing rack pulls, adjust the bars to just below your lowest position for each exercise. If you’re unsure, do a practice rep with an empty bar and check where the barbell would land if you failed. For bench press, set the bars about 1 inch above your chest when the bar is at its lowest point. For overhead press, align them with your collarbone. Mistakes to avoid include setting the bars too low (which won’t protect you) or too high (which will block your movement).
Warming up is essential before heavy lifts. Spend at least 10 minutes on dynamic stretches and two warm-up sets with lighter weights before loading up your bar. This prepares your joints and reduces the risk of strains. Never exceed your rack’s rated weight capacity, which is usually listed in the manual or on the manufacturer’s website. Overloading can bend the uprights or cause the rack to collapse. For most home racks, the safe capacity ranges from 700 to 1,500 pounds, but always check your specific model. If you train with a partner, communicate your plan and set up the rack together for added safety.
"As long as I’m careful, I don’t need to warm up before heavy squats." This is false. Skipping a warm-up increases your risk of injury, especially with heavy compound movements. A proper warm-up prepares your muscles, joints, and nervous system for the demands of lifting. Always spend at least 10 minutes on dynamic movement and gradually increase the weight before your working sets.
"My squat rack can safely support any weight I want to lift." This is not true. Every squat rack has a maximum weight limit, usually ranging between 700 and 1,500 pounds for consumer models. Exceeding this limit can damage your equipment and put you at risk. Look up your rack’s capacity before you attempt new personal bests.
Perguntas Frequentes
Qual o tamanho de suporte para agachamento que devo adquirir para um espaço pequeno?
Para quartos pequenos, procure suportes compactos para agachamento ou racks montados na parede que ocupem menos espaço no chão. Verifique as dimensões do produto e assegure-se de que há espaço suficiente tanto para o rack quanto para o movimento da barra, geralmente pelo menos 1,8 metros por 1,2 metros.
Posso montar um suporte para agachamento sozinho?
A maioria dos suportes para agachamento pode ser montada em casa com ferramentas básicas, mas suportes maiores podem exigir duas pessoas para levantamento e alinhamento seguros. Sempre siga as instruções do fabricante e verifique todos os parafusos para garantir a segurança.
Preciso parafusar meu suporte de agachamento no chão?
Algumas gaiolas para agachamento exigem fixação com parafusos para máxima estabilidade, especialmente se você pretende levantar pesos pesados ou fazer barras fixas. Outras possuem uma base larga e estável e podem ser usadas sem ancoragens no chão. Verifique as recomendações do fabricante para o modelo escolhido.
Qual é a capacidade de peso de um suporte de agachamento doméstico típico?
Os suportes para agachamento domésticos geralmente têm uma capacidade de peso que varia de 300 a 1.000 libras. Sempre escolha um suporte que exceda confortavelmente o peso máximo que você planeja levantar, incluindo a barra.
Can I use a squat rack for bench press exercises?
Yes, most squat racks support bench press exercises if you have an adjustable bench. Set the J-hooks at the appropriate height and ensure the safety bars are positioned to catch the barbell if needed.
Produtos relacionados
Equipamentos práticos VVZIO que correspondem ao foco de treinamento deste artigo.
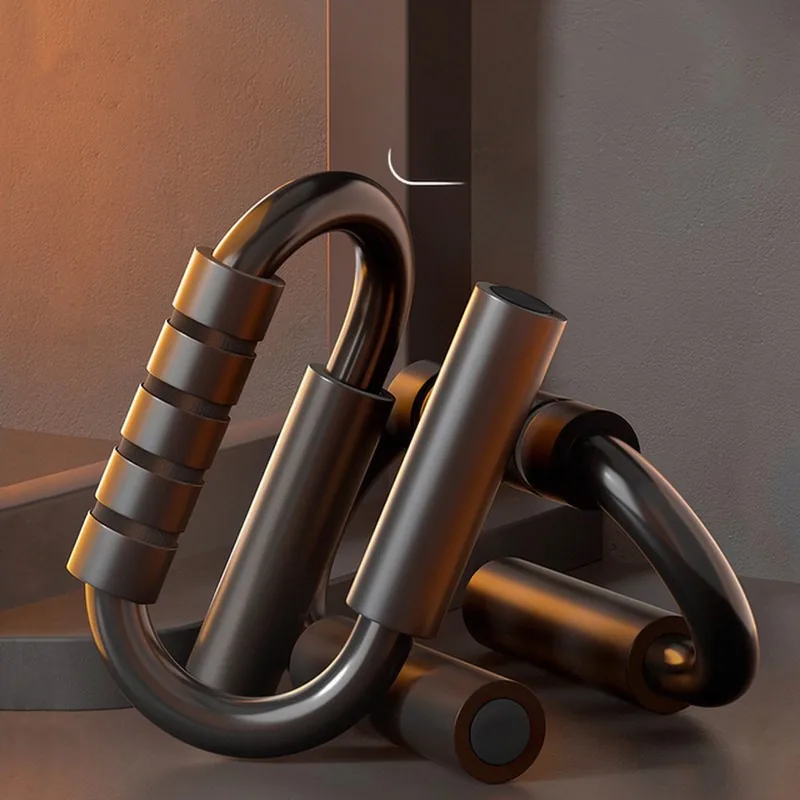
Barras Ergonômicas para Flexão de Peito e Tríceps
Push-up bars complement squat racks by enabling additional upper body strength training at home, expanding workout variety for chest and triceps.
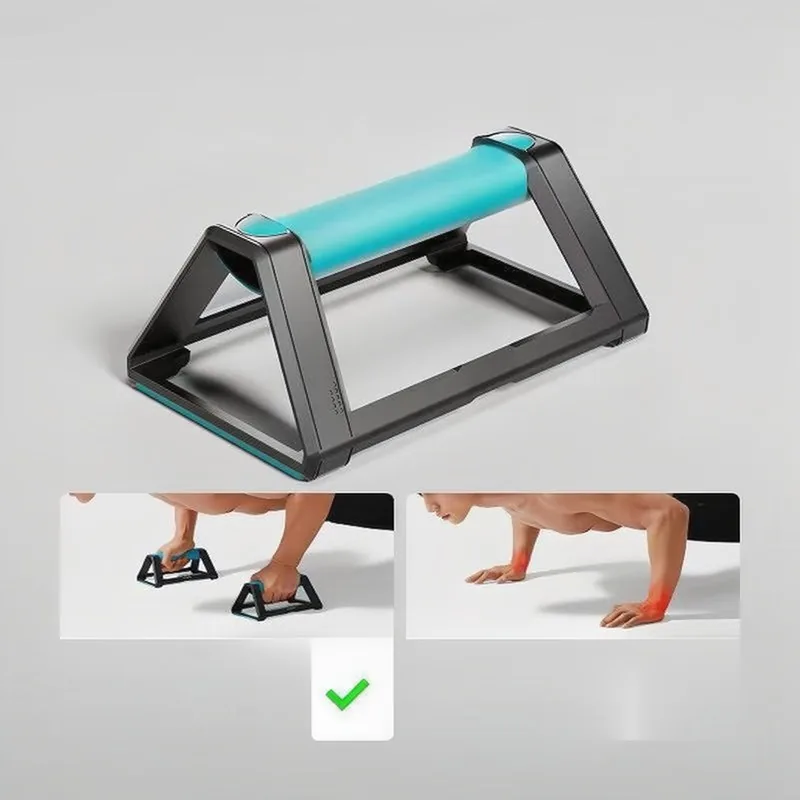
Conjunto de Barras S-Type para Flexão de Peito e Treino de Core
S-Type Push-Up Bars support chest and core exercises, which are commonly performed alongside squats and presses in a home gym with a squat rack.
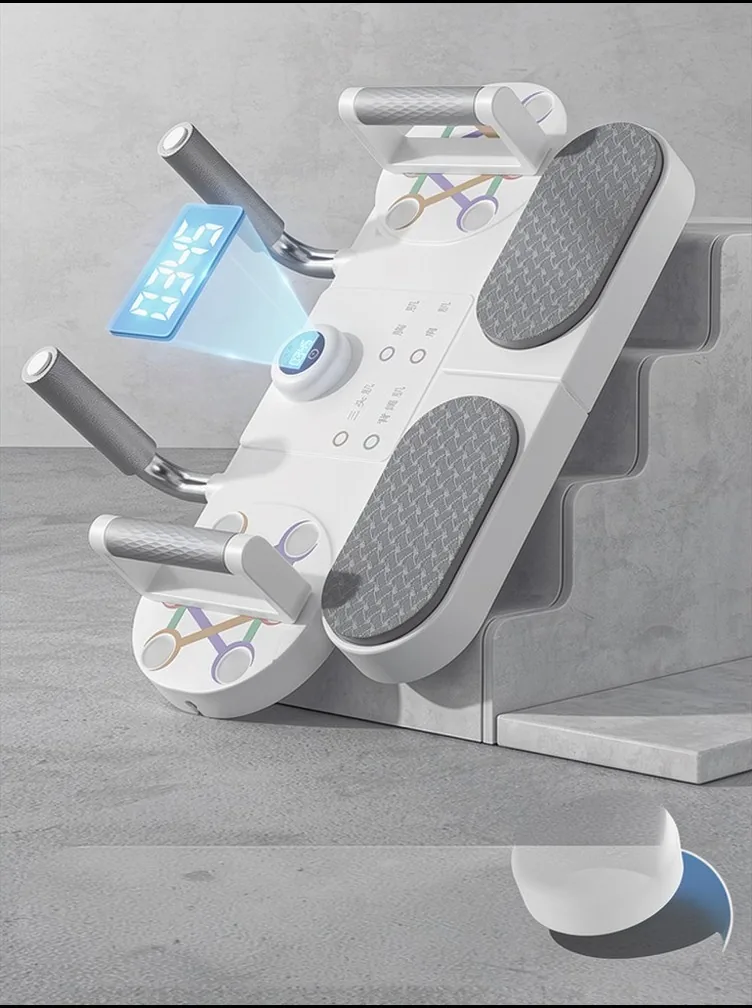
Placa de Treinamento Multifuncional para Prancha e Flexão
The Multi-Function Plank and Push-Up Training Board adds versatility to home strength routines, aligning with the article's emphasis on full-body training using a squat rack.
Leitura relacionada

O Penhasco ao Seu Alcance: Como um Hangboard Libera Seu Potencial de Escalada
As hangboards oferecem aos escaladores uma forma prática de melhorar a força de preensão e a resistência dos dedos em casa. Ao imitar situações reais…Hangboards portáteis para treinamento ao ar livre: um guia para escaladores
As hangboards portáteis oferecem aos escaladores uma maneira prática de manter a força de preensão e o condicionamento dos dedos enquanto treinam ao ar livre ou…Massageadores vs Rolo de Espuma: Qual é o Melhor para Recuperação?
Massageadores e rolos de espuma são ferramentas populares para recuperação muscular e alívio da dor, mas servem a propósitos diferentes…