









How to Use a Hangboard for Climbing Training: Practical Steps for Safe Strength Gains
Hangboard training is an effective way for climbers to build grip and finger strength at home, using a board with varied holds that mimic real climbing conditions. Learning the right technique and frequency helps avoid injuries while maximizing performance gains. This article explains how to start, what exercises to use, and how to choose a hangboard for your climbing goals.
You want to get stronger for climbing, but the gym isn’t always an option and your progress feels stuck. Maybe you keep hearing about hangboard training, but the jargon and warnings online make it sound intimidating or risky. You worry about injury, or you don’t know where to start—especially when most advice assumes you already have some climbing background or access to fancy equipment. It’s easy to feel overwhelmed before you even touch a hangboard.
But the truth is, hangboards are one of the most effective home tools for building finger and grip strength, even for beginners. The challenge is learning how to use a hangboard safely and efficiently, without wrecking your tendons or wasting time with guessing games. If you’re ready to take your first steps toward practical, pain-free strength gains, understanding what a hangboard is—and why it matters for your climbing goals—can help you break through that plateau and train smarter at home.
- Hangboards help improve grip and finger strength efficiently.
- Correct technique reduces injury risk during hangboard training.
- Different hold types simulate real climbing grips for targeted training.
- Consistent, moderate sessions lead to noticeable performance gains.
- Choose a hangboard that matches your skill level and training needs.
What Is a Hangboard and Why Use One?
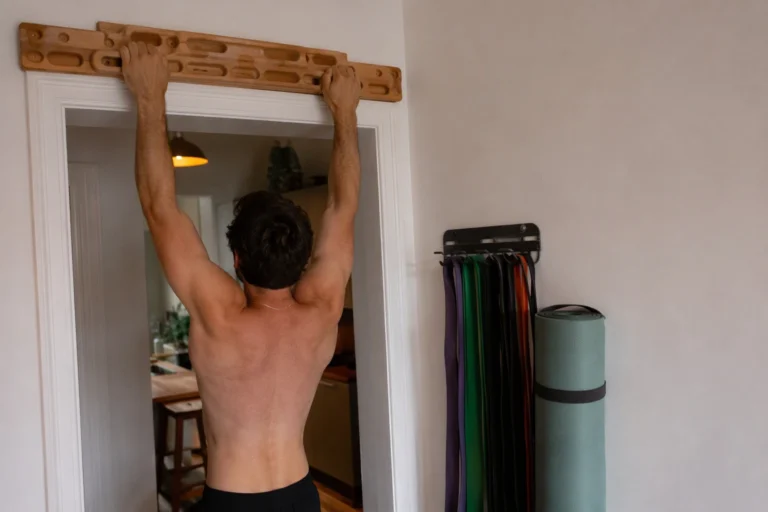
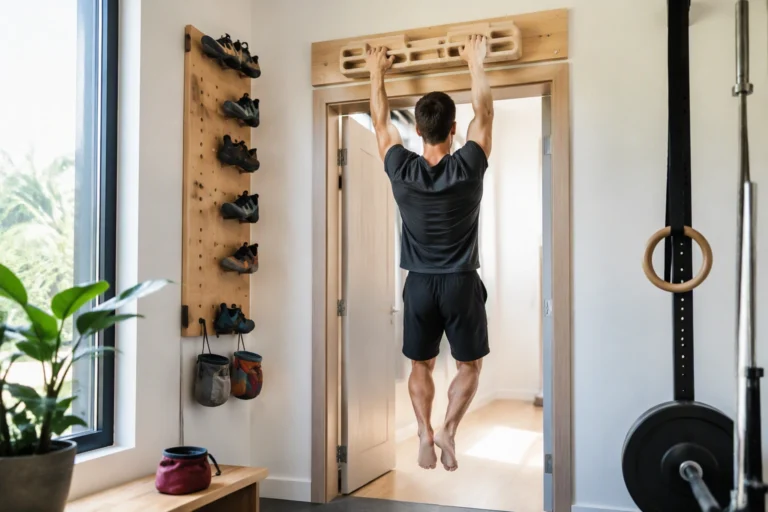
A hangboard is a specialized piece of training equipment designed for climbers who want to build finger and grip strength. It’s usually a flat board made of wood or resin, mounted on a wall or doorway, with multiple edges, pockets, and slopers carved into its surface. The main goal of hangboard training is to simulate the variety of handholds you encounter on real climbing routes, helping you develop the specific strength and endurance needed for better performance on the wall.

Most hangboards feature a range of pocket depths and edge sizes, from deep jugs for beginners to shallow crimps and monos for advanced climbers. This variety allows you to target different finger positions and grip types, which is crucial since outdoor routes rarely offer uniform holds. Some hangboards even include slopers and pinches, giving you the option to mimic the demands of bouldering or sport climbing. The inclusion of features like a phone holder on certain models makes it easier to time your hangs and rests, streamlining your training workflow at home.
Grip strength is one of the most important physical attributes for climbing, because your fingers and forearms are typically the first to fail on challenging routes. Regular hangboard workouts are a proven way to boost this capacity. By performing exercises such as dead hangs or offset hangs for set durations—typically 7 to 10 seconds per rep, with 6 to 10 reps per set—you can steadily build the strength needed to hold onto smaller, more technical holds. Consistency is key; training just two or three times per week can lead to noticeable improvements in both grip and overall climbing performance, provided you allow for adequate rest between sessions.
One of the biggest advantages of hangboard training is its accessibility for home use. Unlike a full climbing wall or gym membership, a hangboard can be installed above a doorway or on a dedicated wall, often for under $100. This makes it easy to integrate short, focused strength sessions into your weekly routine, whether you’re a beginner testing your limits or an advanced climber looking to break through a plateau. You don’t need a lot of space or expensive equipment—just a sturdy mounting point and a commitment to regular practice.
Hangboards are also highly versatile. You can use them for a variety of exercises beyond static hangs, such as pull-ups, lock-offs, or even one-arm hangs if you’re more experienced. Beginners should always start with larger holds and shorter durations, gradually progressing to smaller edges and longer hangs as strength increases. The modular design of most boards means you can adapt your sessions to match your current abilities and specific climbing goals, ensuring that training remains challenging but safe.
It’s important to approach hangboard training thoughtfully, especially if you’re new to climbing-specific strength work. Warming up your fingers and forearms for at least 10 minutes before hanging is non-negotiable, as cold tendons and muscles are much more prone to injury. Focus on controlled, quality hangs rather than chasing maximum duration or weight. Avoid the temptation to jump to advanced holds too quickly—progression should be gradual, and proper rest between sessions is just as important as the work you put in.
In summary, a hangboard is a practical, effective tool for climbers looking to boost grip strength and climb harder routes. Its range of holds and pocket depths allows you to train specific hand positions in a way that mirrors real climbing scenarios, all from the comfort of your home. With regular, well-structured sessions, you can expect to see tangible gains in your ability to hold difficult grips and push your climbing to the next level.
How Often Should You Train on a Hangboard?
If you're wondering how often you should train on a hangboard, start by considering your experience level and recovery needs. For beginners, sticking to one to two sessions per week is a safe bet. This frequency allows your tendons and muscles to adapt gradually, minimizing the risk of overuse injuries. If you're more experienced and your fingers are conditioned, you can increase hangboard training to two or three times per week, but always listen to your body.

Rest days are essential for hangboard training, especially for climbers new to finger strength workouts. Your connective tissues need time to recover, so space sessions at least 48 hours apart. Most climbers find that training on Mondays and Thursdays—or similar intervals—works well. Skipping rest days or packing sessions too closely together can lead to tendon strain, finger pain, or even chronic injuries that sideline your progress.
Each hangboard session should be short and focused, typically lasting 20 to 30 minutes. A common structure includes a warm-up (5-10 minutes), several sets of dead hangs (five to eight reps, each for 7-15 seconds), and longer rests between sets—usually around 2-3 minutes. If you're using a multi-functional hangboard with different pocket depths and edges, rotate grips each session to target various muscle groups. Advanced climbers often add offset hangs or pull-ups, but avoid these until you have at least six months of base training.
Overtraining signs are easy to miss, but you’ll notice persistent finger soreness, swollen joints, or reduced grip strength if you’re pushing too hard. If you feel pain during hangs or your performance drops, take a full week off and cut back your frequency when you return. Another red flag is losing motivation or feeling fatigued even outside your workouts—this is your body’s signal for more recovery. Adjust your schedule based on these cues, not just a set calendar.
Beginners often make the mistake of increasing intensity or frequency too quickly, thinking faster gains are possible. Instead, focus on steady progress by recording session details, grip types, and hang times in your phone or training log. If your hangboard has a phone holder, use it for tracking and video feedback. Remember, consistent but moderate training yields better results than sporadic, high-volume efforts. If you’re unsure, err on the side of caution—climbing gains come from patience and disciplined rest as much as tough sessions.
For most climbers, two sessions per week with at least two rest days in between is a sustainable rhythm. Experienced athletes can push to three, but only if recovery stays solid. Keep sessions concise, monitor your fingers, and adjust your schedule as needed. With this approach, hangboard training will build your grip strength safely and effectively.
"“Hangboard training improves grip strength for climbers.”"True
This belief is true. Regular hangboard sessions strengthen finger and grip muscles, which are essential for holding onto small climbing holds. Studies and expert recommendations confirm that consistent training can lead to measurable gains in grip strength within a few weeks.
"“You need to train on a hangboard every day to see results.”"False
This belief is false. Most experts recommend 2–4 hangboard sessions per week, allowing rest days for recovery. Training daily increases injury risk and does not accelerate strength gains; moderation and consistency are more effective.
Which Hangboard Exercises Are Best for Building Grip Strength?
Building grip strength is the main goal when you use a hangboard for climbing training. Dead hangs, pull-ups, and offset hangs are the most popular exercises for this purpose. Each move targets your fingers and forearms differently, supporting the demands of real climbing. By varying the holds and pockets on your hangboard, you can train multiple grip types—from open hand to crimp, pinch, and sloper—making your workouts more effective and versatile.

Dead hangs are simple but powerful. Just grab the edge or pocket with both hands and hang with straight arms for 10 to 15 seconds. Beginners might start with larger edges (20-30mm deep), while advanced climbers progress to smaller pockets or use one arm for greater difficulty. Aim for 5–7 sets with 1–2 minutes rest between hangs. Pull-ups on a hangboard add dynamic strength; use a solid edge and perform 3–5 reps per set, focusing on controlled movement. Offset hangs involve placing one hand on a smaller hold and the other on a bigger one, building asymmetrical strength for tricky routes.
To target different grip types, rotate between the hangboard’s pockets, edges, and pinches. For example, use open-hand grips on slopers, full crimps on narrow edges, and pinch holds if your board offers them. Most multi-functional hangboards let you switch these holds easily. Change your grip every session or set to avoid overuse injuries and ensure balanced development. If your hangboard features a phone holder, use it to track your timing and progress for each exercise.
Progression is key to getting stronger without getting hurt. Start with easier holds and shorter hang times, then gradually increase difficulty. For example, decrease edge size by 5mm every two weeks, add an extra set every month, or try one-arm hangs once you can handle 20 seconds on both arms comfortably. Always listen to your body. If you feel pain—especially in your fingers or elbows—stop and rest. Overtraining can lead to chronic injuries that sideline your climbing for months.
Warming up is essential before any hangboard session. Spend at least 5–10 minutes doing finger mobility drills, wrist rotations, and some light hangs on big holds. After your workout, cool down with gentle stretching and massage your forearms to help recovery. Skipping these steps is a common mistake and increases your risk of tendon injuries. Consistent hangboard training, paired with careful warm-ups and cooldowns, will help you build grip strength safely and steadily for climbing.
Another frequent error is jumping straight into advanced exercises or tiny holds before your fingers are ready. Instead, follow a stepwise progression and track your sessions. Regular hangboard workouts—two to three times per week—are enough to see noticeable gains in grip strength within a few months. The versatility of modern hangboards lets you customize routines for your current skill level and climbing goals, so make the most of every session and keep your hands healthy.
How Do You Choose the Right Hangboard for Your Training?
The right hangboard makes a significant difference in your climbing training, so choosing one isn’t just about picking the most popular brand. You want a hangboard with a range of hold shapes and sizes—edges, pockets, and slopers—so you can target different grip strengths and simulate real climbing conditions. Look for boards with multiple pocket depths (like 15mm, 20mm, and 25mm edges) to match the progression of your grip strength over months of training. Material matters too; resin boards offer a smooth, skin-friendly surface, while wood boards like those from Beastmaker are gentler on your fingertips and less likely to cause skin splits during frequent sessions.
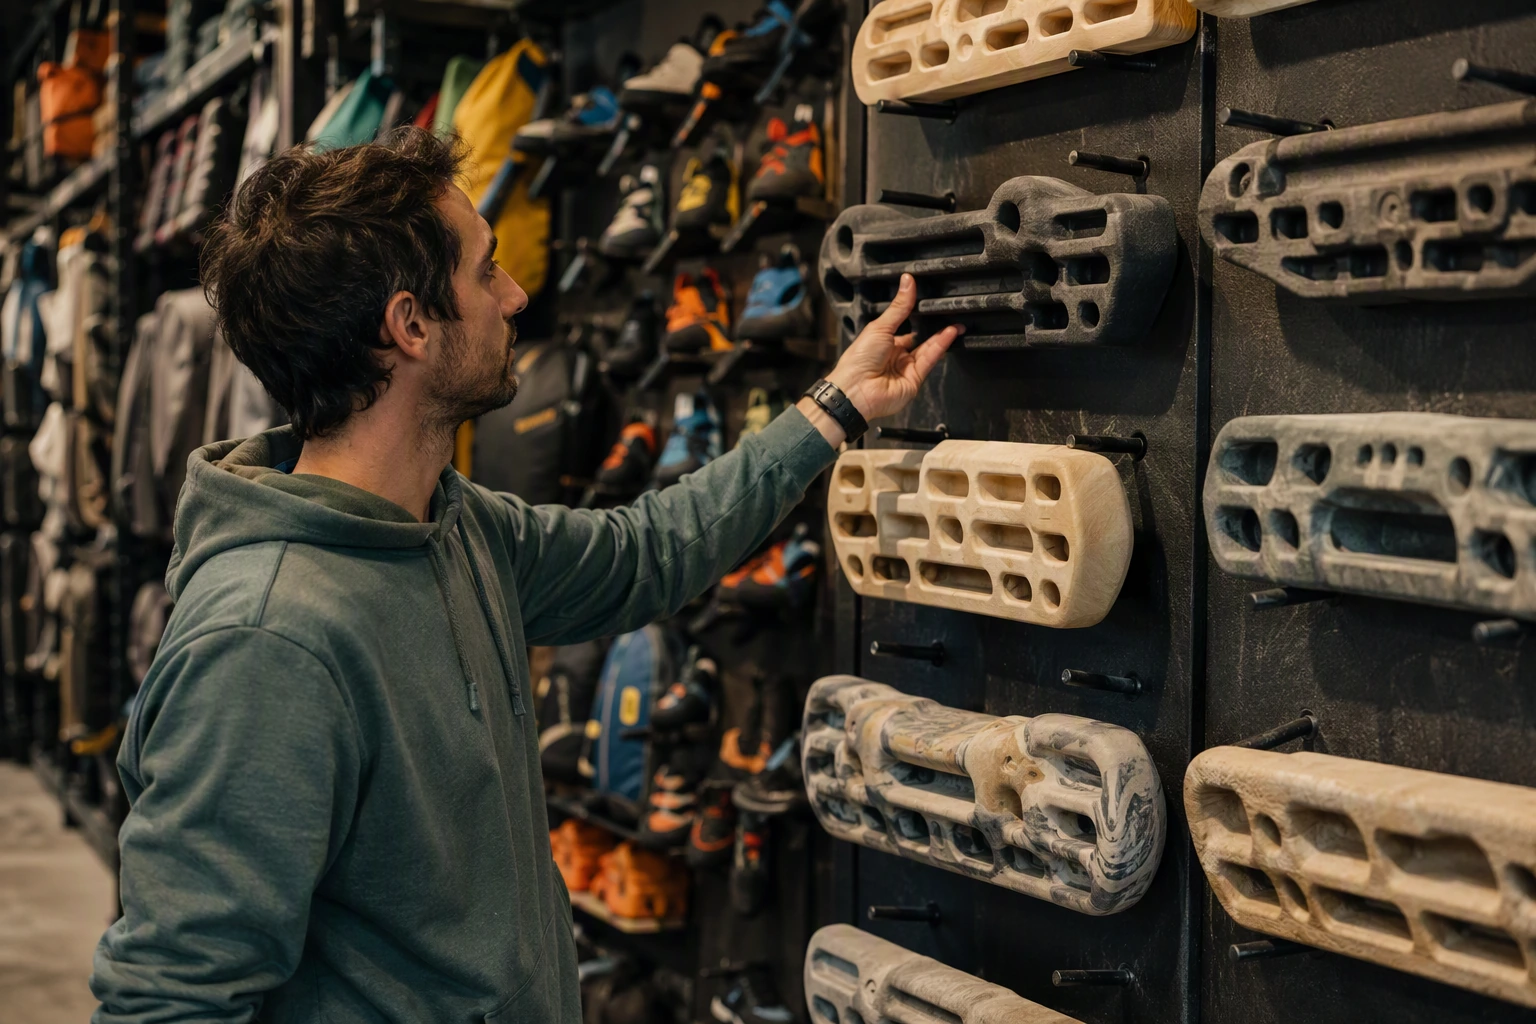
Mounting options are another key consideration. Fixed hangboards require drilling into a wall or doorway, which offers stability for dynamic moves and heavier hangs, but might not suit renters. Portable options, like over-the-door or doorway-mounted hangboards, provide flexibility if you move often or train in limited spaces. If you’re training at home, measure your available wall space—most hangboards are 18 to 24 inches wide and need at least 12 inches of vertical clearance above your head for safe hangs and pull-ups.
Hangboards with built-in phone holders can elevate your training experience, especially if you follow guided routines or use timer apps. Keeping your phone eye-level means you won’t interrupt your set to check your progress or rest intervals. This feature is handy for tracking workouts, following video demonstrations, or syncing with hangboard training apps. If you use structured plans or like instant feedback, investing in a hangboard with a phone slot could make your sessions smoother and more consistent.
Matching the hangboard design to your skill level and goals is crucial. If you’re new to hangboarding, start with a board offering larger holds (20mm or deeper) and rounded edges to protect your joints and skin. Advanced climbers might choose models with smaller pockets (10-15mm) and more challenging sloper sections for grip variety. Some boards also include pull-up jugs for integrating strength work, which can be useful if you want to combine dead hangs and pull-ups in one session.
Price is always a factor. Entry-level resin hangboards typically cost $45–$60, while premium wood models with multiple hold options range from $80 to $120. Boards with phone holders or unique mounting systems may cost a bit more, but the added convenience can justify the investment if it keeps you training consistently. Always check that the hangboard suits your wall and includes clear instructions or mounting hardware—unexpected installation costs can add up. Remember, the best hangboard is the one you’ll use regularly, fits your space, and matches your current grip strength and training plan.
"“Using different hold types on a hangboard targets specific climbing grips.”"True
This belief is true. Hangboards feature a range of pocket depths and edge shapes to simulate crimps, slopers, and jugs, enabling climbers to train the exact grip types needed for various routes.
"“Hangboard training alone can fully replace climbing practice.”"False
This belief is false. While hangboard training builds strength, it cannot substitute for practicing climbing movement, balance, and technique on walls or rocks. Hangboard workouts are most effective when combined with regular climbing.
Can Hangboard Training Replace Climbing Practice?
Hangboard training is a powerful tool for building grip strength, but it cannot fully replace climbing practice on real walls. When you use a hangboard, you target specific finger and forearm muscles with exercises like dead hangs and pull-ups, usually in sets of 5-10 reps or timed holds of 10-30 seconds. This approach delivers measurable strength gains, which are essential for progressing as a climber. However, hangboard workouts miss the dynamic movement, balance, and footwork skills developed through actual climbing.
Climbing on real walls involves much more than grip strength. You’re constantly shifting your weight, reading routes, and coordinating your entire body. Hangboards offer multi-functional designs with various pocket depths and edges to mimic different holds, but they can’t simulate the complexity of wall movement or the feel of natural rock. For example, training on a hangboard won’t teach you how to pivot your hips on a slab or how to use a heel hook on an overhang. These skills require direct experience on vertical surfaces, either in a gym or outdoors.
Hangboard sessions are best used as a complement to climbing practice, not a substitute. To maximize gains, integrate hangboard workouts into your weekly routine alongside regular climbing sessions. You might schedule two 20-minute hangboard workouts per week, focusing on grip endurance and finger strength, while climbing on walls two to three times a week to work on technique and overall movement. This balanced approach helps you avoid overuse injuries and ensures you’re improving both your physical and technical abilities.
One common mistake is relying solely on hangboard training, hoping it will translate directly to better climbing performance. While your fingers may get stronger, you’ll miss out on developing body positioning, route reading, and dynamic power. Another pitfall is skipping warm-ups, which can lead to finger injuries—always start with at least 10 minutes of light aerobic activity and mobility work before hangboard exercises. If you’re a beginner, use larger holds and shorter hangs to avoid strain, gradually progressing to smaller pockets and longer durations as your strength improves.
To get the most out of your hangboard, consider models with built-in phone holders, which make tracking rest intervals and recording progress easier. Pair hangboard training with regular climbing sessions to keep your skills sharp and your motivation high. The best climbers use hangboards to supplement their wall time, not replace it. By combining both, you’ll build a well-rounded foundation for strength, technique, and confidence on any climb.
FAQ
How long should a beginner hangboard session last?
A typical beginner session lasts 10 to 15 minutes, including warm-ups and rest periods. Focus on quality hangs rather than high volume to reduce injury risk.
Do I need special mounting hardware for a hangboard at home?
Most hangboards require mounting to a sturdy wall or doorway with screws or brackets. Some portable models can be hung from pull-up bars or trees; always follow manufacturer instructions for safety.
Is it safe to hang with straight arms on a hangboard?
It is safer to keep your elbows slightly bent and shoulders engaged when hanging. Hanging with locked elbows can put strain on joints and increase injury risk.
Can children use a hangboard for climbing training?
Hangboard training is not recommended for children whose finger growth plates are still developing. Older teens and adults can use hangboards safely with proper technique and supervision.
What is the best way to track progress with hangboard training?
Track progress by recording hang times, grip types used, and session frequency. Some hangboards with phone holders make it easy to follow routines and log results digitally.
Related Products
Practical VVZIO equipment that matches the training focus of this article.
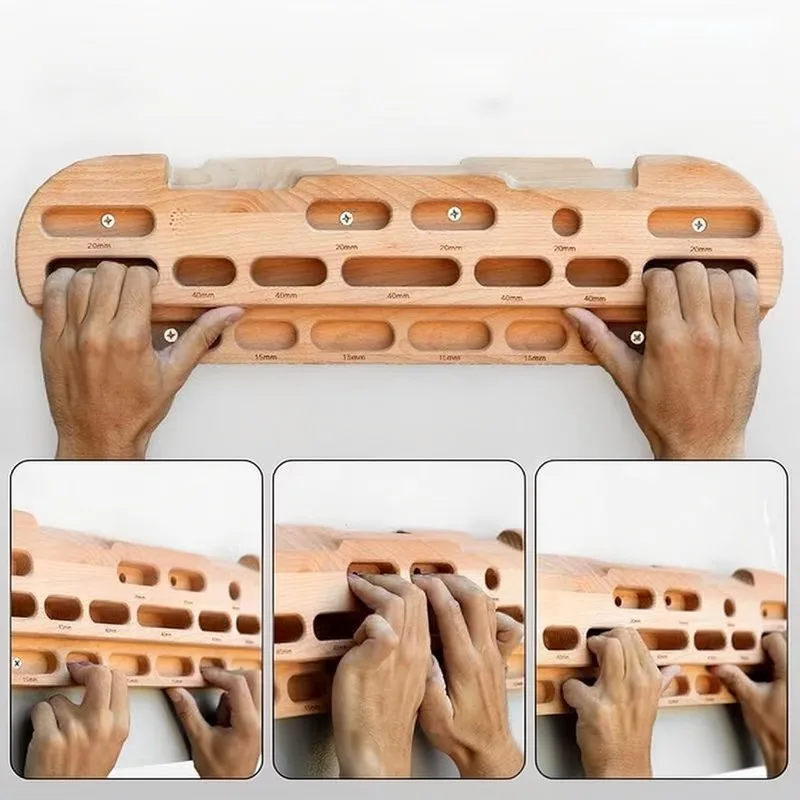
Wooden Hangboard for Finger Strength Training
This wooden hangboard is specifically designed for finger strength training, directly matching the article's focus on safe, effective hangboard use for climbers.
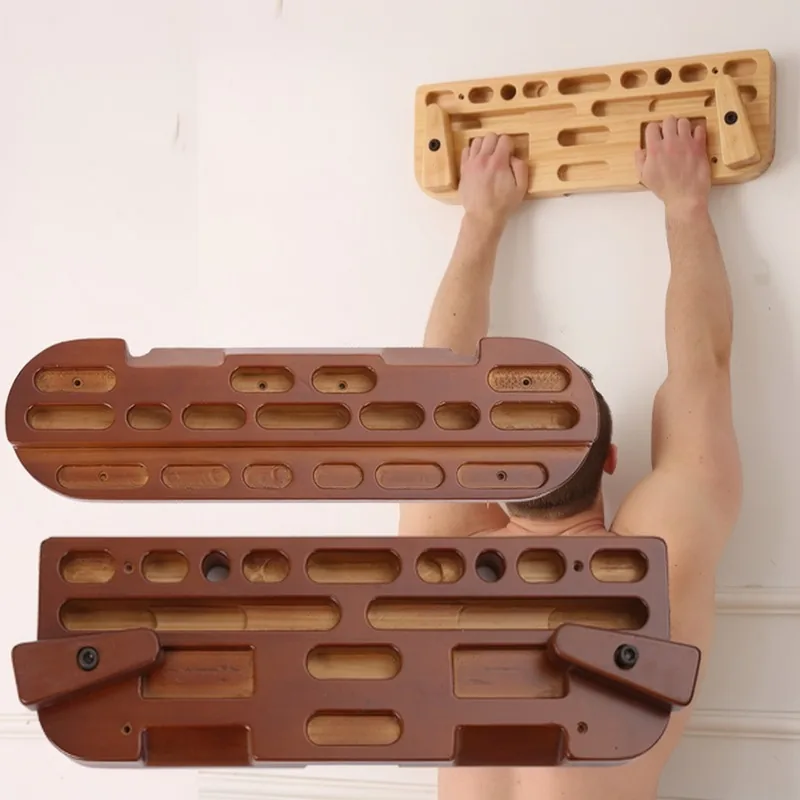
Portable Wooden Climbing Hangboard
The portable wooden climbing hangboard offers varied holds for grip and finger strength, aligning with the article's advice on choosing and using hangboards at home.
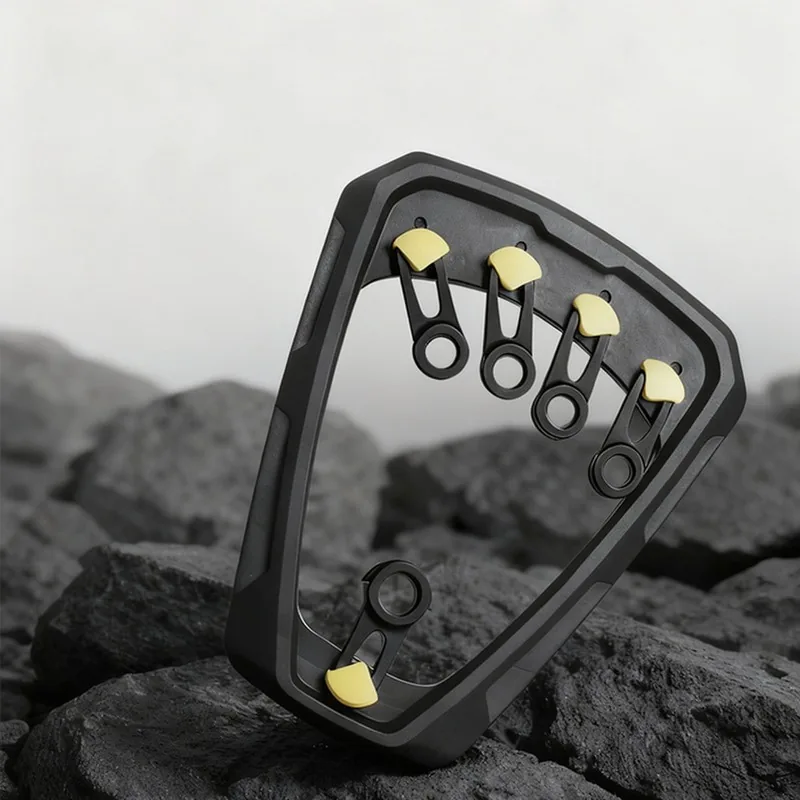
3-Level Adjustable Rotating Finger Strength Trainer
The adjustable rotating finger strength trainer targets finger and forearm strength, supporting the article's emphasis on building climbing-specific grip strength safely.
Related reading

Top 5 TRX Workouts for Beginners: Essential Moves and Tips
TRX suspension training offers an effective way for beginners to build strength and stability at home with minimal…Top Features to Look for in Climbing Hangboards
Choosing the right climbing hangboard can significantly improve your training effectiveness and comfort at home. Key features such…Benefits of Using a Hangboard for Climbers: Strength, Versatility, and Practical Tips
Hangboards are specialized training tools that help climbers build finger and grip strength, making them essential for improving…